メインコンテンツにスキップ

Bissell CrossWave Cordless Max 2554A Motor Replacement

必要な工具と部品

  1. Bissell CrossWave Cordless Max 2554A Motor Replacement, Battery Assembly: 手順 1、 2の画像 1 Bissell CrossWave Cordless Max 2554A Motor Replacement, Battery Assembly: 手順 1、 2の画像 2
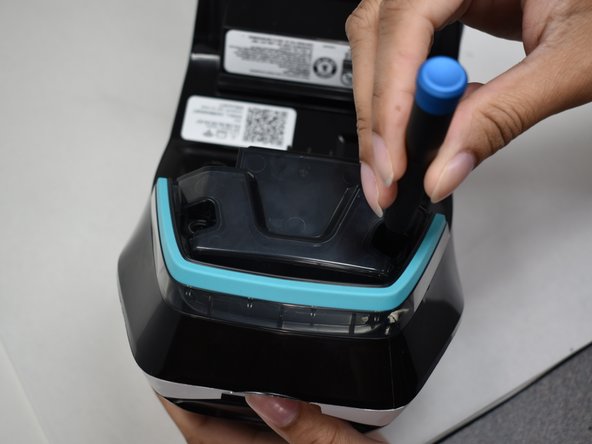
    • Remove the four 16 mm Phillips #2 screws at the back of the vacuum and below the clean water tank.

  2. Bissell CrossWave Cordless Max 2554A Motor Replacement: 手順 2、 2の画像 1 Bissell CrossWave Cordless Max 2554A Motor Replacement: 手順 2、 2の画像 2
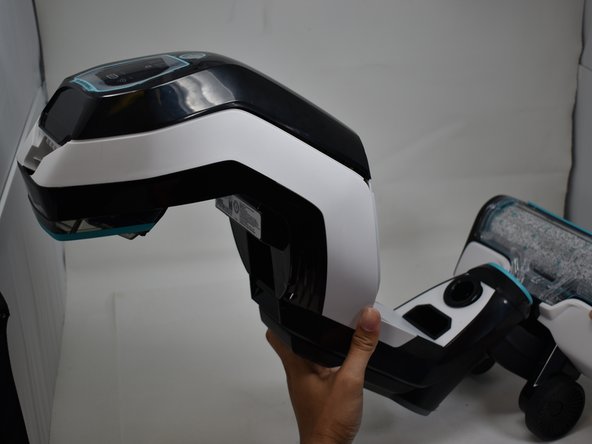
    • Pull the battery assembly away from the main body.

    • There are still wires connecting the battery assembly to the main body. Do not use force to completely separate the two objects.

  3. Bissell CrossWave Cordless Max 2554A Motor Replacement: 手順 3、 2の画像 1 Bissell CrossWave Cordless Max 2554A Motor Replacement: 手順 3、 2の画像 2
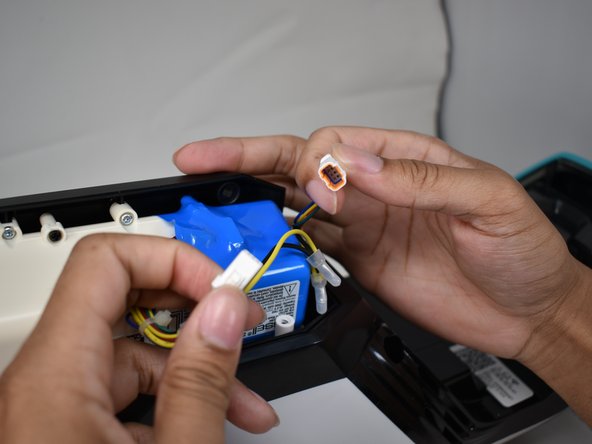
    • Detach the wires holding the battery assembly to the main body by pressing down on the clip holding the connector together.

  4. Bissell CrossWave Cordless Max 2554A Motor Replacement, Motor: 手順 4、 3の画像 1 Bissell CrossWave Cordless Max 2554A Motor Replacement, Motor: 手順 4、 3の画像 2 Bissell CrossWave Cordless Max 2554A Motor Replacement, Motor: 手順 4、 3の画像 3
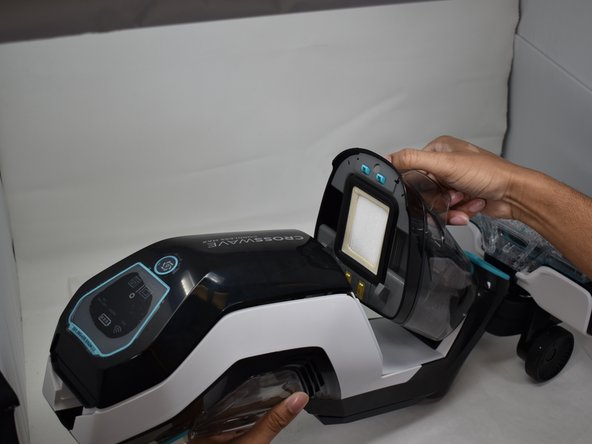
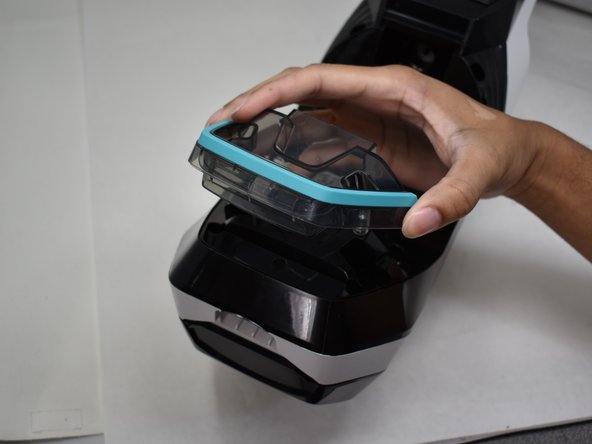
    • Remove the clean and dirty water tanks.

    • Removing the tanks gives access to all of the screw holes required to disassemble the vacuum housing.

  5. Bissell CrossWave Cordless Max 2554A Motor Replacement: 手順 5、 3の画像 1 Bissell CrossWave Cordless Max 2554A Motor Replacement: 手順 5、 3の画像 2 Bissell CrossWave Cordless Max 2554A Motor Replacement: 手順 5、 3の画像 3
    • Remove the two 13.8 mm Phillips #1 screws holding the carrying handle to the main body.

  6. Bissell CrossWave Cordless Max 2554A Motor Replacement: 手順 6、 3の画像 1 Bissell CrossWave Cordless Max 2554A Motor Replacement: 手順 6、 3の画像 2 Bissell CrossWave Cordless Max 2554A Motor Replacement: 手順 6、 3の画像 3
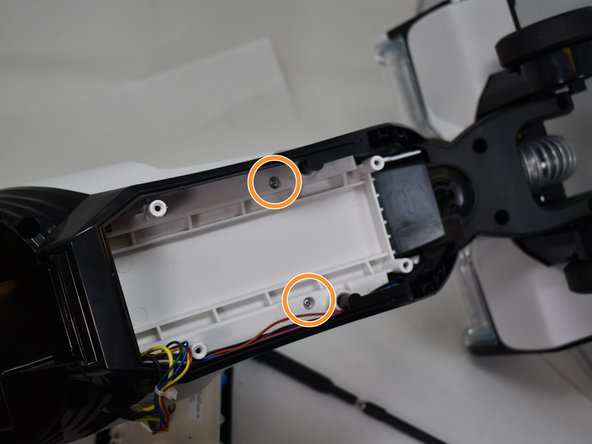
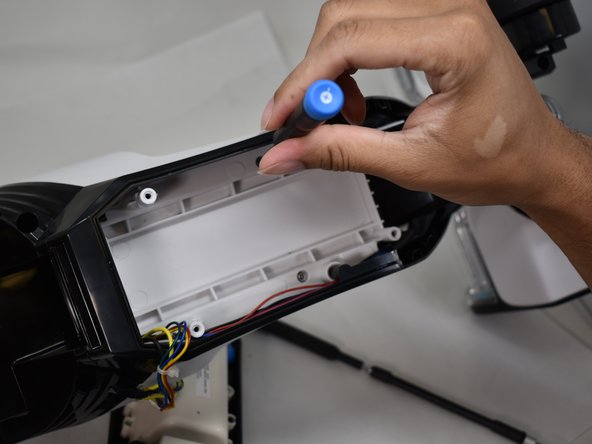
    • Remove the six 14 mm Phillips #1 screws that are located where the clean water tank once was.

    • Remove the two 14 mm silver screws located underneath the battery using a Phillips #1 screwdriver.

  7. Bissell CrossWave Cordless Max 2554A Motor Replacement: 手順 7、 2の画像 1 Bissell CrossWave Cordless Max 2554A Motor Replacement: 手順 7、 2の画像 2
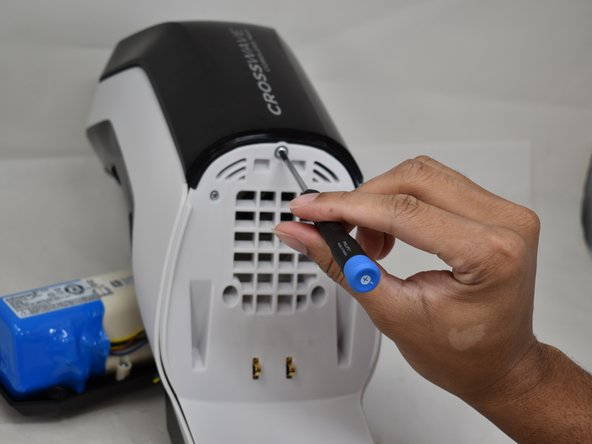
    • Flip the device over and remove the three 12.3 mm Phillips #1 screws.

    • Remove two 15 mm Phillips #1 screws.

  8. Bissell CrossWave Cordless Max 2554A Motor Replacement: 手順 8、 2の画像 1 Bissell CrossWave Cordless Max 2554A Motor Replacement: 手順 8、 2の画像 2
    • Remove the two front pieces of plastic from the main body of the vacuum.

    • There are many wires still connected from the main body to these front panels. Use caution when separating the plastic as to not break the wiring.

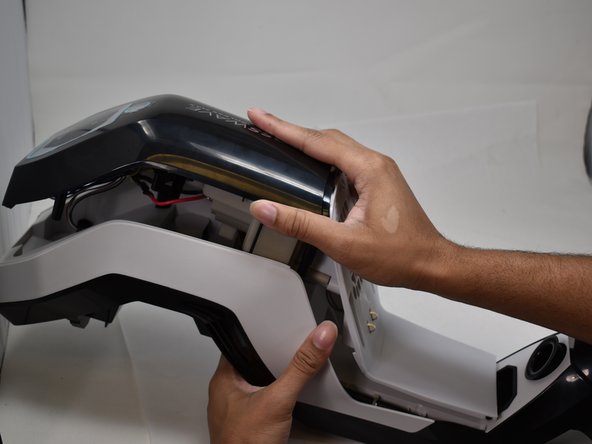
  9. Bissell CrossWave Cordless Max 2554A Motor Replacement: 手順 9、 2の画像 1 Bissell CrossWave Cordless Max 2554A Motor Replacement: 手順 9、 2の画像 2
    • The panel can be flipped over to reveal the motor when separated from the main body.

  10. Bissell CrossWave Cordless Max 2554A Motor Replacement: 手順 10、 2の画像 1 Bissell CrossWave Cordless Max 2554A Motor Replacement: 手順 10、 2の画像 2
    • Remove the four 14 mm Phillips #1 screws that hold the motor to the front panel of the vacuum.

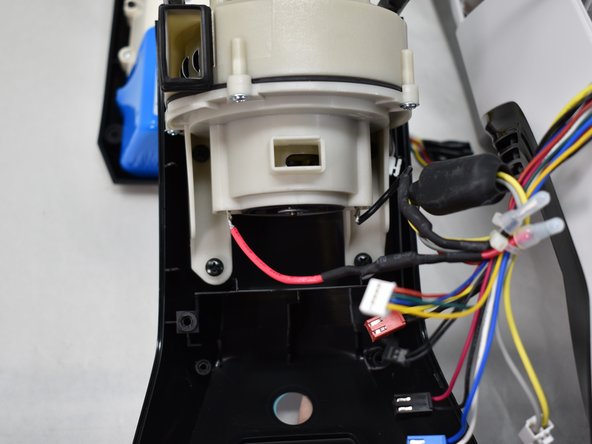
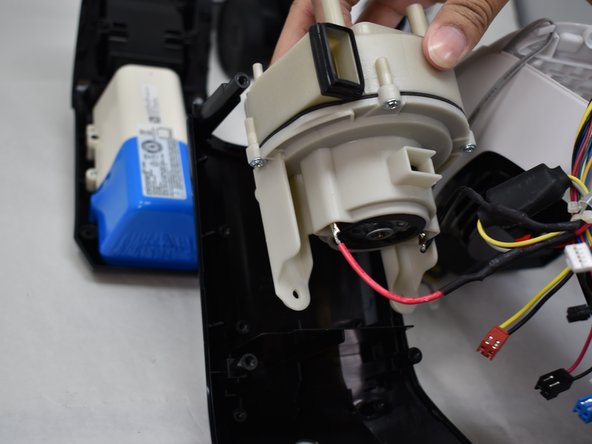
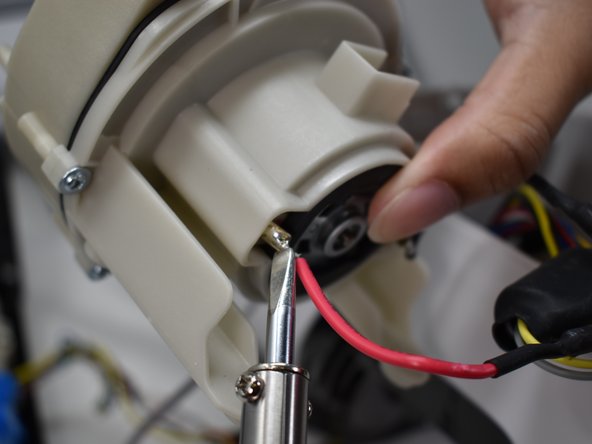
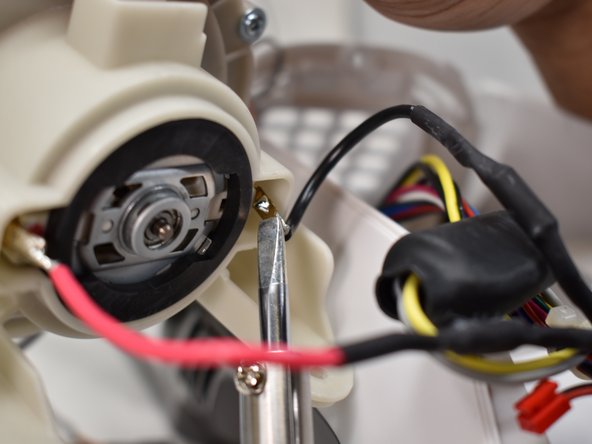
  11. Bissell CrossWave Cordless Max 2554A Motor Replacement: 手順 11、 3の画像 1 Bissell CrossWave Cordless Max 2554A Motor Replacement: 手順 11、 3の画像 2 Bissell CrossWave Cordless Max 2554A Motor Replacement: 手順 11、 3の画像 3
    • The two wire connections can be desoldered to completely free the motor from the rest of the vacuum.

    • Be extremely careful while soldering or desoldering these connections, as the soldering iron can get very hot.

終わりに

To reassemble your device, follow these instructions in reverse order.

作成者

3人の作成者と共同で作成されました。

Erin Rodgers

メンバー登録日: 09/30/21

337 ポイント

2のガイドは作成済み

チーム

University of Memphis, Team 4-2, Sneed Spring 2024 University of Memphis, Team 4-2, Sneed Spring 2024人のメンバー

UM-SNEED-S24S4G2

4 メンバー

9のガイドは作成済み

0 件のコメント

コメントを追加

統計データ:

過去 24時間: 6

過去 7 日: 11

過去 30 日: 36

今までの合計 142