はじめに
Similar to the main fan, the blower fan is essential in preventing the projector from overheating. Since projectors are prone to producing more heat than other electronic devices, the addition of this blower fan helps in maintaining a low temperature. This guide will show how to replace the blower fan, but it is also important to keep the fan clean from debris and particles that may potentially keep it from running smoothly.
Note that the BenQ HT1075 Projector Lamp Replacement is a prerequisite since damage to the lamp is hazardous to both the projector and user.
必要な工具と部品
-
-
-
Using a Phillips #1 (PH1) screwdriver, loosen and remove the single 2.5 mm Phillips #1 screw that secures the lamp housing to the projector.
-
-
-
Remove the lamp from the projector by pulling on the lamp handle.
-
Apply more force on the side opposite of the newly removed screw as you pull the lamp out.
-
-
-
-
Turn the projector over and remove the five 9.5 mm Phillips #1 screws that hold the back cover with a Phillips #1 (PH1) screwdriver.
-
-
-
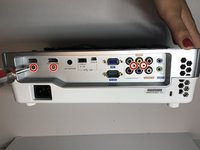
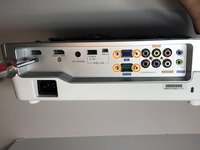
Flip the projector and remove the 6th and last crew.
-
-
-
-
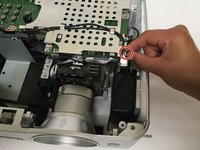
Unplug the wire that connects the front cover to the circuit board.
-
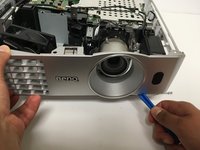
Now use the opening tool to pry the front cover from the platform.
-
Gently pull the top cover from the rest of the frame.
-
-
-
To prevent potential for electrical damage, disconnect any wires connected to the circuit board.
-
Using the opening tool, loosen the sides of the platform. Then gently pull them off from the projector components.
-
-
-
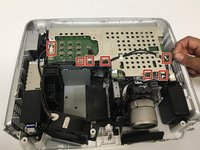
Remove these four 8.5 mm Phillips #1 screws using a Phillips #1 (PH1) screwdriver.
-
Afterwards, use a 5mm nut driver to remove the four remaining screws.
-
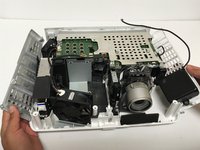
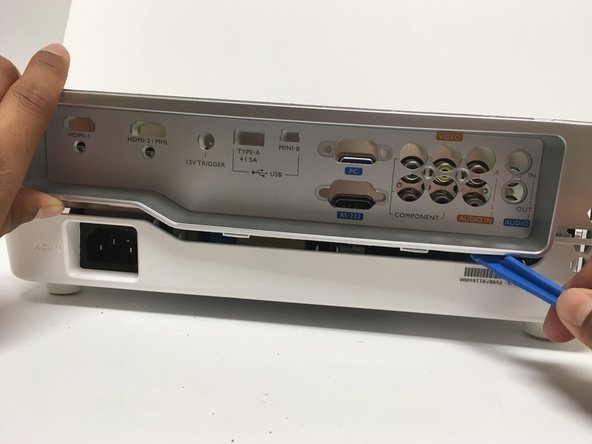
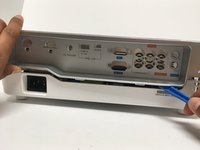
Use the opening tool to loosen the back cover then pull it off.
-
-
-
With a Phillips #1 (PH1) screwdriver, remove the four 6.3 mm Phillips screws that hold the metal casing on top of the circuit board.
-
Remove the metal casing.
-
-
-
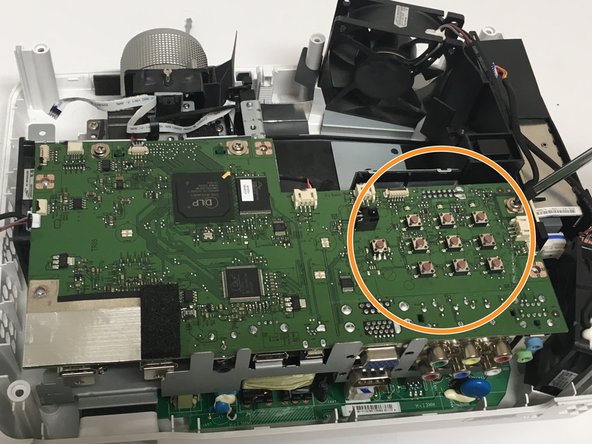
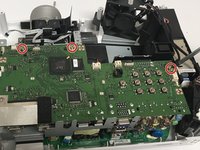
Using the Phillips #1 (PH1) screwdriver, remove the three 6.3 mm Phillips #1 screws holding down the circuit board.
-
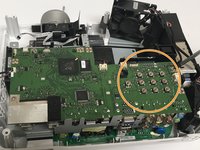
Carefully pull the circuit board from the frame, adding force to the area where the pushbuttons are located.
-
-
-
-
-
Unscrew the Philips #1 (PH1) screw securing the green wire located at the bottom left of the metal casing.
-
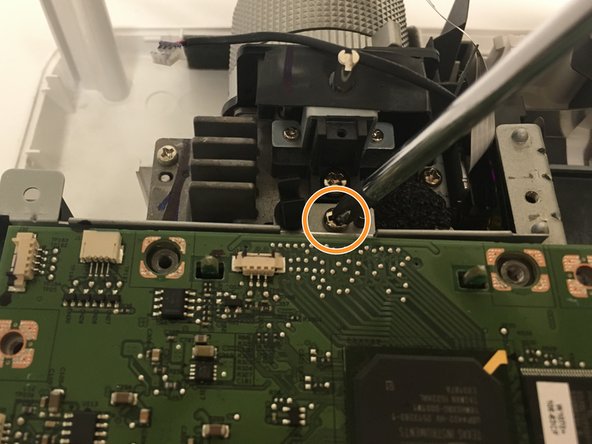
Remove a second Philips #1 (PH1) screw that holds down the top of the metal casing located near the back of the projector’s lens.
-
-
-
Remove three Philips #2 (PH2) screws that attach the metal casing to the platform.
-
Remove the metal casing by pulling it straight up.
-
-
-
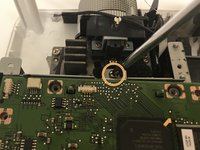
Remove the two Philips #2 (PH2) screws that hold down the black blower fan, located at top center of the circuit board.
-
-
-
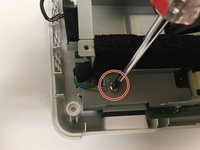
Remove the three Philips #1 (PH1) screws that attach the blower fan to the metal cover.
-
Gently remove the blower fan by pulling it directly upwards from the base.
-
-

 FixBotに聞いてみる











To reassemble your device, follow these instructions in reverse order.
7 の人々がこのガイドを完成させました。

チーム

Cal Poly, Team S6-G1, Banghart Fall 2017 Cal Poly, Team S6-G1, Banghart Fall 2017人のメンバー
CPSU-BANGHART-F17S6G1
5 メンバー
14のガイドは作成済み
3件のガイドコメント
I did the repair to clear out some dust and glass from a blown lamp. After putting it back together, I get lights most likely from no power at all. Do you think the next step would to be take back apart and make sure everything is connected correctly? I can be reached at jaspercloren@gmail.com or I will check back on here.
Thank you for all your write ups, they are very nice. I may suggest to get a closer view of the screws/bolts in case someone misplaces one.
Jasper Loren - 返信 共有
where can we buy the replacement fan? Is there a part number for finding this part?
You may buy it here; https://projectorrepair.co.uk/shop/fans/
