はじめに
The touchscreen is embedded in the outer front casing of your Azpen A720 tablet. If the front touch screen is cracked or is not responding properly to touch, you should replace it. This replacement is moderately difficult, and it may take some time and patience, but this guide will help you through the process of replacing the tablet's front casing and touch screen.
必要な工具と部品
-
-
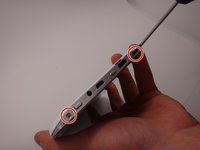
Use a Phillips #00 screwdriver to remove the two 4mm screws found on the top edge of the tablet near the power button.
 FixBotに聞いてみる
-
-
-
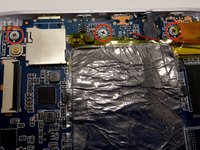
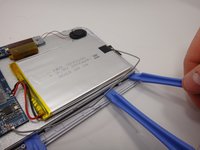
Use the plastic opening tool to pry the white back from the silver frame. Start near the micro SD slot.
-
-
-
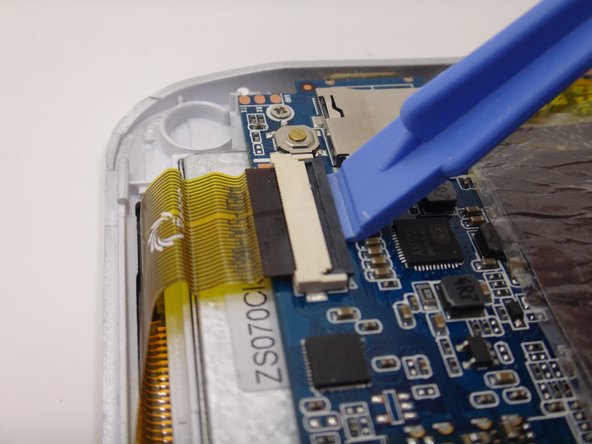
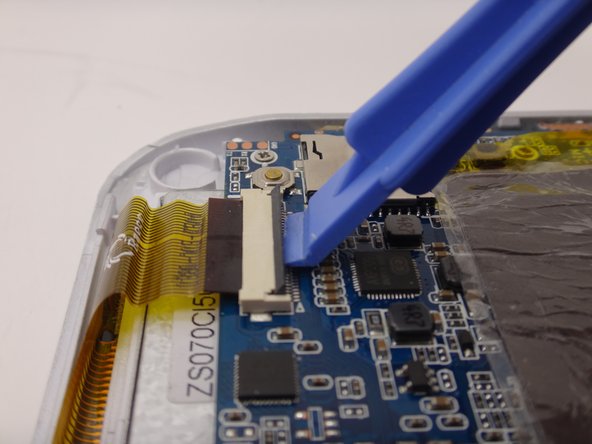
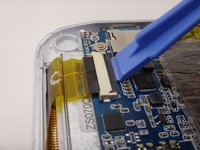
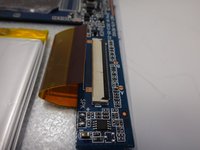
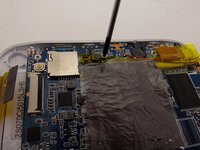
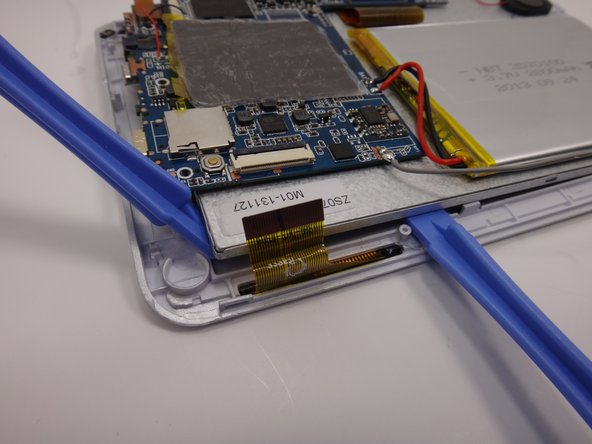
Use the plastic opening tool to gently lift the release lever for the ZIF cable.
-
-
-
この手順で使用する道具:Tweezers$4.99
-
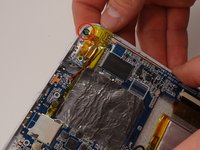
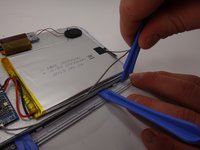
Locate the microphone. It is at the top of the device and next to the audio jack.
-
Using tweezers, gently remove the microphone.
-
-
-
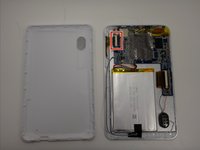
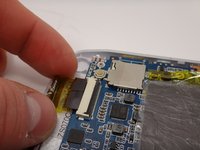
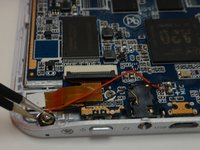
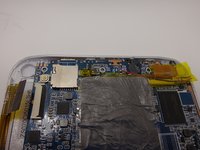
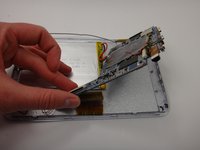
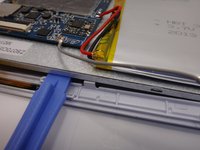
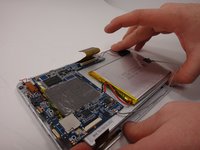
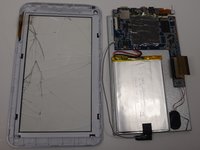
Remove the motherboard from the casing, being careful not to damage the remaining wires.
-
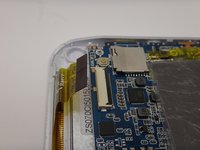
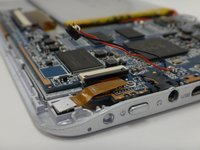
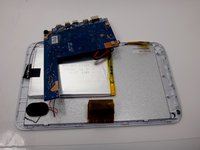
Flip the motherboard so it rests upside down and out of the way of the metal backing.
-
-
-
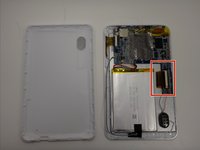
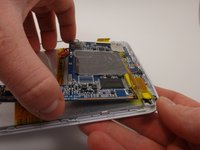
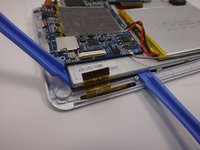
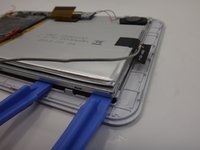
Starting at the edge, use a plastic opening tool to carefully pry the front casing off of the metal backing.
-
-
-
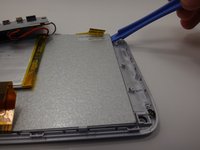
Using a second plastic opening tool, pry the adjacent side of the metal backing from the front casing/touch screen.
-
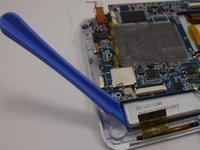
Leave the plastic opening tool in place underneath the metal backing to prop it up.
-
-
-
Remove the first plastic opening tool and use it to pry along the second edge.
-
Slide the tool along the edge until it is close the next tab, and gently pry the metal up.
-
-
-
Use a third plastic opening tool to pry at the corner of the tablet and pop off the metal backing.
-
-
-
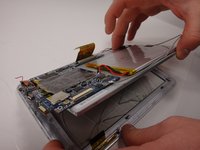
Lift the metal backing from the propped edge to remove it from the front casing.
-
Replace the broken front touch screen and casing with a new one.
-


To reassemble your device, follow these instructions in reverse order.
ある他の人がこのガイドを完成しました。
チーム

Michigan Tech, Team 1-3, Lauer Spring 2015 Michigan Tech, Team 1-3, Lauer Spring 2015人のメンバー
MTU-LAUER-S15S1G3
2 メンバー
5のガイドは作成済み