メインコンテンツにスキップ
リペアコミュニティに参加 - アカウントの作成

Autosampler Installation Procedure (For Old Version)

  1. Autosampler Installation Procedure (For Old Version), Preparing before heading into the field: 手順 1、 3の画像 1 Autosampler Installation Procedure (For Old Version), Preparing before heading into the field: 手順 1、 3の画像 2 Autosampler Installation Procedure (For Old Version), Preparing before heading into the field: 手順 1、 3の画像 3
    • 1. Ensure the autosampler wire and autosampler battery wire are threaded through the conduit before heading to the field.

    • 2. Clean and prepare bottles and tubing prior to heading to the field.

    • 3. Charge and check battery levels of a node battery and an autosampler battery prior to heading to the field. See this tutorial for more details.

    • Go through the autosampler field installation checklist to ensure you have all the tools before heading into the field!

    FixBotに聞いてみる
  2. Autosampler Installation Procedure (For Old Version), rewiring the node: 手順 2、 3の画像 1 Autosampler Installation Procedure (For Old Version), rewiring the node: 手順 2、 3の画像 2 Autosampler Installation Procedure (For Old Version), rewiring the node: 手順 2、 3の画像 3
    • 4. Connect conduit to the node.

    • 5. Rewire the node. See this tutorial for more detail.

    • Confirm no exposed wires are touching or else you could short the circuit!

    • 6. Reconnect the 6-pin autosampler connector.

    FixBotに聞いてみる
  3. Autosampler Installation Procedure (For Old Version), connecting all the components: 手順 3、 3の画像 1 Autosampler Installation Procedure (For Old Version), connecting all the components: 手順 3、 3の画像 2 Autosampler Installation Procedure (For Old Version), connecting all the components: 手順 3、 3の画像 3
    • 7. Reconnect the 2-pin autosampler battery to the autosampler.

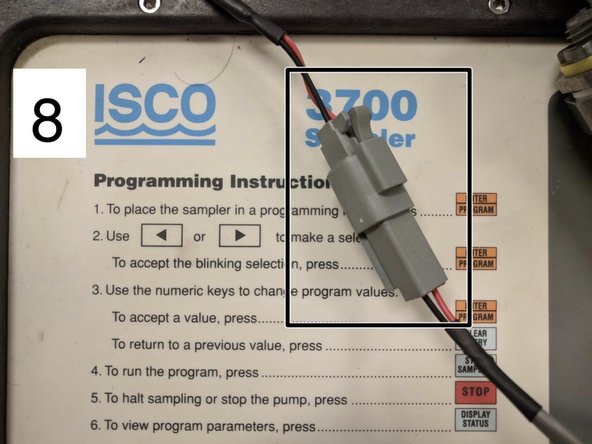
    • 8. Reconnect the grey battery connector from the autosampler to the node.

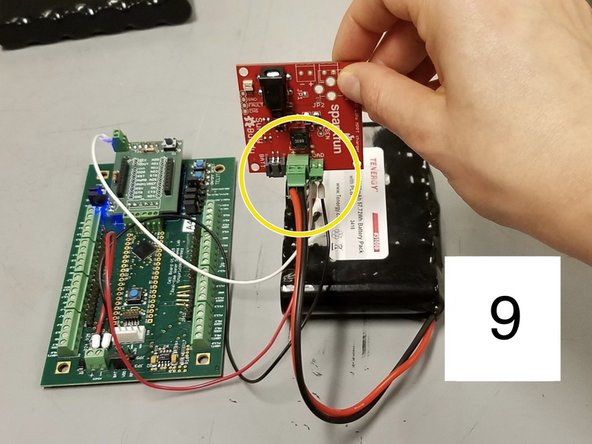
    • 9. Reconnect the lithium ion battery in the node.

    FixBotに聞いてみる
  4. Autosampler Installation Procedure (For Old Version), configure and program autosampler: 手順 4、 2の画像 1 Autosampler Installation Procedure (For Old Version), configure and program autosampler: 手順 4、 2の画像 2
    • 10. Secure solar charge controller to the side of the enclosure using velcro.

    • Then plug in the solar charger last.

    • 11. Flip the autosampler battery switch away from the enclosure edge to turn it on. Confirm the autosampler is correctly configured. See this tutorial for configuring. Confirm the autosampler is correctly programmed. See this tutorial for programming.

    FixBotに聞いてみる
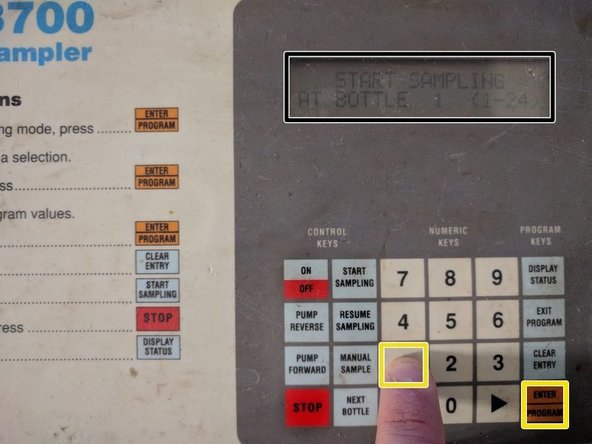
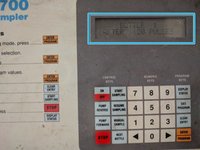
  5. Autosampler Installation Procedure (For Old Version), setting sample bottle number: 手順 5、 3の画像 1 Autosampler Installation Procedure (For Old Version), setting sample bottle number: 手順 5、 3の画像 2 Autosampler Installation Procedure (For Old Version), setting sample bottle number: 手順 5、 3の画像 3
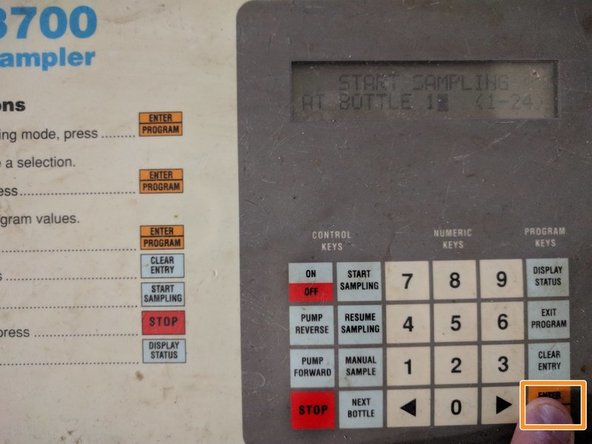
    • Press Start Sampling

    • Press Enter

    • Press the number of the bottle you want to sample on and then Press Enter

    FixBotに聞いてみる
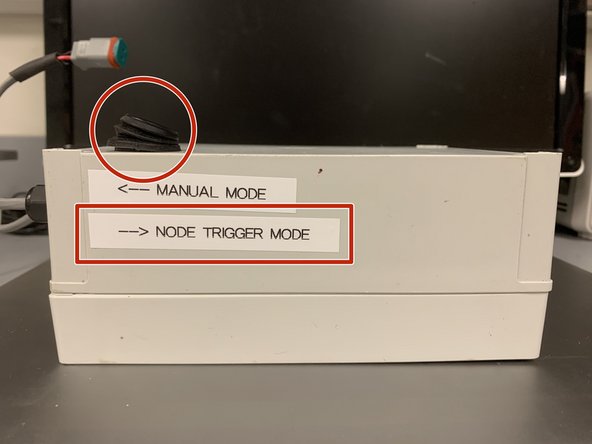
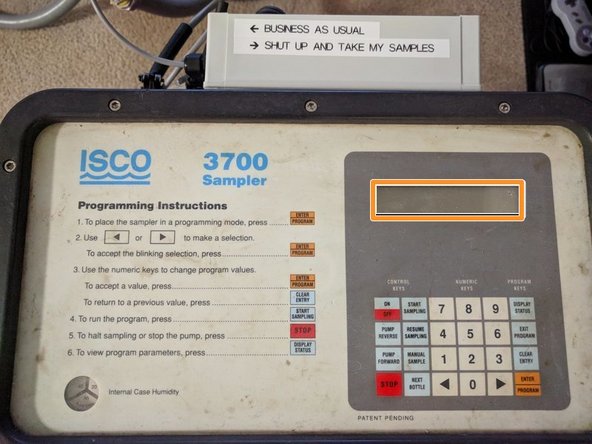
  6. Autosampler Installation Procedure (For Old Version), put autosampler in "node trigger mode": 手順 6、 3の画像 1 Autosampler Installation Procedure (For Old Version), put autosampler in "node trigger mode": 手順 6、 3の画像 2 Autosampler Installation Procedure (For Old Version), put autosampler in "node trigger mode": 手順 6、 3の画像 3
    • LCD should now show which bottle it will take a sample in

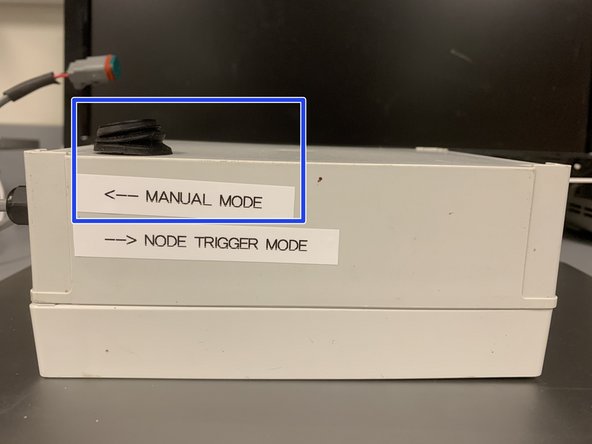
    • To enable autonomous mode, flip switch to "Node Trigger Mode"

    • LCD should turn off

    • If the autosampler is to be remotely triggered, avoid using the ON/OFF button to power off the sampler.

    FixBotに聞いてみる
  7. Autosampler Installation Procedure (For Old Version), trigger the sampler: 手順 7、 1の画像 1
    • Trigger a sample on the appropriate site website.

    • If you see N/A on the status for a node this means our server is down. Contact the lab to reset the server! There is a variable called `sleeptimer_mode`, that will need set to "manual" instead of "auto".

    FixBotに聞いてみる
  8. Autosampler Installation Procedure (For Old Version), connect tubing: 手順 8、 2の画像 1 Autosampler Installation Procedure (For Old Version), connect tubing: 手順 8、 2の画像 2
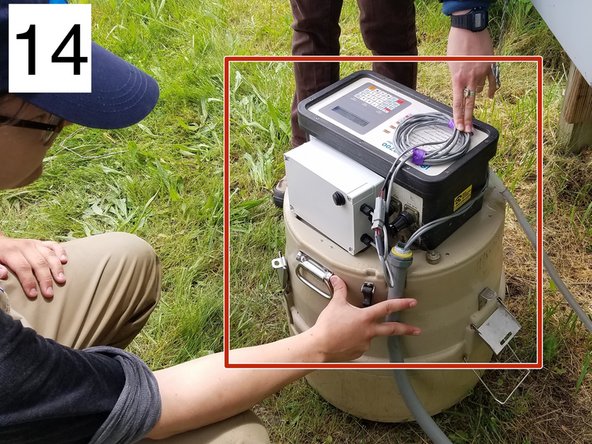
    • 13. Once the autosampler triggers correctly, connect the autosampler tubing to the the autosampler with a barb connector. Place the autosampler tubing into the water.

    • 14. Secure the wiring on the autosampler.

    FixBotに聞いてみる
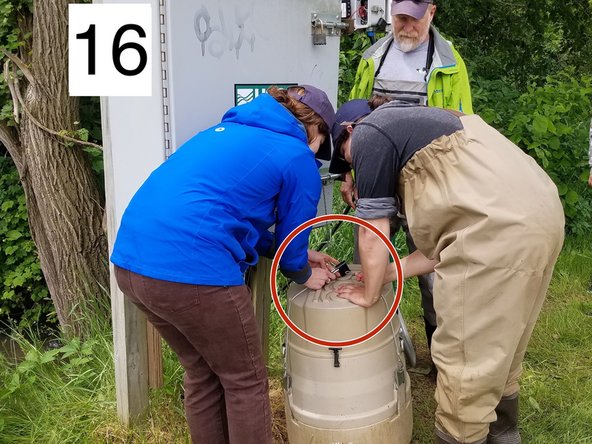
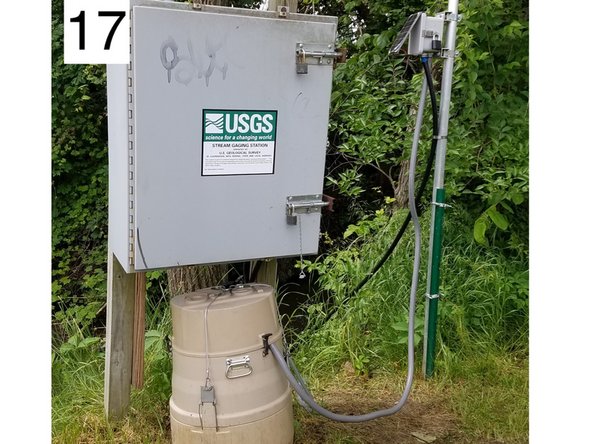
  9. Autosampler Installation Procedure (For Old Version), secure the autosampler: 手順 9、 3の画像 1 Autosampler Installation Procedure (For Old Version), secure the autosampler: 手順 9、 3の画像 2 Autosampler Installation Procedure (For Old Version), secure the autosampler: 手順 9、 3の画像 3
    • 15. Place the autosampler lid back the autosampler.

    • 16. Secure the autosampler.

    • 17. This is what a completed site looks like.

    FixBotに聞いてみる
ゴール

ある他の人がこのガイドを完成しました。

作成者

1人の作成者と共同作成されました。

Brooke Mason

メンバー登録日: 05/29/19

2,958 ポイント

17のガイドは作成済み

チーム

Open-Storm Open-Storm人のメンバー

Community

14 メンバー

24のガイドは作成済み

0件のガイドコメント

コメントを追加

統計データ:

過去 24時間: 0

過去 7 日: 3

過去 30 日: 49

今までの合計 545