はじめに
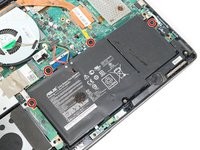
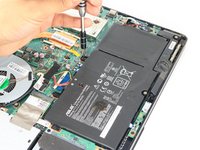
This guide will describe how to remove the battery on the Asus Q551L. This is a fairly simple procedure that requires only a screwdriver. The battery may need to be replaced if it cannot hold a charge, experiences heating issues, or simply ceases to function. Make sure your device is turned off and unplugged before removing the battery.
必要な工具と部品
-
-
Unscrew the 10 screws around the edge of the back panel. Eight of the screws are 0.0793mm T5 , two of them are 0.0793 JIS #0.
 FixBotに聞いてみる
-
-
-
-
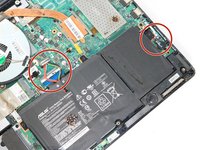
Un-clip both wire clips on the upper and right side of the battery.
-
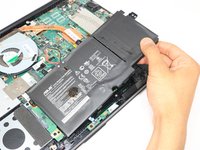
Lift the battery out of the device.
-




To reassemble your device, follow these instructions in reverse order.
4 の人々がこのガイドを完成させました。

チーム

Eastern Washington University, Team S3-G2, Rowley Spring 2018 Eastern Washington University, Team S3-G2, Rowley Spring 2018人のメンバー
EWU-ROWLEY-S18S3G2
3 メンバー
4のガイドは作成済み
1件のガイドコメント
Is there a part to order if the solder gives from the mother board connection peice. My cable came up from the board with connection still attached
wolf brown - 返信 共有
