この翻訳は機械によって生成されたものであり、まだ人間による校正は行われていません。 日本語を話せますか? レビューはこちらから。
はじめに
ノートパソコンが熱くなりすぎた場合は、この修理ガイドに従ってCPUの放熱グリスを交換し、ほこりを取り除くことでパフォーマンスを向上させます。
このガイドに従う間、パソコンのパフォーマンスを最適化するために、見える範囲のほこりはすべて取り除いてください。掃除には、一般的な絵筆やエアダスターを使用します。
損傷を防ぐため、帯電防止ツールを使用することを強く推奨します。
必要な工具と部品
-
-
-
-
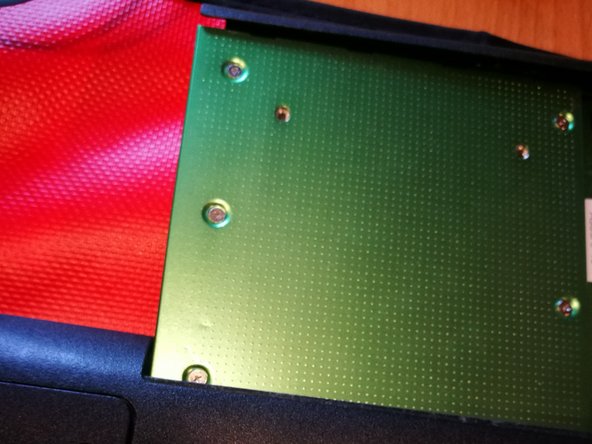
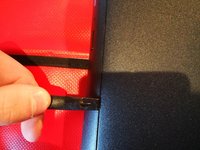
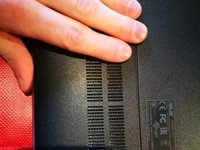
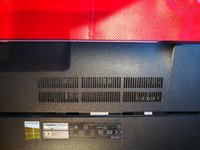
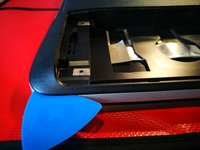
端から始め、ピックを差し込みます。左右にスライドさせて隙間を作ります。
-
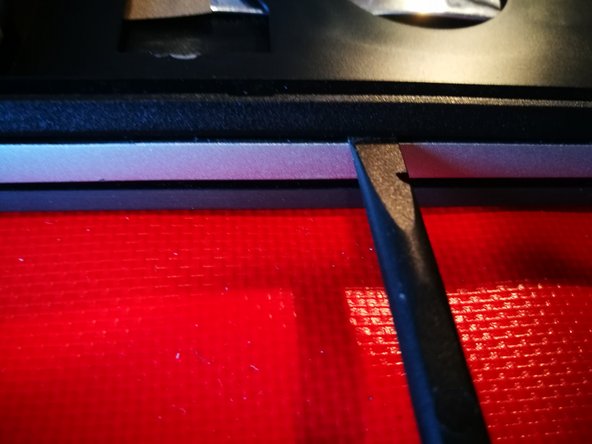
隙間ができたら、スパッジャーを使用してケースの残りの底面部分を分離します。底面全体に沿ってスライドさせます。
-
そのままスパッジャーを、ポートが最も少ない側(USBポートが1つある側)に向かってスライドさせます。必要に応じて、オープニングピックを併用してください。
-
-
-
ネットワークポートに到達するまで、スパッジャーを下側の端から差し込みます。
-
ネットワークポートの裏側にオープニングピックを差し込み、隙間を作ります。
-
隙間ができたら、スパッジャーをスライドさせてネットワーク側の残りの部分を開きます。
-
-
-
オープニングピックを使用して、バッテリー側に隙間を作ります。可能な限りオープニングピックのみでバッテリー側を開くようにしてください。この側でスパッジャーを使用するのは、どうしても必要な場合のみにしてください。
-
-
-
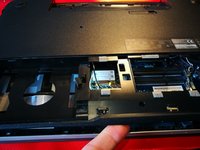
キーボードを手前に引きますが、引きすぎないようにしてください。
-
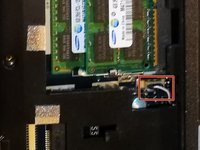
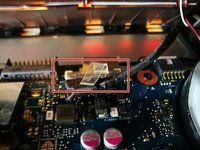
プラスチック製のパーツ(赤色でマークされています)を引いて、ディスプレイのコネクタを解放します。
-
ノートパソコンを90度の角度にし、ケースを慎重に引き抜きます。
-
-
-
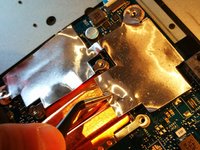
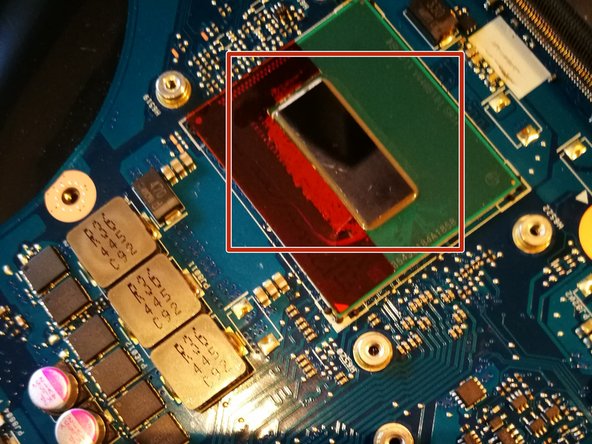
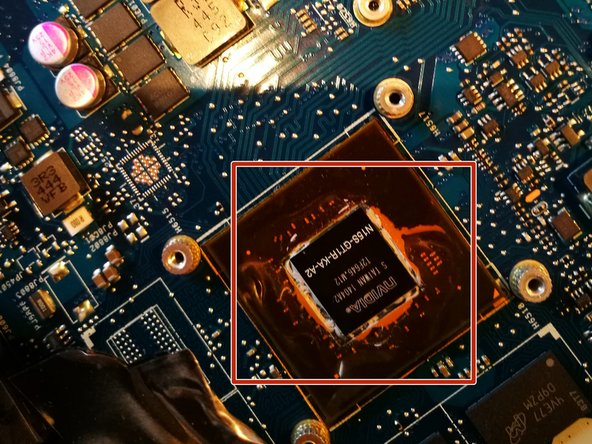
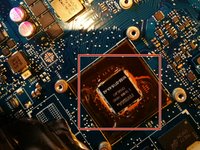
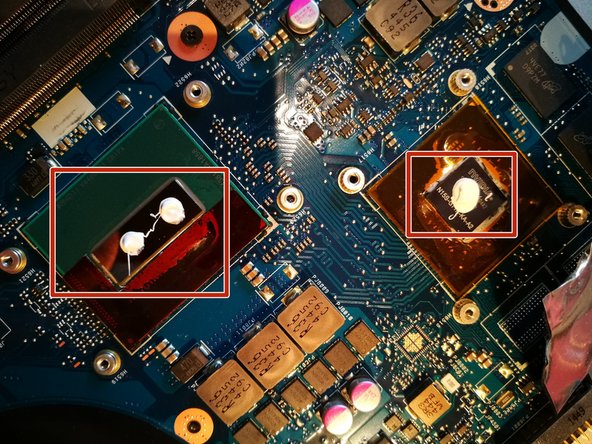
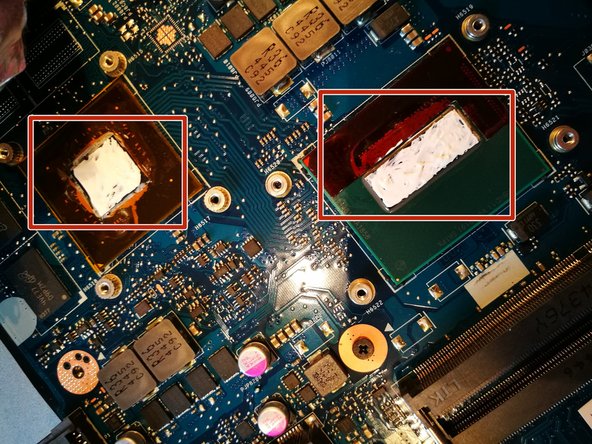
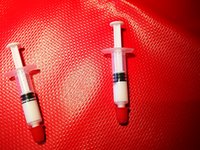
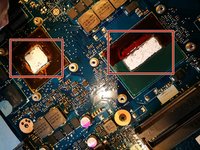
プロセッサに1滴、ビデオカードに2滴塗布します。塗りすぎないように注意してください(冷却効果を妨げる可能性があります)。
-
写真のように、放熱グリスをチップの「金属」部分全体に優しく広げます。
-
-
-
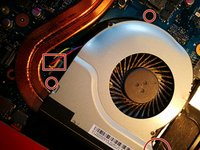
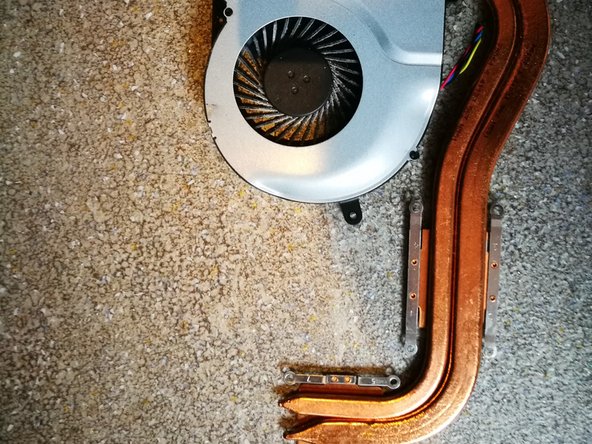
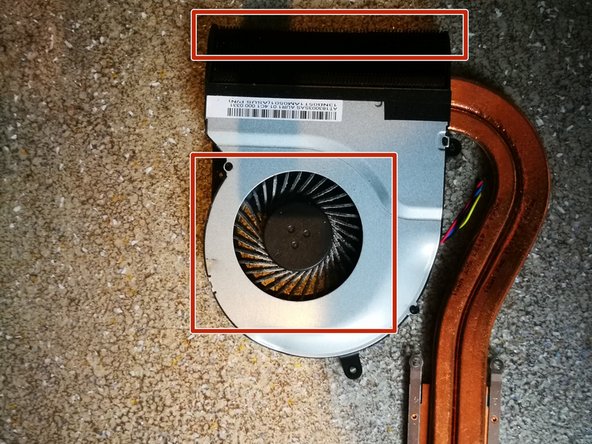
冷却ユニットを引き、指2本で優しく動かしてサーマルペーストを均一に広げます。
-
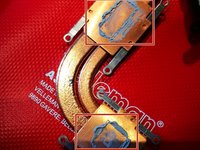
完了したら、ユニットを取り外し、ペーストが適切に広がっているか確認します。
-

 FixBotに聞いてみる






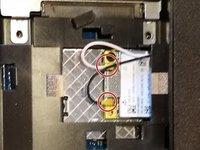


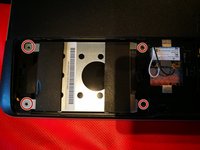
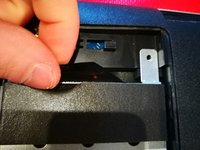
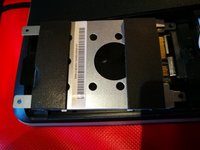



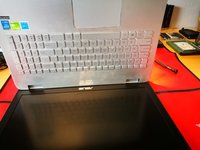


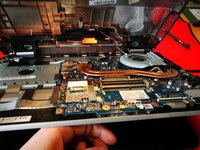
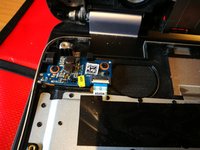

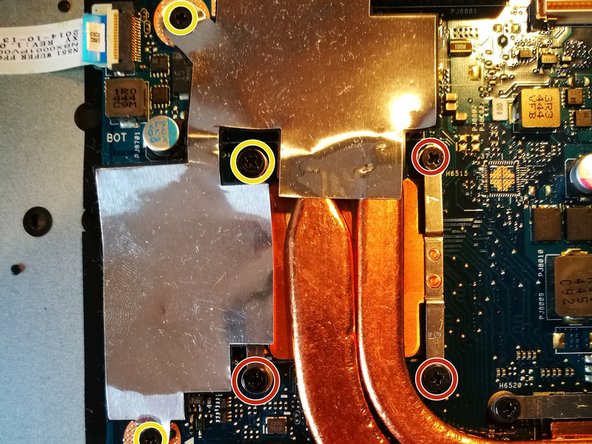
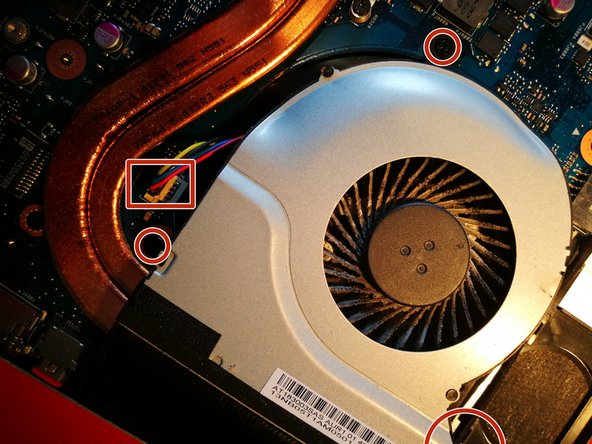
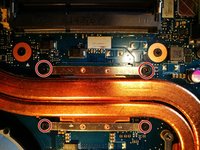
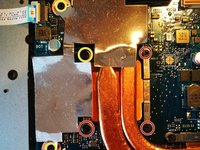





デバイスを再組み立てするには、これらのインストラクションを逆の順番に従って作業を進めてください。
分解および再組み立ての際は、パフォーマンス向上のため、見える範囲のほこりはすべて取り除いてください。
このガイドが役に立ったか教えてください。
8 の人々がこのガイドを完成させました。

5件のガイドコメント
Thanks for your guide! Is it possible to make a guide to replace the LED IPS screen from the N551JQ? Mine is black after a crash.
I think this is not very difficult, mostly you can simply pull off the plastic frame that is over your LCD (be carefull with pulling off!). You can pull it off with your fingers starting inside.
(Plastic frame can damage, but they are not expensive).
Then remove some screws, LCD will release, but it is still connected with some cables on the backside.
Try it and make pictures, so you can create a guide :).
Marvin Arets - 返信 共有
Thanks for the guide! Sadly after doing this I found that my right side I/O (audio out and 1x usb port) no longer works. Any suggestions as to what could be the cause and how to solve this?
I'm pretty sure I have done everything by the book so I'm really bashing my head against the wall right now, I've never had this occur when replacing thermal paste before.
Thanks for your help
Maybe you released/loosened its connector or you damaged the board?
Marvin Arets - 返信 共有
It was indeed a ribbon cable which had come loose (luckily no mobo damage). Something that I noticed is that the factory thermal paste had been applied all over the vram chips, as well as on those chips labeled “R36” directly “south” of the gpu die. I have the JW version of this laptop, which has some thin rectangular metal plates attached to the heatpipes, so as to cover the vram chips and others surrounding the gpu die. I found that kinda strange, seeing that the JQ version does not have this at all.
