メインコンテンツにスキップ
リペアコミュニティに参加 - アカウントの作成

Asus MeMO Pad 7 ME170C Motherboard Replacement

必要な工具と部品

    1. Asus MeMO Pad 7 ME170C  Motherboard  Replacement, Motherboard: 手順 1、 3の画像 1 Asus MeMO Pad 7 ME170C  Motherboard  Replacement, Motherboard: 手順 1、 3の画像 2 Asus MeMO Pad 7 ME170C  Motherboard  Replacement, Motherboard: 手順 1、 3の画像 3
      • Power off the device before disassembly.

      • Be gentle; excessive force can result in a damaged or cracked screen.

      • Gently pry a Jimmy all around the seam of the device until the back panel detaches.

      FixBotに聞いてみる

      コメントを追加

    2. Asus MeMO Pad 7 ME170C  Motherboard  Replacement: 手順 2、 3の画像 1 Asus MeMO Pad 7 ME170C  Motherboard  Replacement: 手順 2、 3の画像 2 Asus MeMO Pad 7 ME170C  Motherboard  Replacement: 手順 2、 3の画像 3
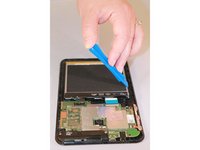
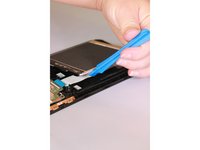
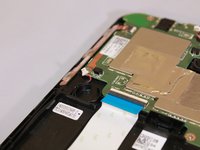
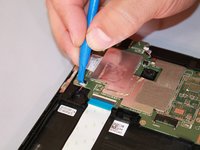
      • Use an iFixit opening tool to gently push the black bundle cable connector in a forward motion until it loosens without pushing down on the bundle cable connector.

      FixBotに聞いてみる

      コメントを追加

    3. Asus MeMO Pad 7 ME170C  Motherboard  Replacement: 手順 3、 3の画像 1 Asus MeMO Pad 7 ME170C  Motherboard  Replacement: 手順 3、 3の画像 2 Asus MeMO Pad 7 ME170C  Motherboard  Replacement: 手順 3、 3の画像 3
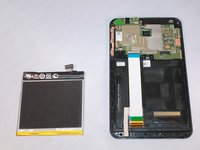
      • Use the plastic opening tool to pry around the edges of the battery.

      • The battery should be laying freely in its port.

      • Lift the battery out of its port.

      FixBotに聞いてみる

      コメントを追加

    4. Asus MeMO Pad 7 ME170C  Motherboard  Replacement: 手順 4、 3の画像 1 Asus MeMO Pad 7 ME170C  Motherboard  Replacement: 手順 4、 3の画像 2 Asus MeMO Pad 7 ME170C  Motherboard  Replacement: 手順 4、 3の画像 3
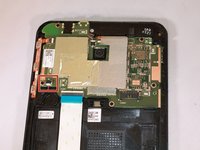
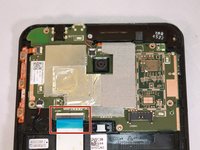
      • Use a plastic opening tool to slide the white cable connector completely out of the port.

      FixBotに聞いてみる

      コメントを追加

    5. Asus MeMO Pad 7 ME170C  Motherboard  Replacement: 手順 5、 3の画像 1 Asus MeMO Pad 7 ME170C  Motherboard  Replacement: 手順 5、 3の画像 2 Asus MeMO Pad 7 ME170C  Motherboard  Replacement: 手順 5、 3の画像 3
      この手順で使用する道具:
      Tweezers
      $4.99
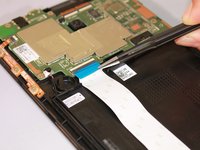
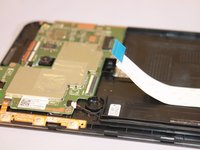
      • Flip up the beige clip to loosen the cable.

      • Use the wide nosed tweezers to pinch the blue tab attached to the ribbon cable.

      • Pull the blue tab gently in a lateral motion until it is completely out of its port.

      FixBotに聞いてみる

      コメントを追加

    6. Asus MeMO Pad 7 ME170C  Motherboard  Replacement: 手順 6、 3の画像 1 Asus MeMO Pad 7 ME170C  Motherboard  Replacement: 手順 6、 3の画像 2 Asus MeMO Pad 7 ME170C  Motherboard  Replacement: 手順 6、 3の画像 3
      • Use the wide nosed tweezers to gently pull out the orange ribbon inserted in the port on the motherboard.

      FixBotに聞いてみる

      コメントを追加

    7. Asus MeMO Pad 7 ME170C  Motherboard  Replacement: 手順 7、 3の画像 1 Asus MeMO Pad 7 ME170C  Motherboard  Replacement: 手順 7、 3の画像 2 Asus MeMO Pad 7 ME170C  Motherboard  Replacement: 手順 7、 3の画像 3
      • Use a plastic opening tool to push the white cable connector out of its port in a side to side motion.

      FixBotに聞いてみる

      コメントを追加

    8. Asus MeMO Pad 7 ME170C  Motherboard  Replacement: 手順 8、 2の画像 1 Asus MeMO Pad 7 ME170C  Motherboard  Replacement: 手順 8、 2の画像 2
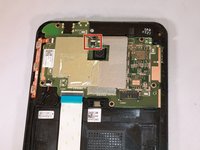
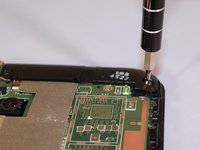
      • Use the Phillips #000 screwdriver to unscrew the seven screws.

      • There should be two silver and five black screws.

      FixBotに聞いてみる

      コメントを追加

    9. Asus MeMO Pad 7 ME170C  Motherboard  Replacement: 手順 9、 2の画像 1 Asus MeMO Pad 7 ME170C  Motherboard  Replacement: 手順 9、 2の画像 2
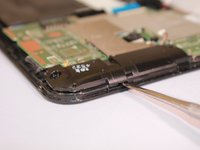
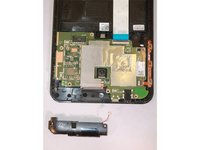
      • Once the screws are removed, the speaker component will be loosely laying in the track.

      • Use the metal spudger tool to remove the speaker by gently lifting the edge of it.

      FixBotに聞いてみる

      コメントを追加

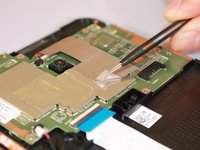
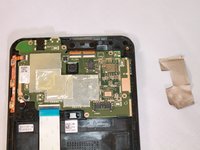
    10. Asus MeMO Pad 7 ME170C  Motherboard  Replacement: 手順 10、 3の画像 1 Asus MeMO Pad 7 ME170C  Motherboard  Replacement: 手順 10、 3の画像 2 Asus MeMO Pad 7 ME170C  Motherboard  Replacement: 手順 10、 3の画像 3
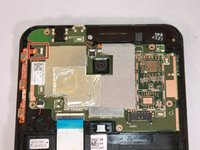
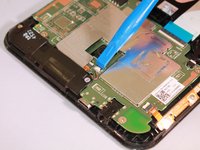
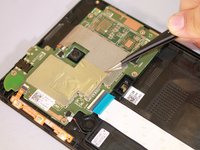
      • Remove the silver tape on one corner with the needle nosed tweezers, and remove the tape from the motherboard.

      FixBotに聞いてみる

      コメントを追加

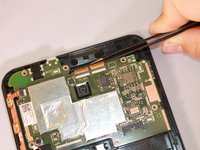
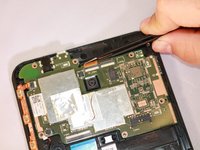
    11. Asus MeMO Pad 7 ME170C  Motherboard  Replacement: 手順 11、 3の画像 1 Asus MeMO Pad 7 ME170C  Motherboard  Replacement: 手順 11、 3の画像 2 Asus MeMO Pad 7 ME170C  Motherboard  Replacement: 手順 11、 3の画像 3
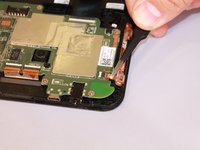
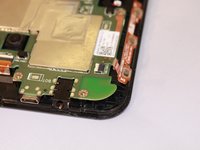
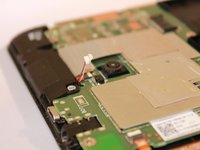
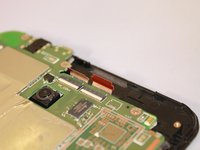
      • Use the needle nosed tweezers to gently pull both of the orange ribbon cables out of their ports.

      FixBotに聞いてみる

      コメントを追加

    12. Asus MeMO Pad 7 ME170C  Motherboard  Replacement: 手順 12、 3の画像 1 Asus MeMO Pad 7 ME170C  Motherboard  Replacement: 手順 12、 3の画像 2 Asus MeMO Pad 7 ME170C  Motherboard  Replacement: 手順 12、 3の画像 3
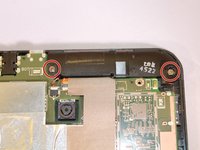
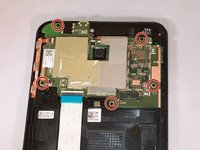
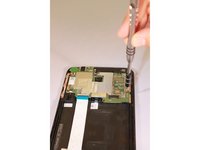
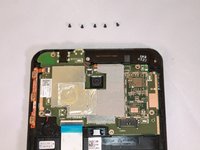
      • Use the Phillips #000 screwdriver to unscrew all five screws.

      FixBotに聞いてみる

      コメントを追加

    13. Asus MeMO Pad 7 ME170C  Motherboard  Replacement: 手順 13、 2の画像 1 Asus MeMO Pad 7 ME170C  Motherboard  Replacement: 手順 13、 2の画像 2
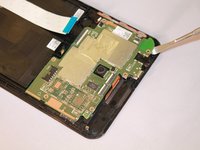
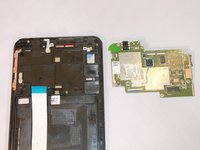
      • To uninstall the motherboard, use the metal spudger tool to lift it out of the device.

      FixBotに聞いてみる

      コメントを追加

終わりに

To reassemble your device, follow these instructions in reverse order.

キャンセル: このガイドを終了できませんでした。

6 の人々がこのガイドを完成させました。

作成者

11人の作成者と共同で作成されました。

Tatiana Schneider

メンバー登録日: 10/04/15

599 ポイント

4のガイドは作成済み

チーム

Eastern Washington University, Team 2-3, Plummer Fall 2015 Eastern Washington University, Team 2-3, Plummer Fall 2015人のメンバー

EWU-PLUMMER-F15S2G3

5 メンバー

9のガイドは作成済み

1件のガイドコメント

You are amazing!! Please make the tutorial "how change ASUS ME170 Touch Screen Digitizer". Thanks!!!

Walter Tejerina - 返信 共有

コメントを追加

統計データ:

過去 24時間: 1

過去 7 日: 5

過去 30 日: 33

今までの合計 3,763