必要な工具と部品
-
-
-
Remove the 5.1mm Phillips screw from the bottom of the AirPort. This screw is located under the identification sticker. You will have to remove the sticker or make a hole to remove it.
-
-
-
-
Lift the bottom and top casing straight apart and then lift metal casing straight up from the bottom plastic casing.
-
-
-
Unplug the black connector on the top of the metal casing by gently pulling horizontally.
-
-
-
-
Separate the top and bottom of the metal casing. You will now expose the motherboard and AirPort card.
-
To remove the AirPort card, gently pull the plastic tab horizontally.
-

 FixBotに聞いてみる


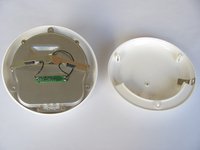
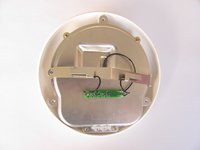


To reassemble your device, follow these instructions in reverse order.
4 の人々がこのガイドを完成させました。

チーム

Cal Poly, Team 17-15, Regan Fall 2011 Cal Poly, Team 17-15, Regan Fall 2011人のメンバー
CPSU-REGAN-F11S17G15
3 メンバー
21のガイドは作成済み
1件のガイドコメント
Thank you so much for your guide! I was challenging myself to do it without cheating, but couldn't figure out how to release the bottom plastic layer from the main unit inside after I undid the 3 Torx screws. Thankfully you avoided me having to break the whole unit by showing where the central screw hidden beneath the S/N 3 barcode sticker was and that it was Philips not Torx, and I can now pinch the A1027 wifi card and use it in my G5, instead of relying on ageing ethernet! Bless you kind folks!
HumptyDumpty - 返信 共有
