はじめに
このガイドを参照して、お持ちのAmazon Fire HD 10のマザーボードを交換しましょう。
必要な工具と部品
-
-
スクリーンとデジタイザをケースから持ち上げます。
Hi Beldenr! We happen to have a handy guide for a lot of different types of connectors, including ZIF connectors.
-
-
-
バッテリーをマザーボードに接続している電源ケーブルの位置を確認します。
-
バッテリー電源ケーブルを注意深く引き抜き、マザーボードからバッテリーの接続を外します。
Battery removal is optional for the motherboard, but is a great addition to this guide for completeness.
-
-
-
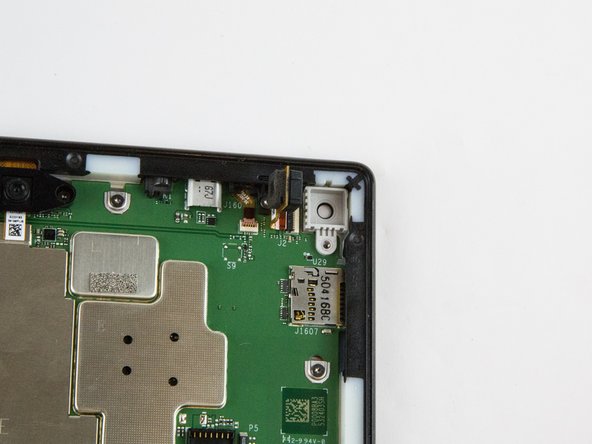
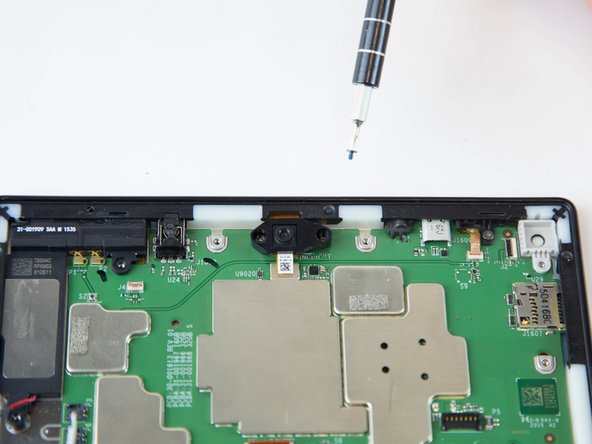
両面プルテープの場所を見つけることから始めます。
-
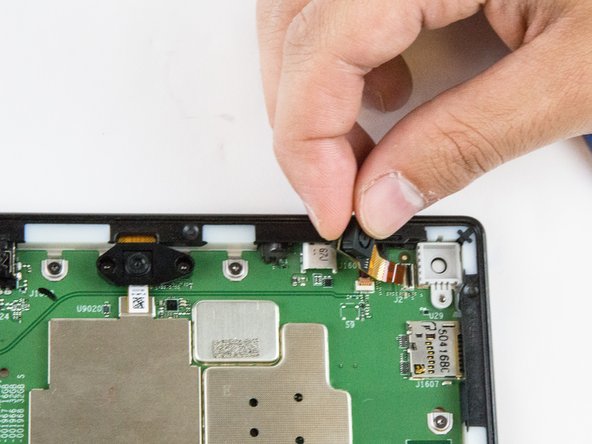
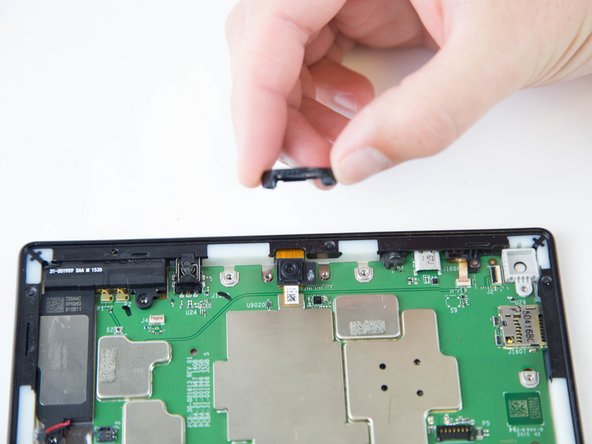
黒いソフトタブを引っ張り、テープの接着剤を剥がします。
-
バッテリーがデバイスにつけられた接着剤から完全に外れるまで、4本全てのタブに同じ作業を繰り返します。
-
-
-
-
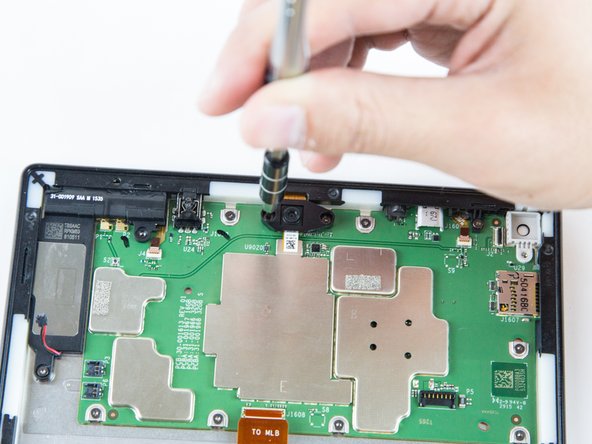
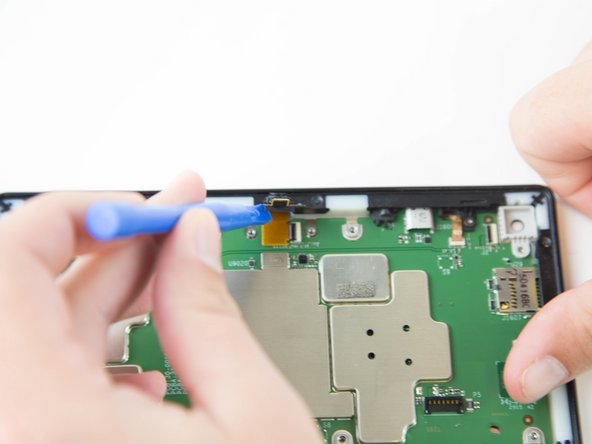
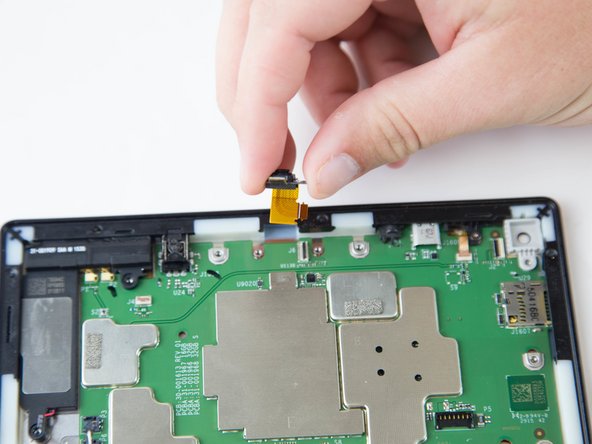
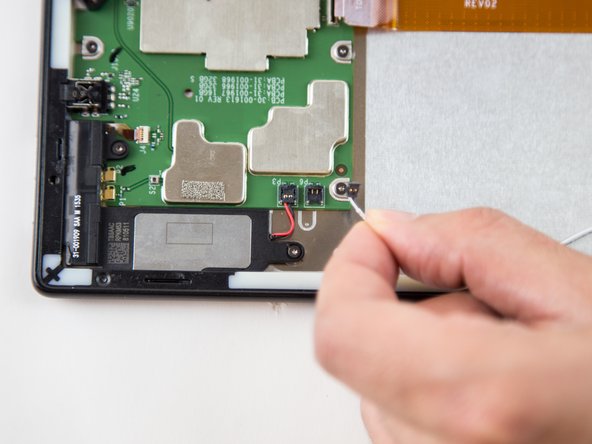
マザーボードをケースに固定しているT5トルクスネジを10本外します。
Before moving to the removal of the motherboard, there are VERY small and EXTREMELY breakable ZIF sockets for the power button and volume buttons. I didn't realize this and started to pull the motherboard out. Thankfully they disengaged but the flaps that lock them back in are nearly paper thin. Use caution, particularly when reinstalling and closing the ZIF sockets. Lastly the power button was lose in my deinstallation because I removed the screw. It's not necessary to remove that screw.
-


デバイスを再度組み立てるには、この説明書の逆の順番で組み立ててください。
デバイスを再度組み立てるには、この説明書の逆の順番で組み立ててください。
14 の人々がこのガイドを完成させました。

チーム

USF Tampa, Team 16-6, Blackwell Winter 2016 USF Tampa, Team 16-6, Blackwell Winter 2016人のメンバー
USFT-BLACKWELL-W16S16G6
3 メンバー
22のガイドは作成済み
6 件のコメント
Just for the record, my screws were T4, not T5.
what you left out is the speakers are they still attached to the motherboard you get 15 points
Is this the Kindle? Not the Tablet?
iI am tired of searching for T76N2B motherboard replacement. Any help will be much appreciated
lucas kiai - 返信
The right side with the power switch on top?
Sonny Shear - 返信
Where is the right hand corner? Is it the corner nearest the USB connector? Farthest from USB connector?
Thanks!
Steve Ciciora - 返信