メインコンテンツにスキップ
リペアコミュニティに参加 - アカウントの作成

Alienware M14xR2 RAM Replacement

必要な工具と部品

    1. Alienware M14xR2 RAM Replacement, Battery: 手順 1、 1の画像 1
      • Turn the computer off.

      • Disconnect the charging cable from the computer.

      • Failure to unplug the charging cable could result in electric shock and serious injury.

      • Flip the computer upside down.

      FixBotに聞いてみる

      コメントを追加

    2. Alienware M14xR2 RAM Replacement: 手順 2、 3の画像 1 Alienware M14xR2 RAM Replacement: 手順 2、 3の画像 2 Alienware M14xR2 RAM Replacement: 手順 2、 3の画像 3
      • Loosen the two 6.35 mm size 1 Phillips screws on the back cover.

      • The two screws are spring loaded and will not separate from the cover.

      • Slide the back cover towards you and then lift upwards to remove.

      FixBotに聞いてみる

      コメントを追加

    3. Alienware M14xR2 RAM Replacement: 手順 3、 1の画像 1
      • Loosen the two 6.35 mm size 1 Philips screws attaching the battery to the laptop.

      • The two screws are clipped into the battery and will not detach.

      FixBotに聞いてみる

      コメントを追加

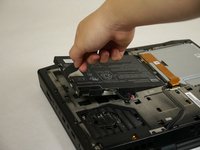
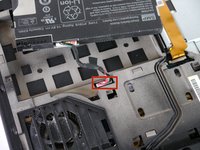
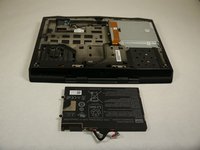
    4. Alienware M14xR2 RAM Replacement: 手順 4、 3の画像 1 Alienware M14xR2 RAM Replacement: 手順 4、 3の画像 2 Alienware M14xR2 RAM Replacement: 手順 4、 3の画像 3
      • Pull up on the black tab on the battery to reveal the connection between the battery and laptop.

      • Pull up on the white connector to disconnect it from the laptop.

      • The battery is now free to remove from the laptop and can be set aside.

      FixBotに聞いてみる

      コメントを追加

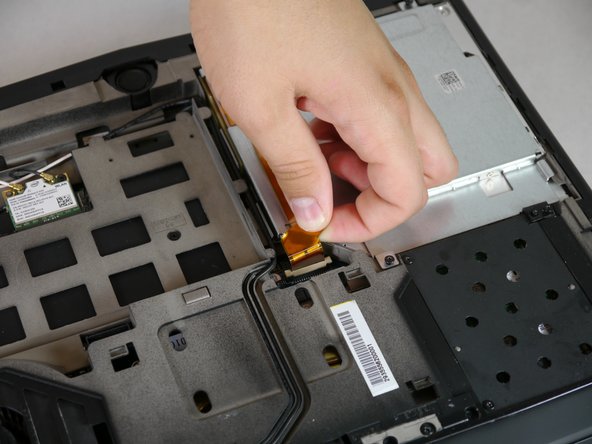
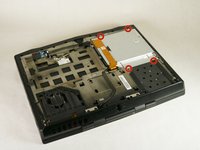
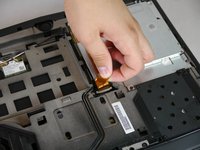
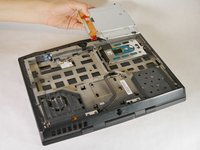
    1. Alienware M14xR2 RAM Replacement, Optical Drive: 手順 5、 3の画像 1 Alienware M14xR2 RAM Replacement, Optical Drive: 手順 5、 3の画像 2 Alienware M14xR2 RAM Replacement, Optical Drive: 手順 5、 3の画像 3
      • Unscrew the four 6.35 mm size 1 screws.

      • Pull up on the end of the orange tab to detach it from the white connector.

      • Lift the optical drive up and out of the laptop and set it aside.

      FixBotに聞いてみる

      コメントを追加

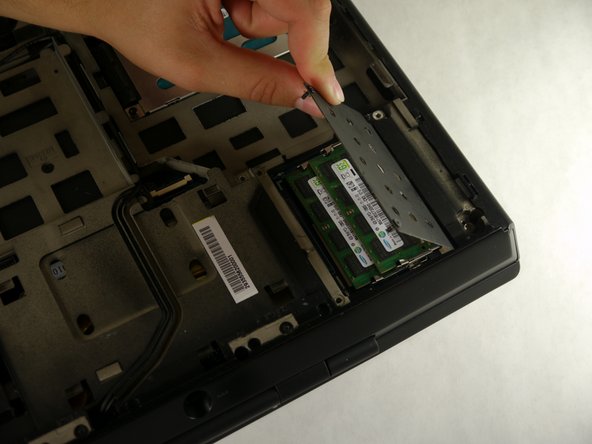
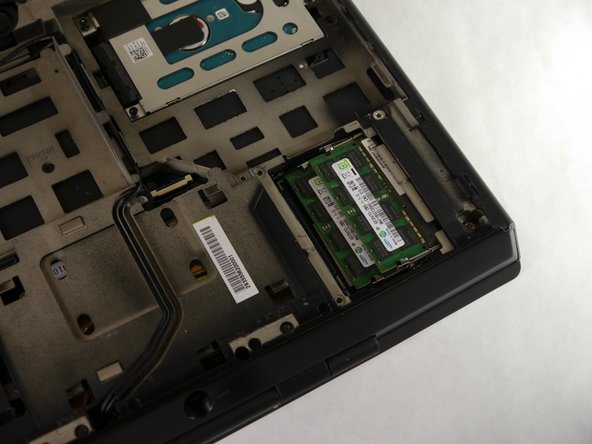
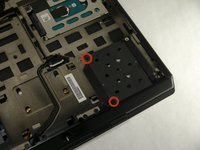
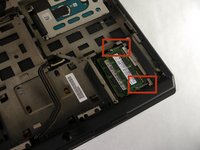
    1. Alienware M14xR2 RAM Replacement, RAM: 手順 6、 3の画像 1 Alienware M14xR2 RAM Replacement, RAM: 手順 6、 3の画像 2 Alienware M14xR2 RAM Replacement, RAM: 手順 6、 3の画像 3
      • Unscrew the two 6.35 mm size 1 screws.

      • Lift up and remove the panel covering the RAM sticks.

      FixBotに聞いてみる

      コメントを追加

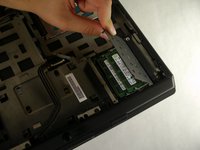
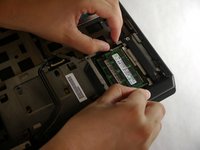
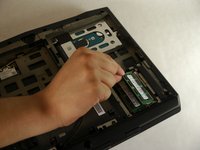
    2. Alienware M14xR2 RAM Replacement: 手順 7、 2の画像 1 Alienware M14xR2 RAM Replacement: 手順 7、 2の画像 2
      • Push outward on both prongs that secure the RAM sticks in place.

      • The RAM sticks will rise upward when released from the prongs.

      FixBotに聞いてみる

      コメントを追加

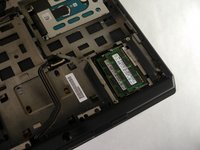
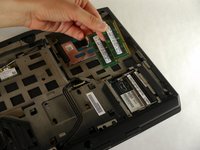
    3. Alienware M14xR2 RAM Replacement: 手順 8、 2の画像 1 Alienware M14xR2 RAM Replacement: 手順 8、 2の画像 2
      • Grab and pull the RAM sticks up and out of their casing and set them aside.

      FixBotに聞いてみる

      コメントを追加

終わりに

To reassemble your device, follow these instructions in reverse order.

キャンセル: このガイドを終了できませんでした。

4 の人々がこのガイドを完成させました。

作成者

4人の作成者と共同で作成されました。

Eugene Park

メンバー登録日: 09/30/13

195 ポイント

1ガイドが承認済み

チーム

Cal Poly, Team 13-4, Forte Fall 2013 Cal Poly, Team 13-4, Forte Fall 2013人のメンバー

CPSU-FORTE-F13S13G4

5 メンバー

25のガイドは作成済み

3件のガイドコメント

How max is the ram upgrade compatible with the m14x ifixit?!

doantuan85 - 返信 共有

I meaned r1 model

doantuan85 - 返信 共有

Yo, man! If my RAM slot is damaged somehow, is there any possibility to change/repair it? It won't detect a RAM card, keeps beeping 4 times at the start.

tasanov - 返信 共有

コメントを追加

統計データ:

過去 24時間: 0

過去 7 日: 9

過去 30 日: 29

今までの合計 2,726