メインコンテンツにスキップ
リペアコミュニティに参加 - アカウントの作成

Aiptek DZO-V58N Lens Protector Replacement

必要な工具と部品

    1. Aiptek DZO-V58N Lens Protector Replacement, Battery: 手順 1、 1の画像 1
      • Locate the battery compartment on the back of the camera. It is the panel with the plastic ridges for simple removal.

      • Slide the battery compartment cover down off of the camera body.

      FixBotに聞いてみる

      コメントを追加

    2. Aiptek DZO-V58N Lens Protector Replacement: 手順 2、 1の画像 1
      • Pry up the battery from the bottom using a finger and remove the batter from the case.

      FixBotに聞いてみる

      コメントを追加

    1. Aiptek DZO-V58N Lens Protector Replacement, Lens Protector: 手順 3、 1の画像 1
      • Remove the lanyard by pulling the grey lace through the black string loop.

      • Pull black string loop through the silver bracket.

      FixBotに聞いてみる

      コメントを追加

    2. Aiptek DZO-V58N Lens Protector Replacement: 手順 4、 1の画像 1
      • Use a plastic opening tool to pry off the black control cover.

      • The face plates are glued, so use force to pry the face plates from the camera body.

      FixBotに聞いてみる

      コメントを追加

    3. Aiptek DZO-V58N Lens Protector Replacement: 手順 5、 1の画像 1
      • Use a plastic opening tool to pry off the ridged back face plate and the black button.

      • The face plates are glued, so use force to pry the face plates from the camera body.

      • The button is loose and should come off with little or no effort.

      FixBotに聞いてみる

      コメントを追加

    4. Aiptek DZO-V58N Lens Protector Replacement: 手順 6、 1の画像 1
      • Use a plastic opening tool to pry off the silver face plate.

      • The face plates are glued, so use force to pry the face plates from the camera body.

      FixBotに聞いてみる

      コメントを追加

    5. Aiptek DZO-V58N Lens Protector Replacement: 手順 7、 3の画像 1 Aiptek DZO-V58N Lens Protector Replacement: 手順 7、 3の画像 2 Aiptek DZO-V58N Lens Protector Replacement: 手順 7、 3の画像 3
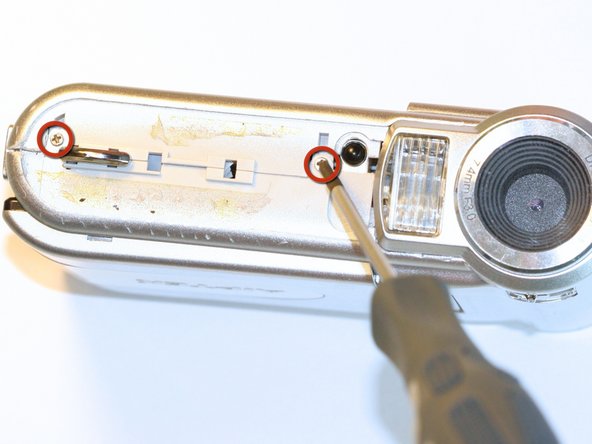
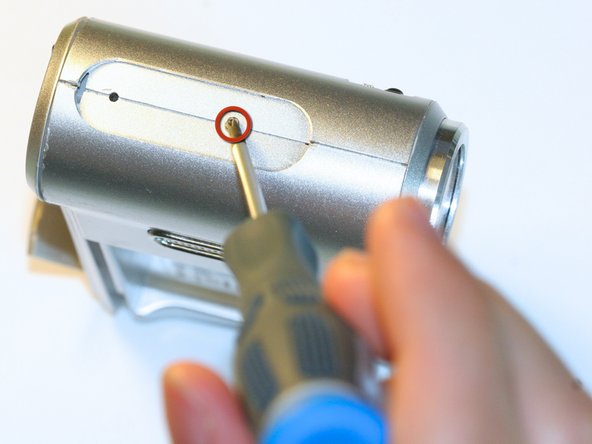
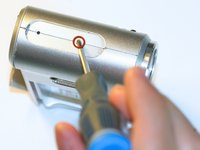
      • Open the USB cover to expose the small machine screw.

      • Use the Phillips #00 screwdriver to unscrew the six 0.5cm machine case screws (distributed around the camera body).

      • These small screws are easy to lose. Place the removed screws in an organized container to avoid losing them.

      FixBotに聞いてみる

      コメントを追加

    6. Aiptek DZO-V58N Lens Protector Replacement: 手順 8、 1の画像 1
      • Pull off the side control panel.

      FixBotに聞いてみる

      コメントを追加

    7. Aiptek DZO-V58N Lens Protector Replacement: 手順 9、 2の画像 1 Aiptek DZO-V58N Lens Protector Replacement: 手順 9、 2の画像 2
      この手順で使用する道具:
      Tweezers
      $4.99
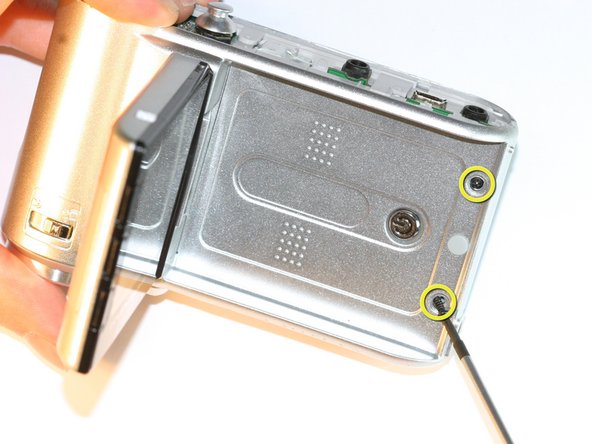
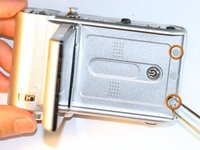
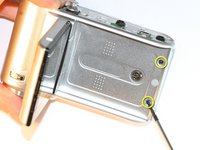
      • Flip open the screen by pulling the loose end of the screen away from the case.

      • Use tweezers to remove the two outside rubber dots to reveal the two 0.5cm machine screws.

      • Use the #00 Phillips Screwdriver to remove both screws.

      FixBotに聞いてみる

      コメントを追加

    8. Aiptek DZO-V58N Lens Protector Replacement: 手順 10、 2の画像 1 Aiptek DZO-V58N Lens Protector Replacement: 手順 10、 2の画像 2
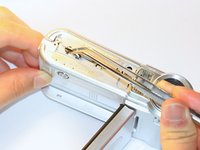
      • Pull the body apart from the bottom of device just enough to make space to remove the silver plastic strap holder.

      • Use tweezers to remove the silver plastic strap holder.

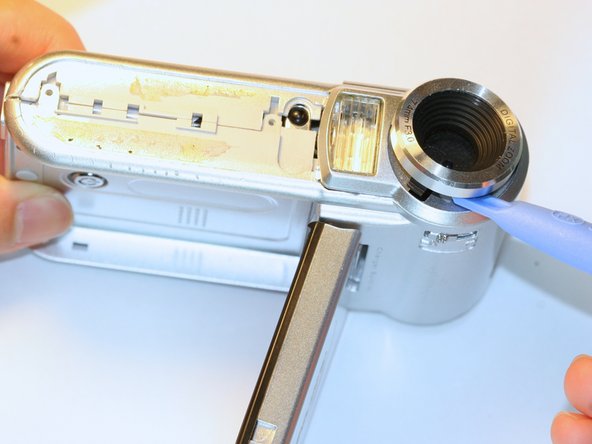
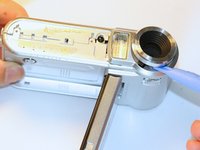
      • Use a plastic opening tool to pry off the lens protector.

      FixBotに聞いてみる

      コメントを追加

終わりに

To reassemble your device, follow these instructions in reverse order.

キャンセル: このガイドを終了できませんでした。

ある他の人がこのガイドを完成しました。

作成者

3人の作成者と共同で作成されました。

Zachary Yun

メンバー登録日: 04/03/12

28 ポイント

5のガイドは作成済み

チーム

Cal Poly, Team 5-5, Forte Spring 2012 Cal Poly, Team 5-5, Forte Spring 2012人のメンバー

CPSU-FORTE-S12S5G5

5 メンバー

15のガイドは作成済み

0件のガイドコメント

コメントを追加

統計データ:

過去 24時間: 4

過去 7 日: 13

過去 30 日: 39

今までの合計 948