メインコンテンツにスキップ
リペアコミュニティに参加 - アカウントの作成

Acoustic Bass Preamp Replacement

必要な工具と部品

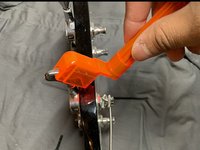
    1. Acoustic Bass Preamp Replacement, Preamp: 手順 1、 2の画像 1 Acoustic Bass Preamp Replacement, Preamp: 手順 1、 2の画像 2
      • Use a guitar string winder to carefully remove each string.

      FixBotに聞いてみる

      コメントを追加

    2. Acoustic Bass Preamp Replacement: 手順 2、 3の画像 1 Acoustic Bass Preamp Replacement: 手順 2、 3の画像 2 Acoustic Bass Preamp Replacement: 手順 2、 3の画像 3
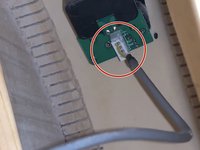
      • Look inside the bass for the preamp tuning box.

      • Once you find it, unplug the small jack.

      FixBotに聞いてみる
      コメントを追加

    3. Acoustic Bass Preamp Replacement: 手順 3、 2の画像 1 Acoustic Bass Preamp Replacement: 手順 3、 2の画像 2
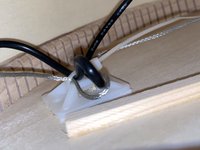
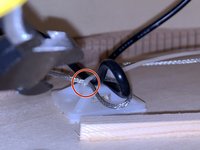
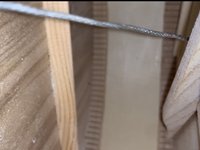
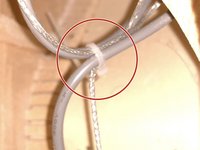
      • Cut the zip tie holding the excess length of wires in place. This is located inside the bass.

      • The zip tie is most likely right under the bridge of the bass.

      • This will allow you to disassemble all parts the wires will connect to later on in the repair.

      FixBotに聞いてみる
      コメントを追加

    4. Acoustic Bass Preamp Replacement: 手順 4、 2の画像 1 Acoustic Bass Preamp Replacement: 手順 4、 2の画像 2
      • Pull out the pick-up stick from the bridge of the base.

      FixBotに聞いてみる
      コメントを追加

    5. Acoustic Bass Preamp Replacement: 手順 5、 2の画像 1 Acoustic Bass Preamp Replacement: 手順 5、 2の画像 2
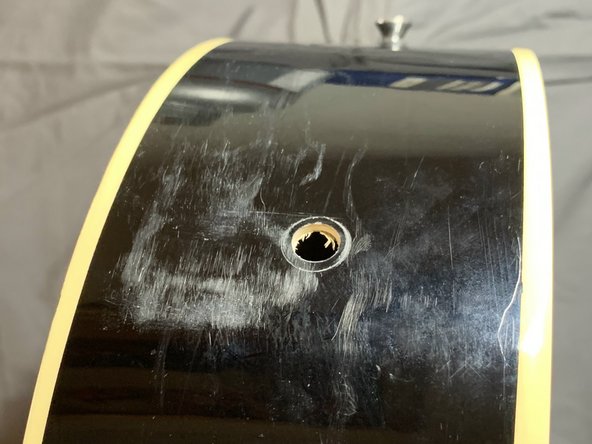
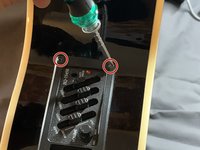
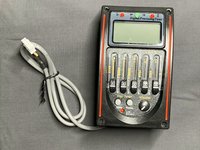
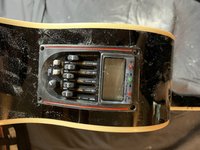
      • Look for the tuner/equalizer/preamp and carefully remove each screw using a Phillips screwdriver.

      • Once screws are removed, look for the endpin jack and remove it.

      • In the first image, the part had already fallen off. Refer to the second image if you have trouble finding the endpin jack.

      FixBotに聞いてみる

      コメントを追加

    6. Acoustic Bass Preamp Replacement: 手順 6、 3の画像 1 Acoustic Bass Preamp Replacement: 手順 6、 3の画像 2 Acoustic Bass Preamp Replacement: 手順 6、 3の画像 3
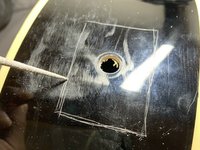
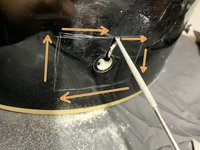
      • Place the tuner over the area you removed the previous one from.

      • Scratch a line around the opening to the area of the bottom portion of the tuner.

      • Refer to the second image for a visual reference.

      • Ensure the scratched guideline is made to the parameter of the parts behind the face of the tuner.

      FixBotに聞いてみる
      コメントを追加

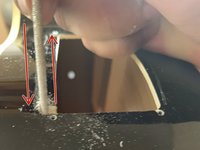
    7. Acoustic Bass Preamp Replacement: 手順 7、 3の画像 1 Acoustic Bass Preamp Replacement: 手順 7、 3の画像 2 Acoustic Bass Preamp Replacement: 手順 7、 3の画像 3
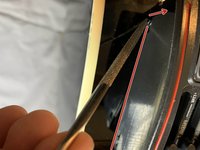
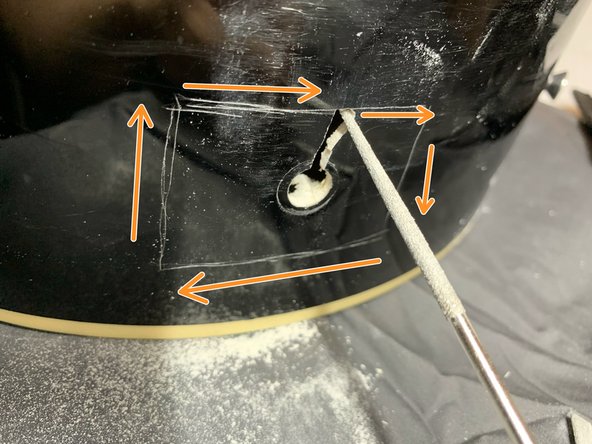
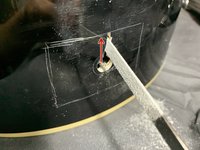
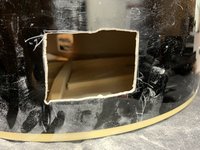
      • Using a metal file, file up and down, following the outline.

      • Continue this, going around the outline until the desired opening is made.

      • This will most likely take quite a bit of time. If you have access to a small jab saw or similar power tool it will speed up the process.

      • Do this step ideally in a well-ventilated area as the wood shaving are small, and inhalation can cause harm or injury. Wear protective gear like a face mask, and goggles/eye protection to prevent injury or pain.

      FixBotに聞いてみる
      コメントを追加

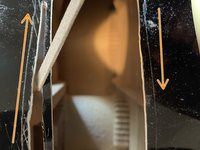
    8. Acoustic Bass Preamp Replacement: 手順 8、 3の画像 1 Acoustic Bass Preamp Replacement: 手順 8、 3の画像 2 Acoustic Bass Preamp Replacement: 手順 8、 3の画像 3
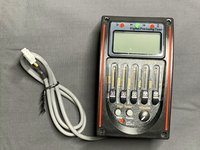
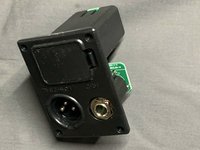
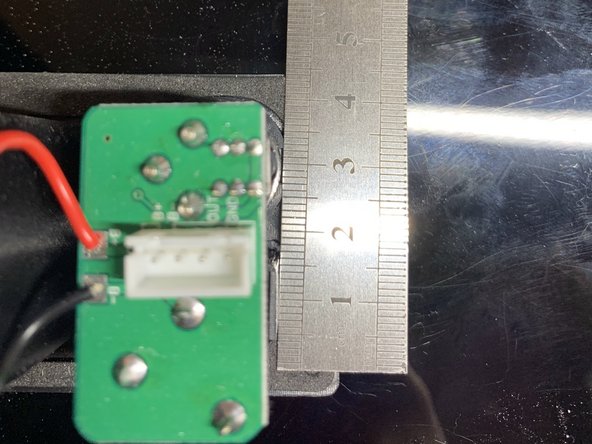
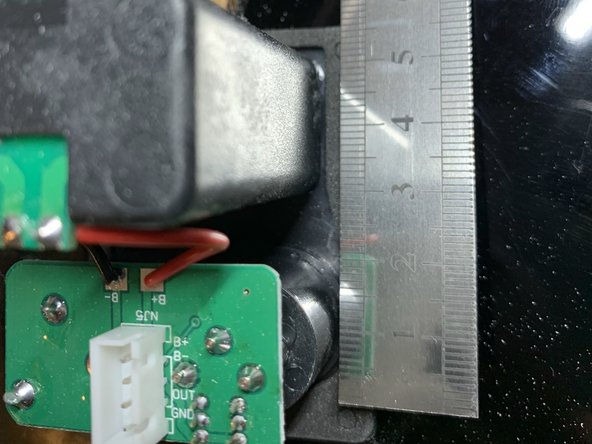
      • Get your output platform and measure, with a ruler, the perimeter of the parts under the face with the screw holes.

      • The second and third images show the underside of the part, measuring around the internals.

      • Once you measure each side, jot them down for Step 9.

      FixBotに聞いてみる
      コメントを追加

    9. Acoustic Bass Preamp Replacement: 手順 9、 3の画像 1 Acoustic Bass Preamp Replacement: 手順 9、 3の画像 2 Acoustic Bass Preamp Replacement: 手順 9、 3の画像 3
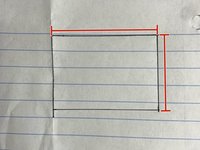
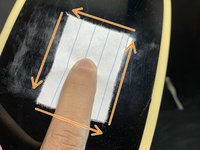
      • Use a pencil and paper to outline the measurements jotted down.

      • Cut the shape out using a pair of scissors.

      • Place the paper over the opening on the guitar and trace the perimeter of the paper.

      FixBotに聞いてみる
      コメントを追加

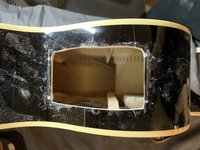
    10. Acoustic Bass Preamp Replacement: 手順 10、 3の画像 1 Acoustic Bass Preamp Replacement: 手順 10、 3の画像 2 Acoustic Bass Preamp Replacement: 手順 10、 3の画像 3
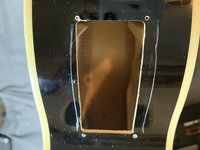
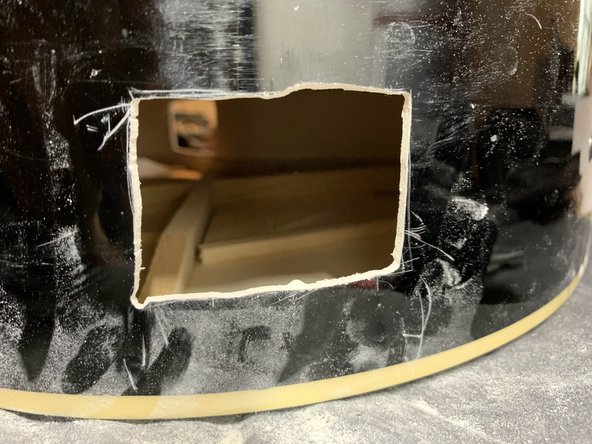
      • Insert the file into the opening and file up until you reach the outline you traced.

      • Then follow the outline until the opening is completely cut out.

      • Do this step ideally in a well-ventilated area as the wood shaving are small, and you may inhale them.

      FixBotに聞いてみる
      コメントを追加

    11. Acoustic Bass Preamp Replacement: 手順 11、 3の画像 1 Acoustic Bass Preamp Replacement: 手順 11、 3の画像 2 Acoustic Bass Preamp Replacement: 手順 11、 3の画像 3
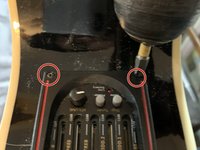
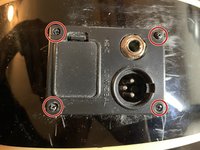
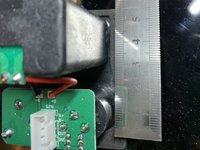
      • Place the preamp into the opening and screw into place with your power drill.

      • A power drill and four screws are required in this step. This will allow you to create a hole to screw in the screws or just directly screw in the screw without drilling holes.

      FixBotに聞いてみる

      コメントを追加

    12. Acoustic Bass Preamp Replacement: 手順 12、 2の画像 1 Acoustic Bass Preamp Replacement: 手順 12、 2の画像 2
      • Using your power drill and the other four screws, drill the screws into the output platform openings.

      FixBotに聞いてみる

      コメントを追加

    13. Acoustic Bass Preamp Replacement: 手順 13、 3の画像 1 Acoustic Bass Preamp Replacement: 手順 13、 3の画像 2 Acoustic Bass Preamp Replacement: 手順 13、 3の画像 3
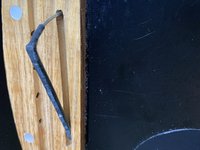
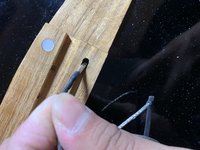
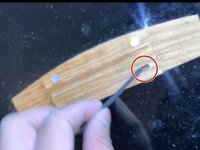
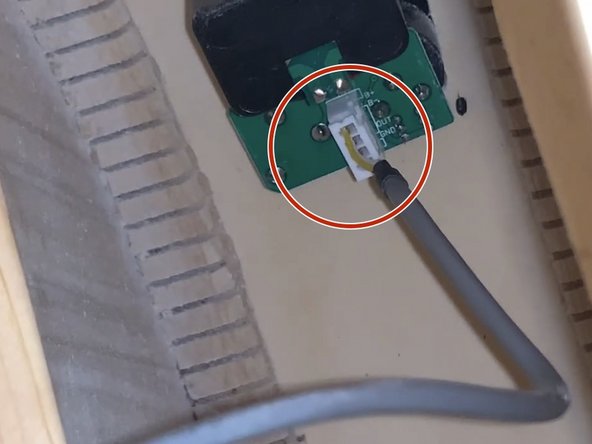
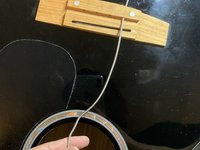
      • Get your pickup stick and insert it into the hole in the bridge.

      • Look into the guitar for the end of the pick-up stick and pull it until it reaches the preamp box.

      • Plug in the pickup stick jack into the box, as seen in the fourth image.

      FixBotに聞いてみる

      コメントを追加

    14. Acoustic Bass Preamp Replacement: 手順 14、 2の画像 1 Acoustic Bass Preamp Replacement: 手順 14、 2の画像 2
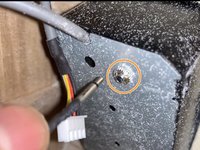
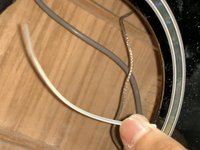
      • Look for the preamp inside the bass. You will find a wire showed in the first image.

      • Stretch your arm into the bass to reach the output platform and find where you will need to plug the wire into.

      • Ensure the wire plugs in the right way and is firmly plugged in.

      FixBotに聞いてみる

      コメントを追加

    15. Acoustic Bass Preamp Replacement: 手順 15、 2の画像 1 Acoustic Bass Preamp Replacement: 手順 15、 2の画像 2
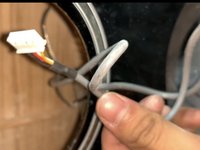
      • Use a zip tie to secure the extra length of wire inside the bass.

      • This step is not required but will help disguise wires and keep them tucked inside the bass.

      FixBotに聞いてみる

      コメントを追加

    16. Acoustic Bass Preamp Replacement: 手順 16、 2の画像 1 Acoustic Bass Preamp Replacement: 手順 16、 2の画像 2
      • Replace the old strings or install new strings to the bass.

      • Use the string winder to make this step a lot faster.

      FixBotに聞いてみる

      コメントを追加

終わりに

Congratulations! You have just retrofitted a new amp into your bass.

Had trouble with one of the steps? Leave a comment letting us know how we can help!

キャンセル: このガイドを終了できませんでした。

作成者

3人の作成者と共同で作成されました。

Juan Chavez

メンバー登録日: 04/03/23

304 ポイント

1ガイドが承認済み

チーム

CSU Los Angeles, Team 77-86, Briggs Spring 2023 CSU Los Angeles, Team 77-86, Briggs Spring 2023人のメンバー

CSULA-BRIGGS-S23S77G86

1 メンバー

12のガイドは作成済み

0件のガイドコメント

コメントを追加

統計データ:

過去 24時間: 0

過去 7 日: 16

過去 30 日: 82

今までの合計 1,744