メインコンテンツにスキップ
リペアコミュニティに参加 - アカウントの作成

Acer Aspire One 722 Screen Replacement

必要な工具と部品

    1. Acer Aspire One 722 Screen Replacement, Battery: 手順 1、 1の画像 1
      • Power down the netbook by pressing the power button on the top left corner.

      FixBotに聞いてみる

      コメントを追加

    2. Acer Aspire One 722 Screen Replacement: 手順 2、 1の画像 1
      • Close the netbook and flip it over so that the back is facing up.

      FixBotに聞いてみる

      コメントを追加

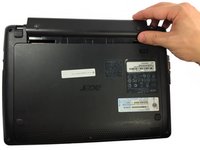
    3. Acer Aspire One 722 Screen Replacement: 手順 3、 1の画像 1
      • Slide the button below the battery to the right while simultaneously pulling the battery out.

      FixBotに聞いてみる

      コメントを追加

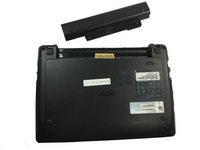
    4. Acer Aspire One 722 Screen Replacement: 手順 4、 2の画像 1 Acer Aspire One 722 Screen Replacement: 手順 4、 2の画像 2
      • If necessary, remove the old battery and replace it with a new one.

      FixBotに聞いてみる

      コメントを追加

    5. Acer Aspire One 722 Screen Replacement: 手順 5、 1の画像 1
      • Check the thin grooves on the side of the battery entry and line the replacement battery up to the grooves.

      FixBotに聞いてみる

      コメントを追加

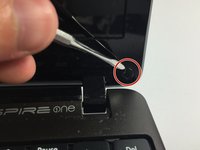
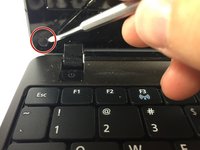
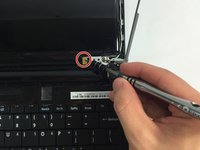
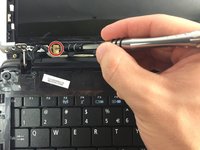
    1. Acer Aspire One 722 Screen Replacement, Screen: 手順 6、 2の画像 1 Acer Aspire One 722 Screen Replacement, Screen: 手順 6、 2の画像 2
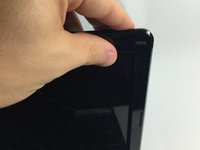
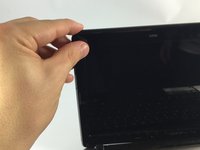
      • Remove the black rubber clips from the bottom right and left of the netbook screen.

      FixBotに聞いてみる

      コメントを追加

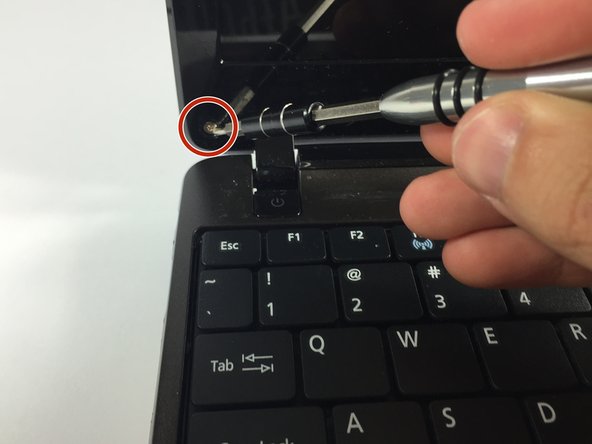
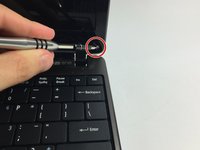
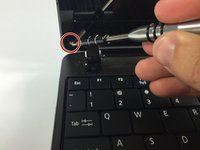
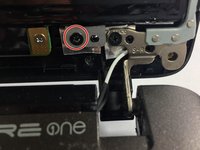
    2. Acer Aspire One 722 Screen Replacement: 手順 7、 2の画像 1 Acer Aspire One 722 Screen Replacement: 手順 7、 2の画像 2
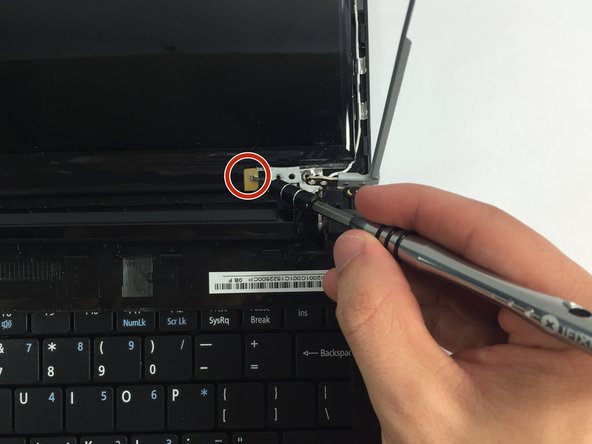
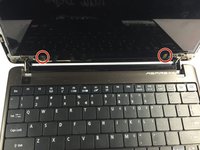
      • Remove the screws under the black caps.

      FixBotに聞いてみる

      コメントを追加

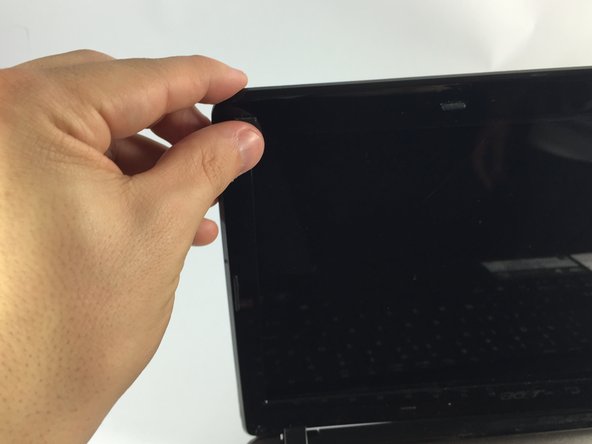
    3. Acer Aspire One 722 Screen Replacement: 手順 8、 3の画像 1 Acer Aspire One 722 Screen Replacement: 手順 8、 3の画像 2 Acer Aspire One 722 Screen Replacement: 手順 8、 3の画像 3
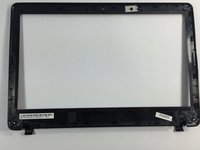
      • Slowly separate the screen casing from the screen.

      • Potential for device damage: Be careful when detaching the screen casing from the screen. If not done slowly, it can break.

      FixBotに聞いてみる

      コメントを追加

    4. Acer Aspire One 722 Screen Replacement: 手順 9、 3の画像 1 Acer Aspire One 722 Screen Replacement: 手順 9、 3の画像 2 Acer Aspire One 722 Screen Replacement: 手順 9、 3の画像 3
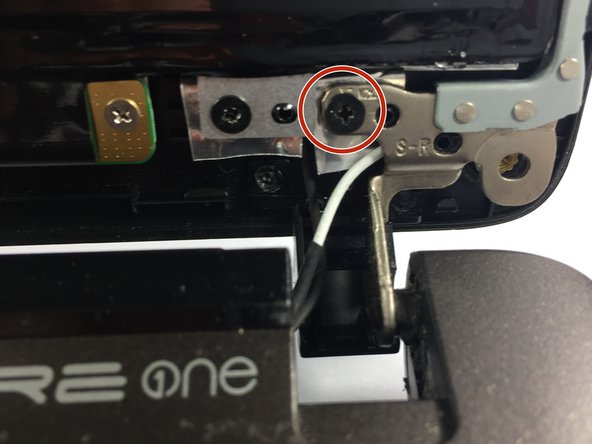
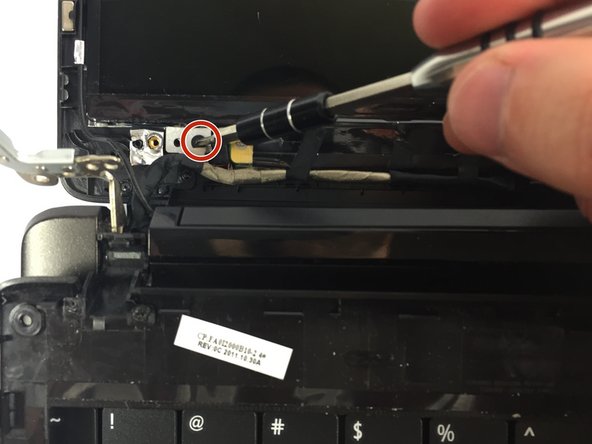
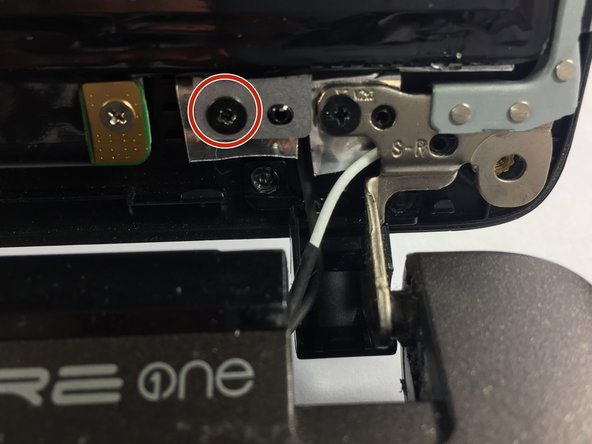
      • Remove the screws located on the four corners of the screen.

      FixBotに聞いてみる

      コメントを追加

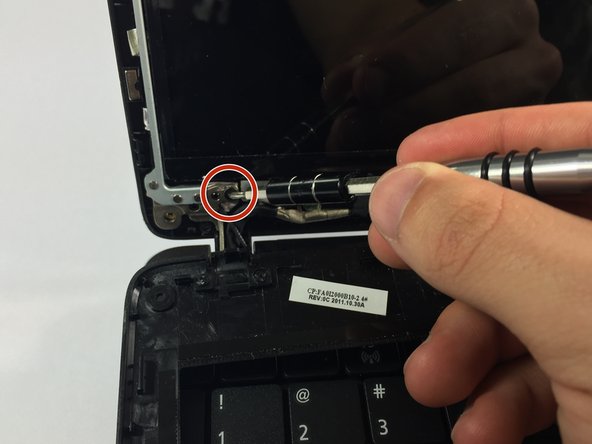
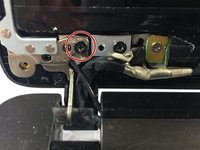
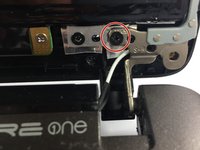
    5. Acer Aspire One 722 Screen Replacement: 手順 10、 3の画像 1 Acer Aspire One 722 Screen Replacement: 手順 10、 3の画像 2 Acer Aspire One 722 Screen Replacement: 手順 10、 3の画像 3
      • Remove the two bottom screws.

      • Taking out these screws will allow you to remove the screen from its attachment.

      FixBotに聞いてみる

      コメントを追加

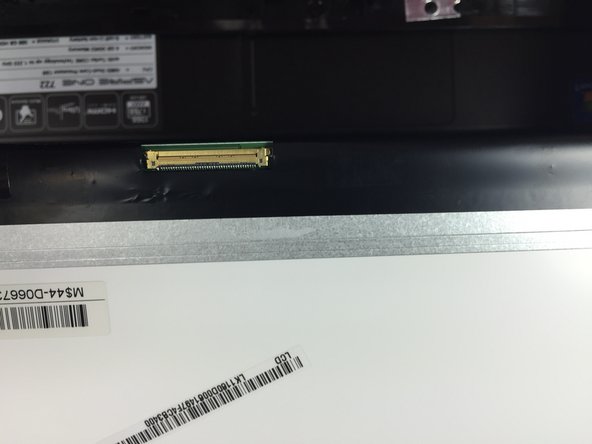
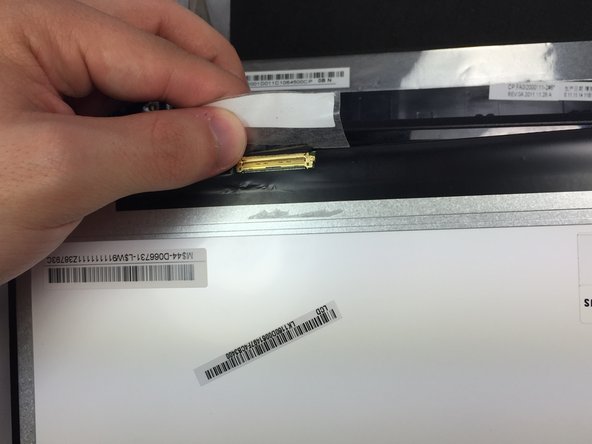
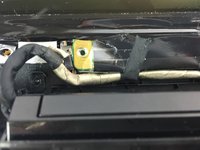
    6. Acer Aspire One 722 Screen Replacement: 手順 11、 3の画像 1 Acer Aspire One 722 Screen Replacement: 手順 11、 3の画像 2 Acer Aspire One 722 Screen Replacement: 手順 11、 3の画像 3
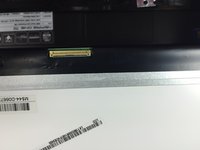
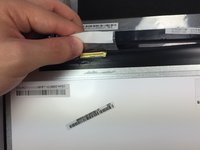
      • On the bottom left of the screen there is a cord attached. Remove the tape that is attached to the screen.

      FixBotに聞いてみる

      コメントを追加

    7. Acer Aspire One 722 Screen Replacement: 手順 12、 3の画像 1 Acer Aspire One 722 Screen Replacement: 手順 12、 3の画像 2 Acer Aspire One 722 Screen Replacement: 手順 12、 3の画像 3
      • On the green board, remove the two screws.

      • Remove the board.

      FixBotに聞いてみる

      コメントを追加

終わりに

To reassemble your device, follow these instructions in reverse order.

キャンセル: このガイドを終了できませんでした。

4 の人々がこのガイドを完成させました。

作成者

3人の作成者と共同で作成されました。

Christian Barboza

メンバー登録日: 10/25/15

824 ポイント

5のガイドは作成済み

チーム

UMass Dartmouth, Team 5-6, Gulbrandsen Fall 2015 UMass Dartmouth, Team 5-6, Gulbrandsen Fall 2015人のメンバー

UMASSD-GULBRANDSEN-F15S5G6

3 メンバー

21のガイドは作成済み

0件のガイドコメント

コメントを追加

統計データ:

過去 24時間: 0

過去 7 日: 8

過去 30 日: 39

今までの合計 3,796