メインコンテンツにスキップ
リペアコミュニティに参加 - アカウントの作成

ATT Trek HD 9020A Screen Replacement

必要な工具と部品

    1. ATT Trek HD 9020A Screen Replacement, Back Cover: 手順 1、 1の画像 1
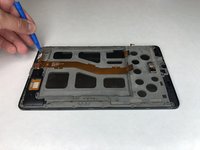
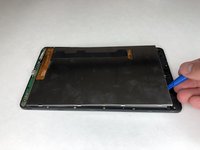
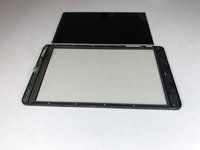
      • To separate the screen from the back panel, run the plastic opening tool along the outer edge of the device.

      FixBotに聞いてみる
      コメントを追加

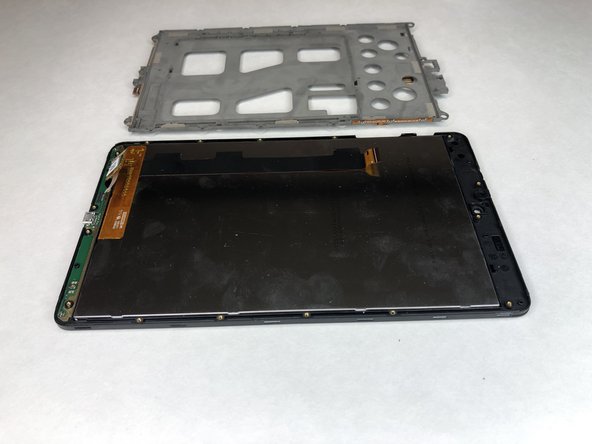
    2. ATT Trek HD 9020A Screen Replacement: 手順 2、 1の画像 1
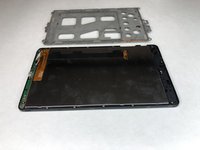
      • Pull the screen away from the back panel.

      FixBotに聞いてみる

      コメントを追加

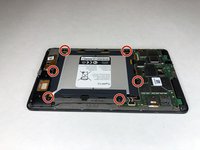
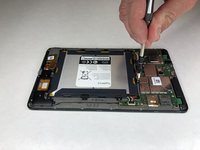
    1. ATT Trek HD 9020A Screen Replacement, Battery: 手順 3、 2の画像 1 ATT Trek HD 9020A Screen Replacement, Battery: 手順 3、 2の画像 2
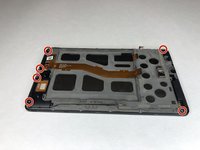
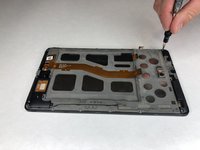
      • Use a Phillips #00 screwdriver to remove the six 2.5 mm screws located around the perimeter of the battery.

      FixBotに聞いてみる

      コメントを追加

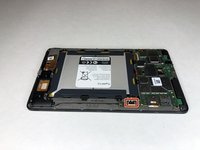
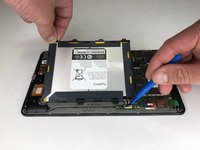
    2. ATT Trek HD 9020A Screen Replacement: 手順 4、 2の画像 1 ATT Trek HD 9020A Screen Replacement: 手順 4、 2の画像 2
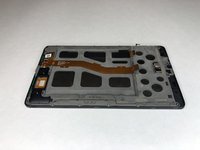
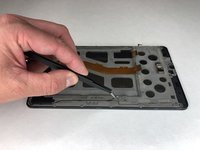
      • Use the plastic opening tool to disconnect the black battery connector.

      • Gently lift the battery out of the device.

      FixBotに聞いてみる
      コメントを追加

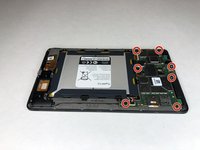
    1. ATT Trek HD 9020A Screen Replacement, Motherboard: 手順 5、 2の画像 1 ATT Trek HD 9020A Screen Replacement, Motherboard: 手順 5、 2の画像 2
      • Using a Phillips #00 screwdriver, remove the seven 1 mm screws on the green perimeter of the motherboard.

      FixBotに聞いてみる
      コメントを追加

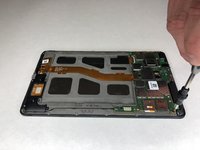
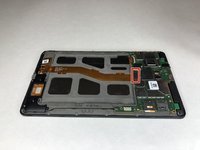
    2. ATT Trek HD 9020A Screen Replacement: 手順 6、 2の画像 1 ATT Trek HD 9020A Screen Replacement: 手順 6、 2の画像 2
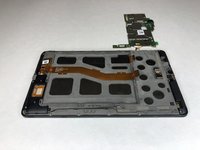
      • Use the plastic opening tool to disconnect the large gold strip underneath the metal plate from the motherboard.

      FixBotに聞いてみる
      コメントを追加

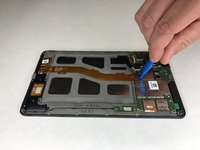
    3. ATT Trek HD 9020A Screen Replacement: 手順 7、 1の画像 1
      • Use the plastic opening tool to disconnect the front and back cameras from motherboard.

      FixBotに聞いてみる

      コメントを追加

    4. ATT Trek HD 9020A Screen Replacement: 手順 8、 2の画像 1 ATT Trek HD 9020A Screen Replacement: 手順 8、 2の画像 2
      この手順で使用する道具:
      Tweezers
      $3.99
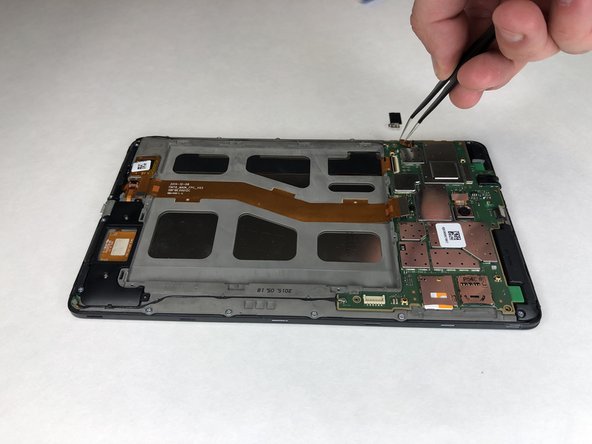
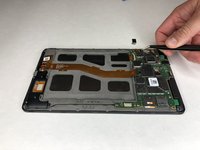
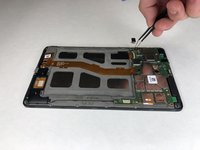
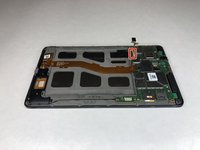
      • Use angled tweezers to pry up the black tab.

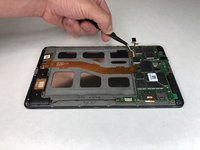
      • Use the angled tweezers to pull out the gold connector.

      FixBotに聞いてみる

      コメントを追加

    5. ATT Trek HD 9020A Screen Replacement: 手順 9、 2の画像 1 ATT Trek HD 9020A Screen Replacement: 手順 9、 2の画像 2
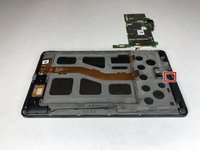
      • Use the angled tweezers to disconnect the gold connector.

      FixBotに聞いてみる
      コメントを追加

    6. ATT Trek HD 9020A Screen Replacement: 手順 10、 1の画像 1
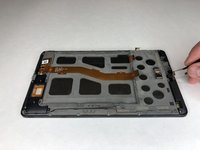
      • Use the plastic opening tool to disconnect the black connectors on each side of the motherboard.

      FixBotに聞いてみる
      コメントを追加

    7. ATT Trek HD 9020A Screen Replacement: 手順 11、 2の画像 1 ATT Trek HD 9020A Screen Replacement: 手順 11、 2の画像 2
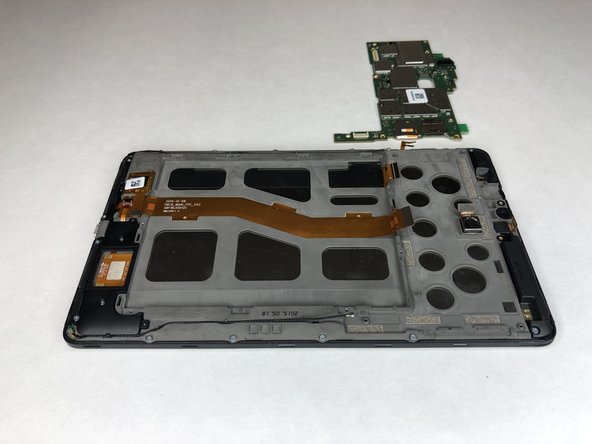
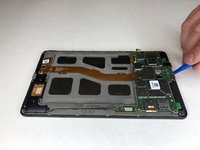
      • Use the plastic opening tool to lift the motherboard out of place.

      FixBotに聞いてみる

      コメントを追加

    1. ATT Trek HD 9020A Screen Replacement, Front Camera: 手順 12、 2の画像 1 ATT Trek HD 9020A Screen Replacement, Front Camera: 手順 12、 2の画像 2
      この手順で使用する道具:
      Tweezers
      $3.99
      FixBotに聞いてみる

      コメントを追加

    1. ATT Trek HD 9020A Screen Replacement, Screen: 手順 13、 3の画像 1 ATT Trek HD 9020A Screen Replacement, Screen: 手順 13、 3の画像 2 ATT Trek HD 9020A Screen Replacement, Screen: 手順 13、 3の画像 3
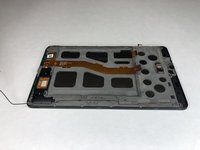
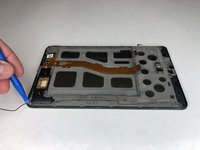
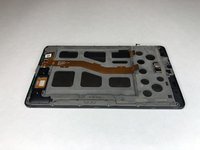
      • Use the Phillips #00 screwdriver to remove the six 3 mm screws holding the black plastic corner pieces in place.

      • Gently lift the black corner pieces out of the device.

      FixBotに聞いてみる

      コメントを追加

    2. ATT Trek HD 9020A Screen Replacement: 手順 14、 2の画像 1 ATT Trek HD 9020A Screen Replacement: 手順 14、 2の画像 2
      この手順で使用する道具:
      Tweezers
      $3.99
      • Use the angled tweezers to remove the black cables on each side of the device from their groove.

      FixBotに聞いてみる

      コメントを追加

    3. ATT Trek HD 9020A Screen Replacement: 手順 15、 2の画像 1 ATT Trek HD 9020A Screen Replacement: 手順 15、 2の画像 2
      • Use the plastic opening tool to disconnect the black cable connectors from each side of the device.

      FixBotに聞いてみる

      コメントを追加

    4. ATT Trek HD 9020A Screen Replacement: 手順 16、 2の画像 1 ATT Trek HD 9020A Screen Replacement: 手順 16、 2の画像 2
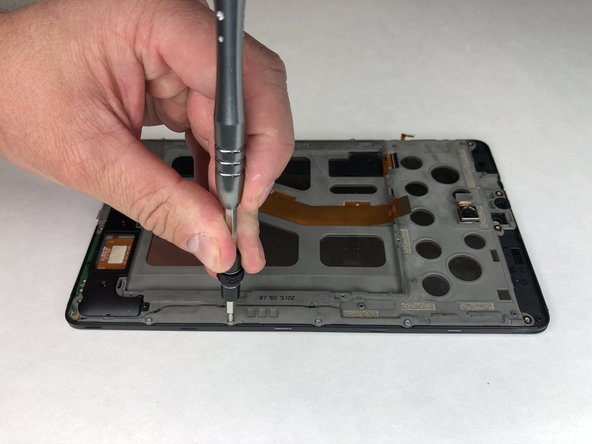
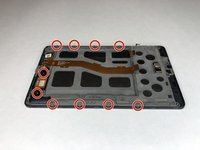
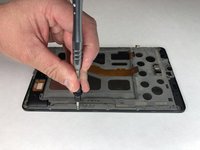
      • Remove the remaining ten 3 mm Phillips #00 screws.

      FixBotに聞いてみる

      コメントを追加

    5. ATT Trek HD 9020A Screen Replacement: 手順 17、 2の画像 1 ATT Trek HD 9020A Screen Replacement: 手順 17、 2の画像 2
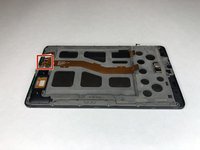
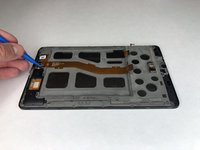
      • Use the plastic opening tool to disconnect the remaining three gold connectors at the bottom of the device.

      FixBotに聞いてみる

      コメントを追加

    6. ATT Trek HD 9020A Screen Replacement: 手順 18、 2の画像 1 ATT Trek HD 9020A Screen Replacement: 手順 18、 2の画像 2
      • Use the plastic opening tool to pry up the grey plastic panel.

      FixBotに聞いてみる

      コメントを追加

    7. ATT Trek HD 9020A Screen Replacement: 手順 19、 2の画像 1 ATT Trek HD 9020A Screen Replacement: 手順 19、 2の画像 2
      • Use the plastic opening tool to pry the screen out of the device.

      FixBotに聞いてみる

      コメントを追加

終わりに

To reassemble your device, follow these instructions in reverse order.

キャンセル: このガイドを終了できませんでした。

ある他の人がこのガイドを完成しました。

作成者

5人の作成者と共同で作成されました。

Jacob Cross

メンバー登録日: 01/16/19

484 ポイント

4のガイドは作成済み

チーム

University of Alabama, Team S1-G3, Bedsole Spring 2019 University of Alabama, Team S1-G3, Bedsole Spring 2019人のメンバー

UA-BEDSOLE-S19S1G3

4 メンバー

48のガイドは作成済み

0件のガイドコメント

コメントを追加

統計データ:

過去 24時間: 0

過去 7 日: 3

過去 30 日: 24

今までの合計 973