メインコンテンツにスキップ
リペアコミュニティに参加 - アカウントの作成

ASUS MeMo Pad FHD10 Camera Replacement

必要な工具と部品

  1. ASUS MeMo Pad FHD10 Camera Replacement, Battery: 手順 1、 2の画像 1 ASUS MeMo Pad FHD10 Camera Replacement, Battery: 手順 1、 2の画像 2
    • Make sure that the device is turned off as a precaution.

    • Unplug the charger and remove any memory card you may have in the device.

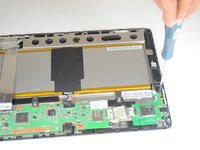
    • Wedge the plastic opening tool between the front and back cover on every side.

    • Slide the plastic opening tool back and forth to make sure that the back cover is disconnected.

    • Once disconnected, remove the back cover from the device screen.

    FixBotに聞いてみる
  2. ASUS MeMo Pad FHD10 Camera Replacement: 手順 2、 2の画像 1 ASUS MeMo Pad FHD10 Camera Replacement: 手順 2、 2の画像 2
    この手順で使用する道具:
    Tweezers
    $4.99
    • Remove the protective copper sticker and all tape fixed on the device.

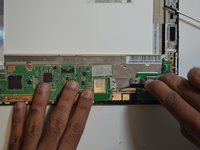
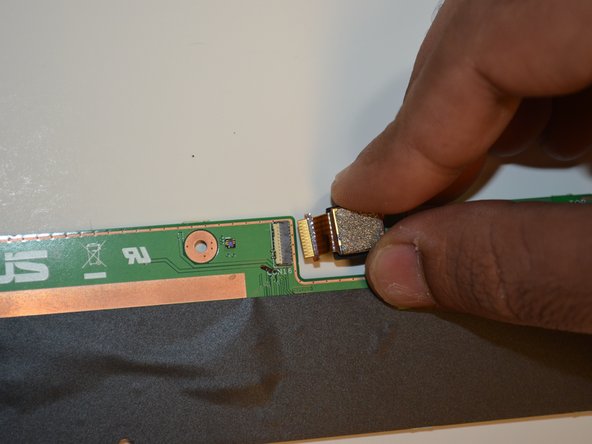
    • Using tweezers, remove the ribbon cable from their connections attached to the motherboard.

    • While using the tweezers, make sure to use minimum force and precision to avoid damaging any components.

    FixBotに聞いてみる
  3. ASUS MeMo Pad FHD10 Camera Replacement: 手順 3、 2の画像 1 ASUS MeMo Pad FHD10 Camera Replacement: 手順 3、 2の画像 2
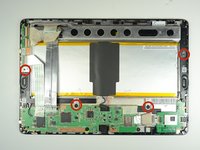
    • Remove the four 2 mm Phillips #00 screws holding the battery tray in place.

    FixBotに聞いてみる
  4. ASUS MeMo Pad FHD10 Camera Replacement: 手順 4、 3の画像 1 ASUS MeMo Pad FHD10 Camera Replacement: 手順 4、 3の画像 2 ASUS MeMo Pad FHD10 Camera Replacement: 手順 4、 3の画像 3
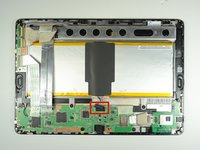
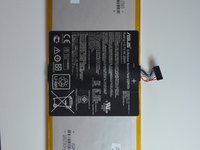
    • Locate the battery cable attached to the motherboard. Using the same technique used on the ribbons, do the same with the battery.

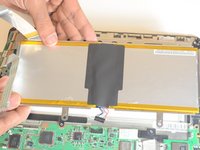
    • Remove the battery from the device. Once removed, use the plastic tool to separate the metal frame from the battery.

    • When separating the metal frame, be sure to hold on in the center as the battery is two separate cells.

    FixBotに聞いてみる
  5. ASUS MeMo Pad FHD10 Camera Replacement, Speakers: 手順 5、 1の画像 1
    • Remove three screws using a Phillips #00 screwdriver.

    FixBotに聞いてみる
  6. ASUS MeMo Pad FHD10 Camera Replacement: 手順 6、 1の画像 1
    この手順で使用する道具:
    Tweezers
    $4.99
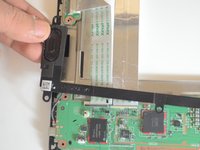
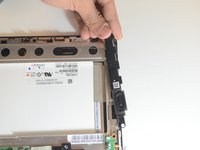
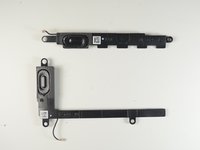
    • The two speakers are located on opposite sides of the device. Both are long black pieces with connections to the motherboard.

    • Unplug the speaker cables from their connections on the motherboard gently by using tweezers.

    FixBotに聞いてみる
  7. ASUS MeMo Pad FHD10 Camera Replacement: 手順 7、 3の画像 1 ASUS MeMo Pad FHD10 Camera Replacement: 手順 7、 3の画像 2 ASUS MeMo Pad FHD10 Camera Replacement: 手順 7、 3の画像 3
    • Gently use your hands to remove the speakers.

    FixBotに聞いてみる
  8. ASUS MeMo Pad FHD10 Camera Replacement, Motherboard: 手順 8、 1の画像 1
    • Remove the five screws using a Phillips #00 screwdriver.

    FixBotに聞いてみる
  9. ASUS MeMo Pad FHD10 Camera Replacement: 手順 9、 3の画像 1 ASUS MeMo Pad FHD10 Camera Replacement: 手順 9、 3の画像 2 ASUS MeMo Pad FHD10 Camera Replacement: 手順 9、 3の画像 3
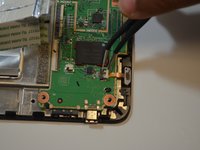
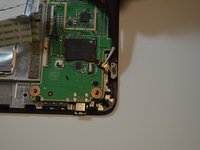
    • Carefully disconnect the cord that connects the on/off button to the motherboard

    • Peel back the electrical tape holding the connections of the motherboard down to the frame of the device.

    FixBotに聞いてみる
  10. ASUS MeMo Pad FHD10 Camera Replacement: 手順 10、 1の画像 1
    • Use your hands to remove the motherboard from the device.

    FixBotに聞いてみる
  11. ASUS MeMo Pad FHD10 Camera Replacement, Front and Rear cameras: 手順 11、 3の画像 1 ASUS MeMo Pad FHD10 Camera Replacement, Front and Rear cameras: 手順 11、 3の画像 2 ASUS MeMo Pad FHD10 Camera Replacement, Front and Rear cameras: 手順 11、 3の画像 3
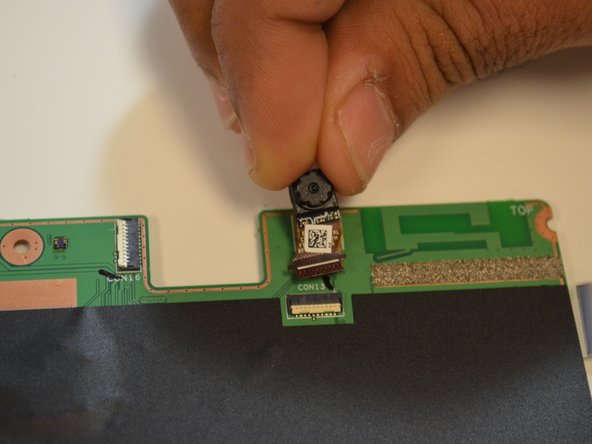
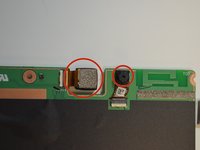
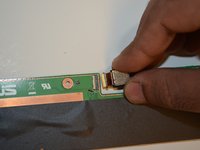
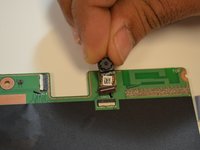
    • Identify the location of front and rear cameras on the motherboard.

    • The front and rear cameras can be removed by pulling them out gently using hands.

    FixBotに聞いてみる
終わりに

To reassemble your device, follow these instructions in reverse order.

作成者

6人の作成者と共同で作成されました。

Dmitry

メンバー登録日: 01/21/15

391 ポイント

3のガイドは作成済み

チーム

USF Tampa, Team 9-5, Blackwell Winter 2015 USF Tampa, Team 9-5, Blackwell Winter 2015人のメンバー

USFT-BLACKWELL-W15S9G5

4 メンバー

10のガイドは作成済み

0件のガイドコメント

コメントを追加

統計データ:

過去 24時間: 1

過去 7 日: 5

過去 30 日: 43

今までの合計 830