はじめに
This is a step by step process for a key replacement guide on a ASUS GL752VW-DH74 keyboard when the key pressed will not be read on the computer screen. Either the keys on the keyboard are worn out from use, or they can get cluttered with dust, crumbs, or debris, which will conflict when typing. Sometimes proper cleaning and regular maintenance can deter this problem, if not, then replacing the keys may be necessary.
必要な工具と部品
-
-
-
Start by unplugging the laptop and turning it upside down. There are 3 screws in the disk drive, remove those using a Phillips #0 screwdriver.
-
-
-
Remove the medium sized panel attached on the back. Then using your Phillips #0 screwdriver, remove all 8 screws.
-
-
-
Remove the entire large back panel (outer shell) by removing the screws closer to the outer edge.
-
-
-
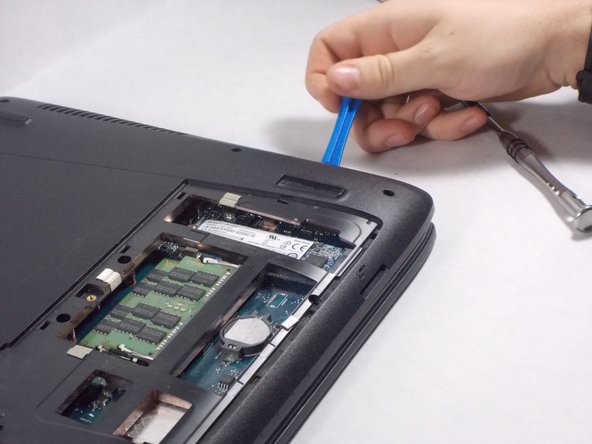
Use the blue opening tool to gently separate the back panel by loosening it on all sides to ease the outer shell of the laptop until it separates.
-
-
-
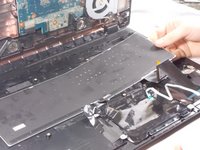
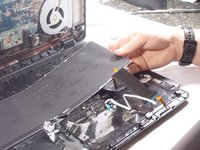
Gently lift the outer shell up until the white, gold and silver power strips are visible. Proceed by removing the strips from the bottom side of the keyboard. Finish removing the outer shell.
-
-
-
Remove the two Phillips #0 screws located on the panel above the white power strip.
-

 FixBotに聞いてみる




To reassemble your device, follow these instructions in reverse order.
8 の人々がこのガイドを完成させました。

チーム

UMass Dartmouth, Team S1-G3, Isaacson Fall 2017 UMass Dartmouth, Team S1-G3, Isaacson Fall 2017人のメンバー
UMASSD-ISAACSON-F17S1G3
3 メンバー
5のガイドは作成済み
3件のガイドコメント
This is an extremely useful tutorial for those who have patience and curious to learn. Excellent job by the authors. Thank you.
This guide needs more work. The metal keyboard has small black pins that keep it in place. They will need to be melted by a heating/soldering gun, and then remelted to keep the new keyboard in place.
This guide is incomplete. You will require a soldering pencil to reattach the new keyboard to its metal backing plate and the laptop faceplate. It could also be useful in releasing the old keyboard from the backing plate and faceplate. if you are slow and cautious it will probably take you 90 to 120 minutes to complete. 40 minutes is only if you have done this type of keyboard before.
Also read the comments regarding the access bay screws that need to be removed during disassembly and remember to remove the sata drive as well.
Kari Hartman - 返信 共有
