メインコンテンツにスキップ
リペアコミュニティに参加 - アカウントの作成

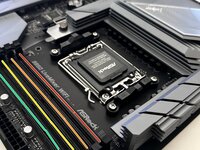
この分解は修理ガイドでは ありません。 お持ちのASRock B850 LiveMixer Space WiFiを修理する際は、iFixitの修理ガイドをご利用ください。

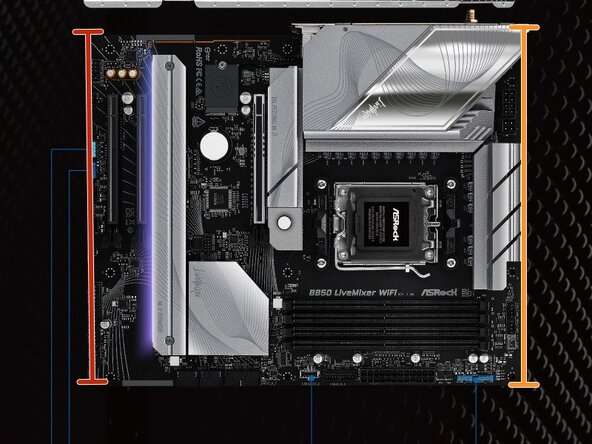
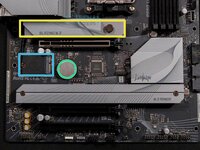
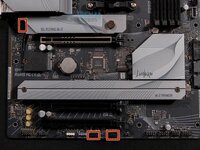
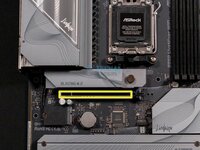
    1. ASRock B850 Labels, Top-Down: 手順 1、 1の画像 1
      • Top of mobo

      • Bottom of mobo

      FixBotに聞いてみる

      コメントを追加

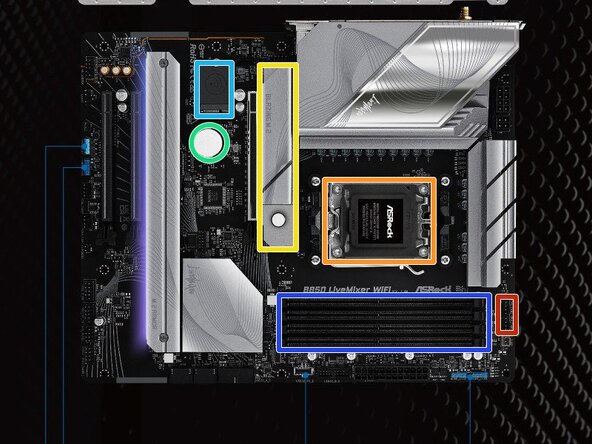
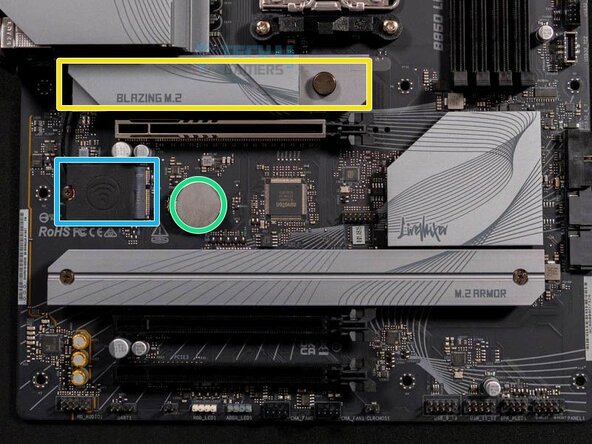
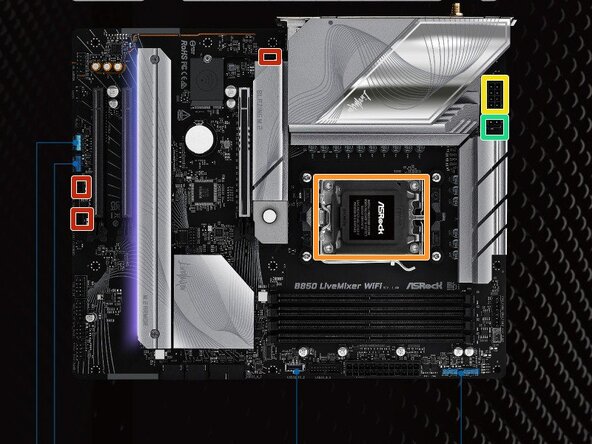
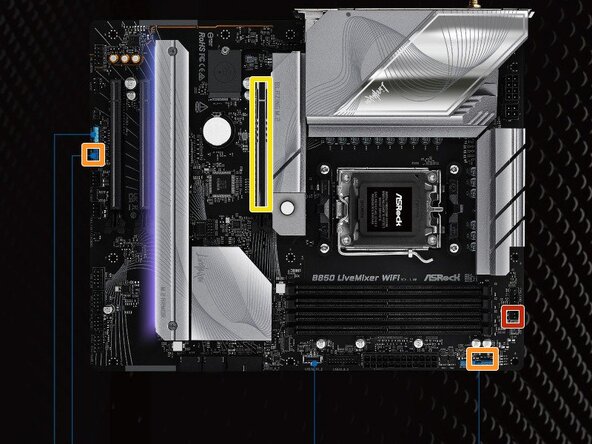
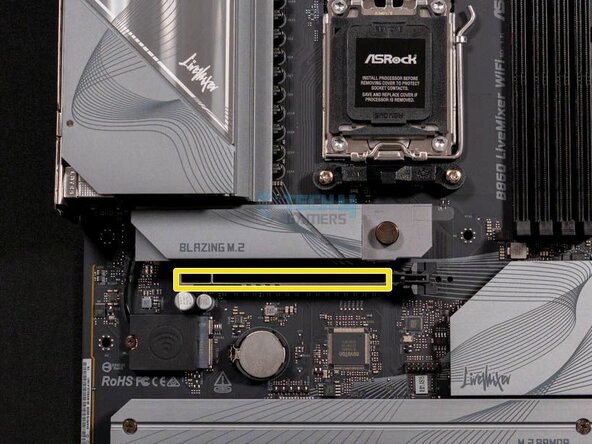
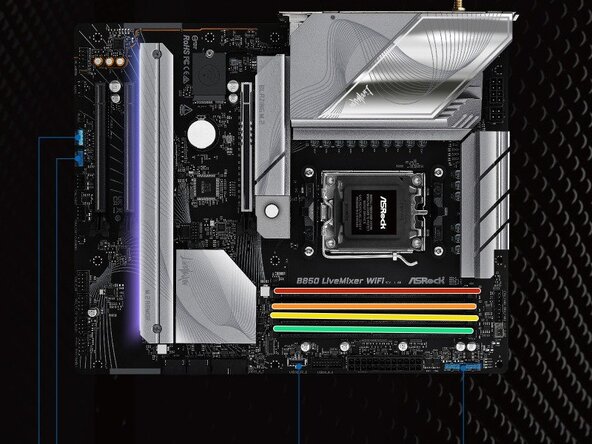
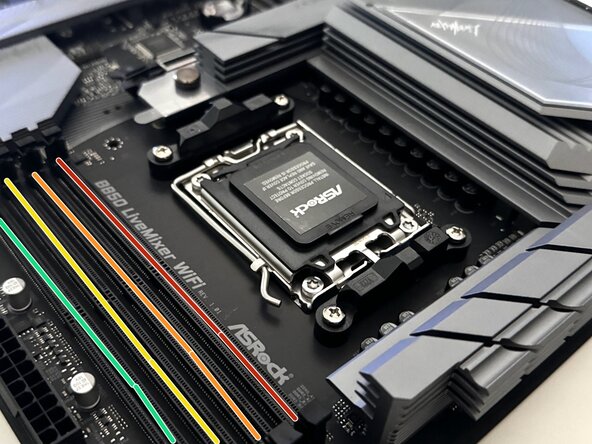
    2. ASRock B850 Labels: 手順 2、 2の画像 1 ASRock B850 Labels: 手順 2、 2の画像 2
      • CPU fan connectors

      • CPU goes here

      • SSD cover

      • CMOS battery

      • Wifi chip

      • Ram slots

      FixBotに聞いてみる

      コメントを追加

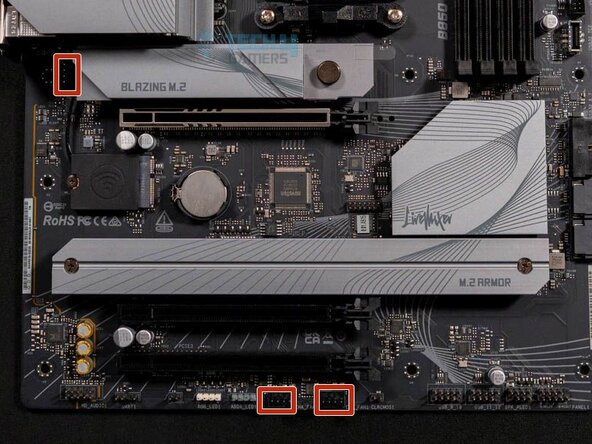
    3. ASRock B850 Labels: 手順 3、 2の画像 1 ASRock B850 Labels: 手順 3、 2の画像 2
      • Chassis fan connectors

      • Heatsink goes here (After CPU is installed)

      • ATX12V1 port

      • ATX12V2 port

      FixBotに聞いてみる

      コメントを追加

    4. ASRock B850 Labels: 手順 4、 2の画像 1 ASRock B850 Labels: 手順 4、 2の画像 2
      • AIO Pump

      • ADDR LED

      • Graphics card goes here

      FixBotに聞いてみる

      コメントを追加

    5. ASRock B850 Labels, RAM Channels: 手順 5、 2の画像 1 ASRock B850 Labels, RAM Channels: 手順 5、 2の画像 2
      • Channel A1

      • Channel A2

      • Channel B1

      • Channel B2

      • If you only have 2 sticks of RAM, you should use channels A2 and B2 to avoid any errors

      FixBotに聞いてみる

      コメントを追加

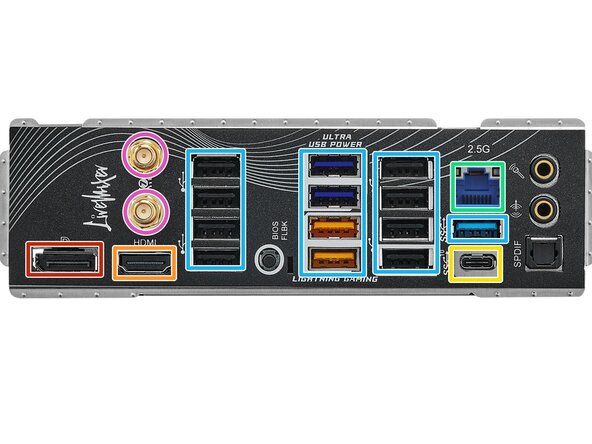
    6. ASRock B850 Labels, Ports - Left: 手順 6、 1の画像 1
      • Display port

      • HDMI port

      • USB-C port

      • Ethernet port

      • USB 2.0 and 3.0 ports

      • Antenna plugs in here

      FixBotに聞いてみる

      コメントを追加

作成者

1人の作成者と共同作成されました。

Kyeler W

メンバー登録日: 03/04/25

3,122 ポイント

15のガイドは作成済み

0件のガイドコメント

コメントを追加

統計データ:

過去 24時間: 1

過去 7 日: 36

過去 30 日: 170

今までの合計 2,456