この翻訳は、ソースガイドの最新の更新を反映していない可能性があります。 翻訳の更新に協力してください。 または ソースガイドを参照してください。
はじめに
このガイドではJoy-ConのJoystickを交換するための手順ごとにまとめられたインストラクションです。右側Joy-Conがこのガイドで使用されていますが、左側Joy-Conも作業はほぼ同一です。コンソールの電源を必ず切り、アクシデントで電源が入らないように再確認してください。
必要な工具と部品
-
-
-
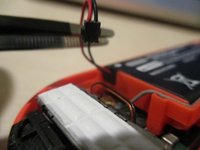
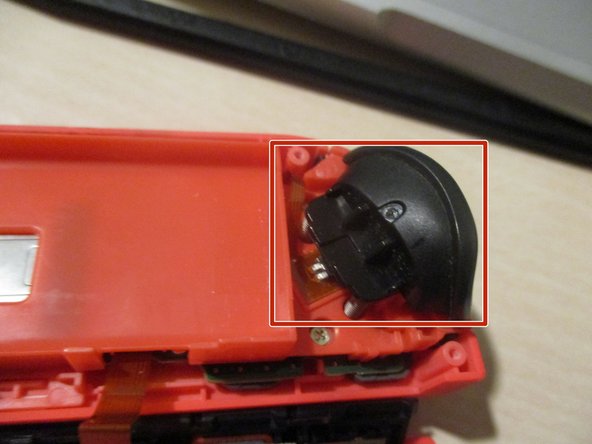
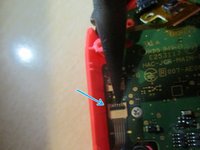
メインボードとBtアンテナを接続しているゴールドのSMP PFコネクタを引っ張ります。
-
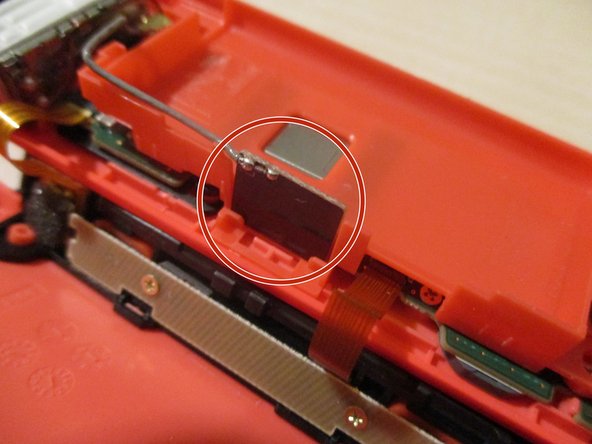
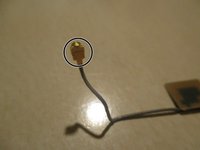
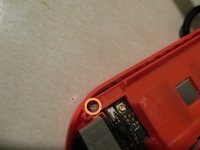
バッテリーコンパートメントの横側からスクエアアンテナを取り出します。
-
-
この手順で使用する道具:Magnetic Project Mat$19.95
-
ZRボタンとバネを外します。固定しているクリップを壊さないようにご注意ください。
-
バッテリーコンパートメントとZRボタンボードを固定しているPH000ネジを4本外してください。HDランブルモジュールの横に1本のネジが隠れています。
-
バッテリーコンパートメントを外します。
-
-
-
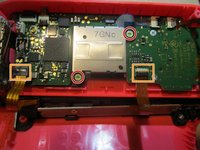
Joystickを固定しているPH000ネジを3本外します。
-
両側のサイドボードケーブルの接続を外さないでください。 コントローラに致命的な損傷を引き起こす可能性があります。
-
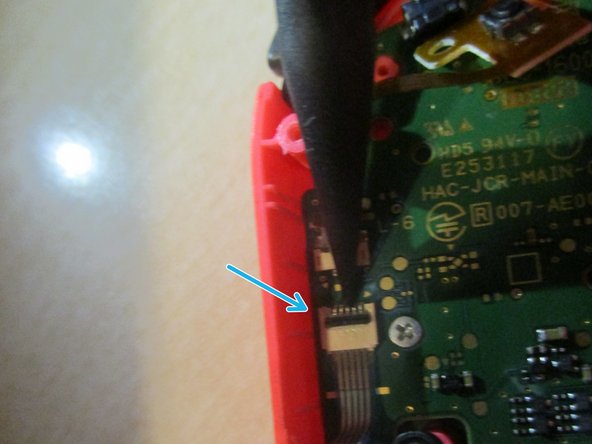
Joystickを外す前に、スパッジャーの先端を使ってクリップを跳ね上げ、固定されたリボンケーブルを取り出します。
-
-
-
新しいJoystickを装着するには、しっかりと押さえて、前述したガスケットより完全に貫通しているか確認してください。
-
ネジを取り付け、リボンケーブルをソケットに差し込みます。必ずケーブルを所定の位置に固定してください。
-


Joy-Conを再組み立てする際は、これらのインストラクションを逆の順番に従って作業を進めてください。
Joy-Conを再組み立てする際は、これらのインストラクションを逆の順番に従って作業を進めてください。
19 の人々がこのガイドを完成させました。
以下の翻訳者の皆さんにお礼を申し上げます:
94%

Midori Doiさんは世界中で修理する私たちを助けてくれています! あなたも貢献してみませんか?
翻訳を始める ›

7 件のコメント
Just a tip for people doing this repair. DO NOT remove the two ribbon cables between the two parts unless you absolutely have to. I pretty much destroyed my right joycon doing so. One of the cables was so hard to replace for me that I ended up breaking the clip that holds it in. My mistake, I could’ve been more careful but it’s probably best to just not even take them out in the first place. I’ve heard these cables are very finicky to position correctly anyways.
Ok, added the bullet to step 6 so that people know. Thanks for pointing it out!
Devnol -
I did not need to take off the ZR button to fix mine - so for future fixers, try that part without taking off ZR first. :) THANK YOU for creating this tutorial. This fix WAS SO EASY compared to the 3DS XL fixes I did in the past.
You have a point. But it’s probably better to remove it because the chances of breaking it are quite high. These are very sensitive cables, but you were lucky. Someone else though might not be.
Devnol -
I do understand that not taking it off can be difficult, but I also know that putting it back on after taking it off is a pain, because you have to adjust it in a way so you don't destroy the button like I did. If you do have to put it back on, I suggest you take a thin ridged object to put over the button while putting the plastic button piece back in.