手順 3を翻訳中
手順3

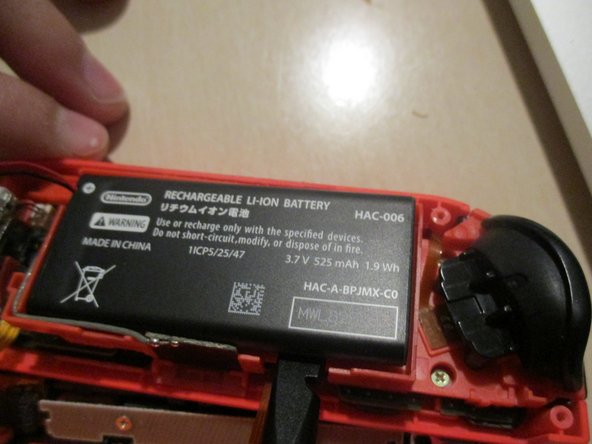


Disconnecting the battery
-
Pull the battery connector with your tweezers from the bottom carefully.
-
Remove the battery by inserting the flat side of your spudger.
| [title] Disconnecting the battery | |
| [* icon_note] To avoid damaging components, remove the battery from the controller. | |
| [* icon_note] Please note that the connector is pulled out vertically and not sideways as a zif connector does. | |
| - | [* red] Pull the battery connector with your tweezers from the bottom carefully. |
| + | [* red] Pull the battery connector with your [product|IF145-020|tweezers] from the bottom carefully. |
| [* black] Remove the battery by inserting the flat side of your spudger. | |
| [* icon_note] The battery is stuck to its frame with light adhesive. |
クリエイティブコモンズのオープンソース著作権のもと、あなたの投稿は著作権の対象となります。