手順 16を翻訳中
手順16


-
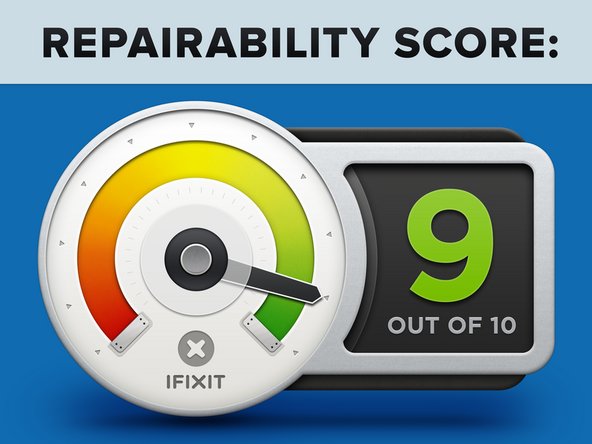
Motorola Droid Bionic Repairability Score: 9 out of 10 (10 is easiest to repair).
-
No tools are necessary for changing the SIM and microSD cards.
-
The battery can be removed in seconds.
-
The phone is held together with a limited number of screws and plastic clips. Adhesive is minimally used in its construction.
-
Many components can be replaced individually, and are not located on large, delicate ribbon cables.
-
The LCD is separable from the glass front panel, making them independently replaceable.
-
You must disassemble the entire phone to replace the LCD or front panel.
-
Replacing the rear-facing camera requires removing one of the motherboard's EMI shields.
クリエイティブコモンズのオープンソース著作権のもと、あなたの投稿は著作権の対象となります。