手順 13を翻訳中
手順13


-
There's tons of chips on the front of the board. Other chips of interest include:
-
Texas Instruments WL1271 chip that supports WiFi (802.11 b/g/n), Bluetooth 2.1, FM and GPS technologies (thanks Chipworks!)
-
Kionix KXTF9 accelerometer
-
ST Micro AGD8 2040 S6NBF gyroscope
-
Avago ACPM-7868 quad-band power amplifier
-
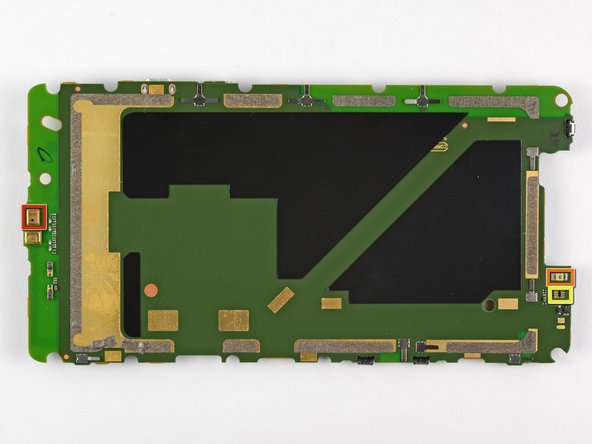
What's this? Did we use Content Aware to remove all of the chips from the back of the motherboard? The answer is no; there just isn't much going on with the backside of the board.
-
We find a microphone (red), proximity sensor (orange), ambient light sensor (yellow) on the back.
クリエイティブコモンズのオープンソース著作権のもと、あなたの投稿は著作権の対象となります。