メインコンテンツにスキップ

必要な工具と部品

この分解は修理ガイドでは ありません。 お持ちのSamsung Android Phoneを修理する際は、iFixitの修理ガイドをご利用ください。

  1. Samsung AMOLED Display Teardown, Samsung AMOLED Display Teardown: 手順 1、 2の画像 1 Samsung AMOLED Display Teardown, Samsung AMOLED Display Teardown: 手順 1、 2の画像 2
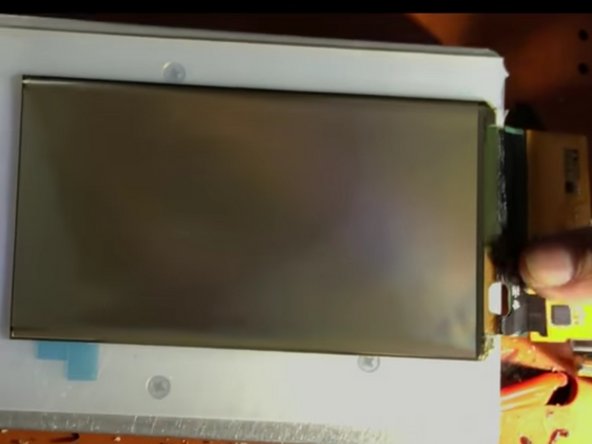
    • Here it is: The beautiful fortress of pixels known as the Super AMOLED screen.

    • Now, We take to separating it.

  2. Samsung AMOLED Display Teardown: 手順 2、 1の画像 1
    • After separating it, we take a closer look at it's insides.

    • The interesting thing is that after we separated it, the screen worked (no black spots or lines) but the touch didn't. This is interesting, because the touch and the pixels are integrated into the same layer. We will try to find out why.

    • It looks like the touch has a separate cable than the screen. This is interesting, because the touch and the pixels are integrated into the same layer, as said above. Note the touch screen controller chip in red.

    • Taking a closer look, it appears that we have cut the touch cable while tediously separating the screen. The adhesive securing the display is no joke.

  3. Samsung AMOLED Display Teardown: 手順 3、 1の画像 1
    • Full IC Identification:

    • You may need to enlarge it to view the text.

  4. Samsung AMOLED Display Teardown: 手順 4、 2の画像 1 Samsung AMOLED Display Teardown: 手順 4、 2の画像 2
    • Using a freezer, we separate the AMOLED display from the glass.

    • We take the screen polarizer film off, and we find out that the screen is really a silver-ish color, not black!

    • However, you technically won't be able to see any text or images on the screen without the black polarizer film.

    • We will update you on our later findings on the inside this screen.

作成者

3人の作成者と共同で作成されました。

Dinan Blueje

メンバー登録日: 02/04/19

832 ポイント

1ガイドが承認済み

チーム

Everything iPod Everything iPod人のメンバー

Community

62 メンバー

3のガイドは作成済み

0 件のコメント

コメントを追加

統計データ:

過去 24時間: 5

過去 7 日: 14

過去 30 日: 61

今までの合計 4,785