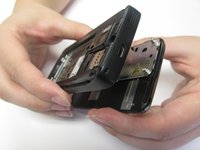
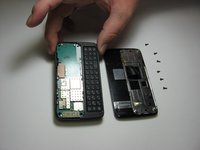
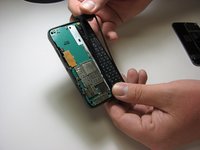
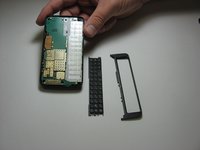
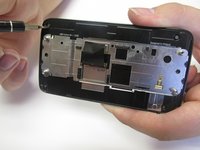
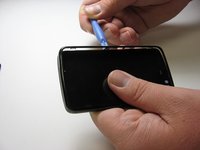
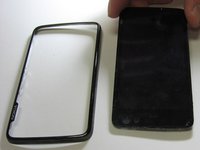
メインコンテンツにスキップ

必要な工具と部品

この分解は修理ガイドでは ありません。 お持ちのNokia N900を修理する際は、iFixitの修理ガイドをご利用ください。

  1. Nokia N900 Teardown, Nokia N900 Teardown: 手順 1、 1の画像 1
    • First, flip the phone so the back is facing upwards.

  2. Nokia N900 Teardown: 手順 2、 1の画像 1
    • Next, locate the slit on the side of the phone and remove the back cover.

  3. Nokia N900 Teardown: 手順 3、 1の画像 1
    • Once the back has been removed, take out the battery.

  4. Nokia N900 Teardown: 手順 4、 1の画像 1
    • Using a small bit screwdriver, unscrew all six screws located in the back of the phone. If necessary, iFixit has 16 to 112 Bit Driver kits available for purchase.

  5. Nokia N900 Teardown: 手順 5、 2の画像 1 Nokia N900 Teardown: 手順 5、 2の画像 2
    • Once all six screws have been removed, gently pull the phone apart. You should now be left with two pieces.

  6. Nokia N900 Teardown: 手順 6、 2の画像 1 Nokia N900 Teardown: 手順 6、 2の画像 2
    • Taking the back of the phone, remove the qwerty key mat. It should come off easily.

  7. Nokia N900 Teardown: 手順 7、 3の画像 1 Nokia N900 Teardown: 手順 7、 3の画像 2 Nokia N900 Teardown: 手順 7、 3の画像 3
    • Using the blue opening tool, pry out the green motherboard.

  8. Nokia N900 Teardown: 手順 8、 2の画像 1 Nokia N900 Teardown: 手順 8、 2の画像 2
    • Now, take the front half of the phone. Use the screwdriver to remove all six screws.

  9. Nokia N900 Teardown: 手順 9、 1の画像 1
    • Once pulled apart, you should be left with two pieces.

  10. Nokia N900 Teardown: 手順 10、 2の画像 1 Nokia N900 Teardown: 手順 10、 2の画像 2
    • With the touch screen now removed from the keyboard slider, use the blue, plastic opening tool to remove the cover of the screen.

    • It is highly advised to take off one side at a time.

    • Once one section of the cover has been removed, the second cover will be removable. You have officially completed tearing down a Nokia N900.

作成者

6人の作成者と共同で作成されました。

Juan Haro

メンバー登録日: 03/13/14

284 ポイント

2のガイドは作成済み

チーム

New Mexico State, Team 1-4, Easley Spring 2014 New Mexico State, Team 1-4, Easley Spring 2014人のメンバー

NMSU-EASLEY-S14S1G4

4 メンバー

4のガイドは作成済み

コメント 1 件

Looks like the LCD flex cable ripped off on this teardown, ouch!

Leonard Putra - 返信

コメントを追加

統計データ:

過去 24時間: 0

過去 7 日: 4

過去 30 日: 19

今までの合計 5,598