はじめに
I've had this since I was 3, I think. Anyway it plays cassette tapes and IT HAS A MICROPHONE!!!! ooooooo!
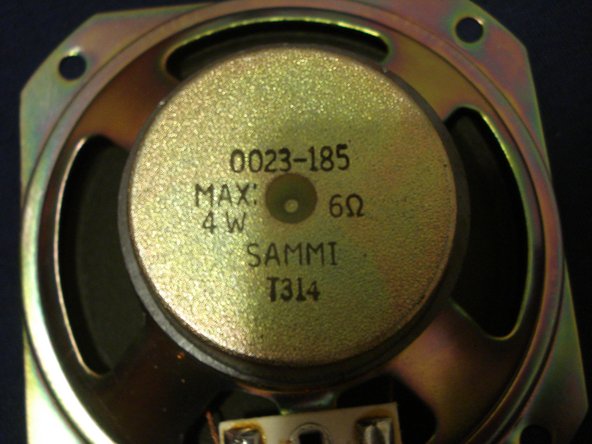
The model nunber is TCM-4500
It was first introduced in the 1980's
必要な工具と部品
-
-
Here we have a 'my first Sony' cassette player with a microphone
-
It can even take a second microphone, sold seperately of course
-
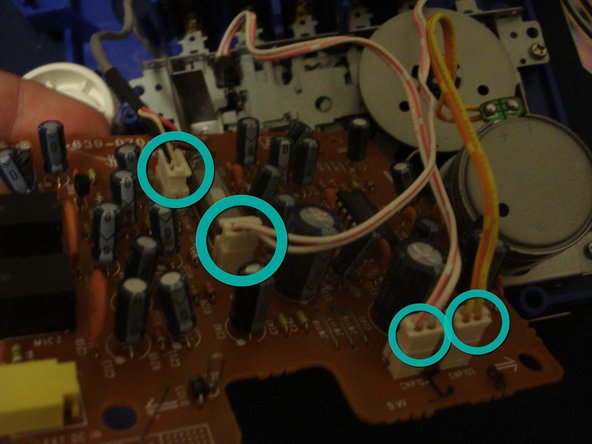
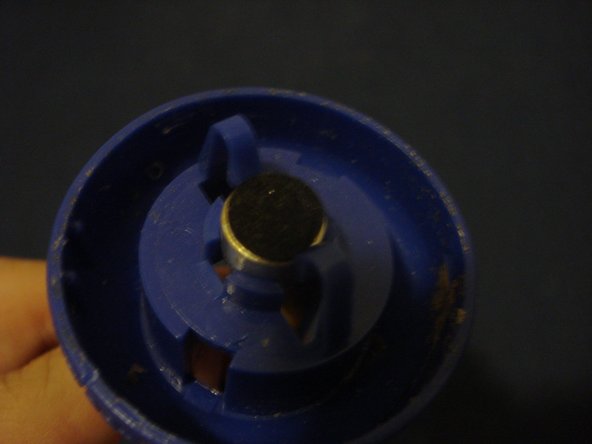
Main microphone plug
-
Secondary Microphone plug
-
-
-
This model uses four C-cell batteries, these have been in here since I was 10, hmmm... wonder if there's any juice left?
-
Time to take the batteries out
-
Push down at one end of each row of batteries towards the spring
-
With the tension released pull out on the battery until it comes out
-
Repeat until all four are removed
-
Thumbs up to Sony for providing nice visual instructions for those kiddies
-
-
-
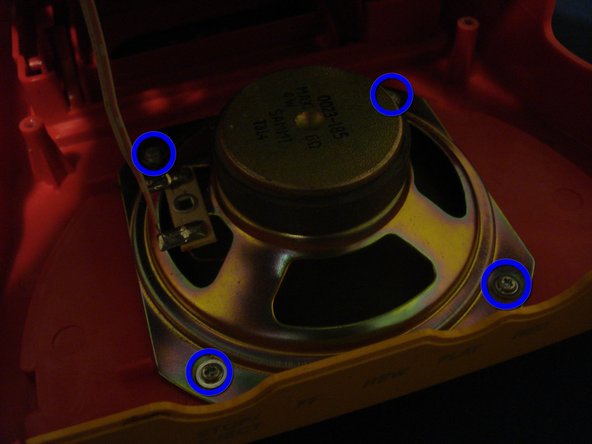
To remove the red back cover you need to remove six screws placed around the border of the cover. Note! The bottom 2 screws are longer than the other 4. These 2 are 35mm long whilst the other 4 are only 30mm long. Don't mix them up !
-
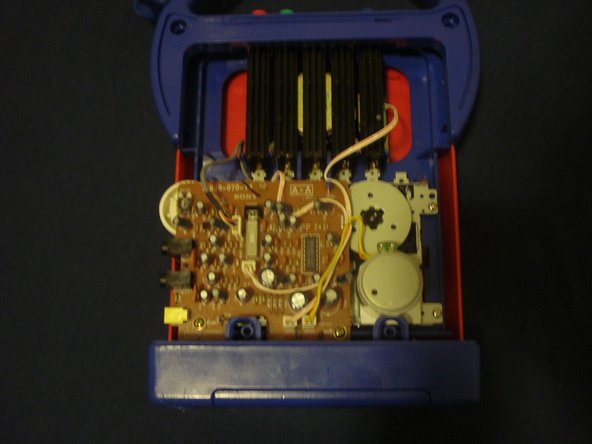
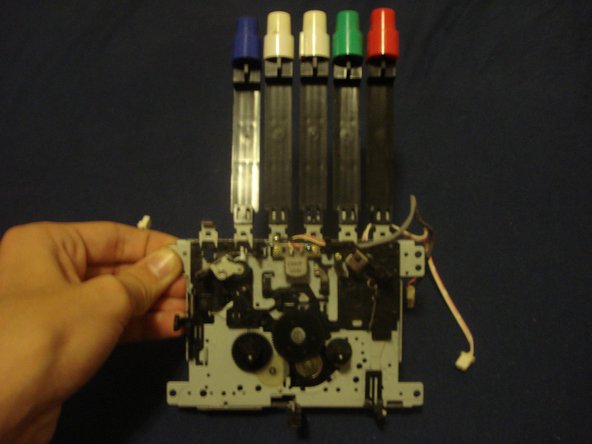
And voilà! Now we have a nice view of all the internal components
-
-


2 件のコメント
Do you know where I can find belts for this device? I need both belts new.
Try to look if you can replace it with kind of mixed belt pack : https://www.ebay.fr/itm/Universel-50-Mix...