メインコンテンツにスキップ

この分解は進行中です。 – 最新版を見るには定期的に再読み込みします。

必要な工具と部品

  1. Nintendo DS Lite Teardown, Examine: 手順 1、 3の画像 1 Nintendo DS Lite Teardown, Examine: 手順 1、 3の画像 2 Nintendo DS Lite Teardown, Examine: 手順 1、 3の画像 3
    • First things first, get out that old DS. Admire it in it's glory, because it's not going to look like that for long!

    • Note that it may be hard putting it back together, so there's no going back!

  2. Nintendo DS Lite Teardown, Battery & Screw Removal: 手順 2、 3の画像 1 Nintendo DS Lite Teardown, Battery & Screw Removal: 手順 2、 3の画像 2 Nintendo DS Lite Teardown, Battery & Screw Removal: 手順 2、 3の画像 3
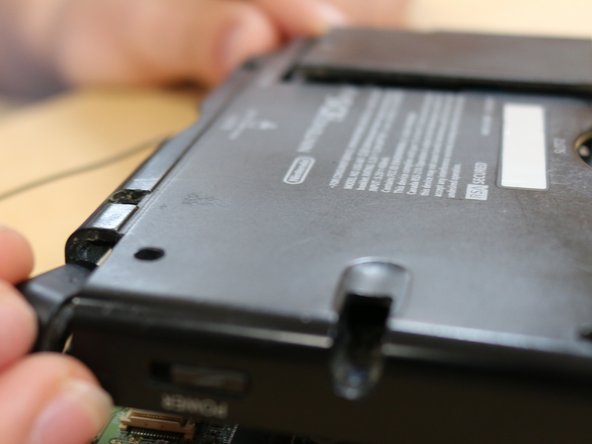
    • Using the Phillips head screwdriver, remove any and all screws from the back ports of the DS.

  3. Nintendo DS Lite Teardown: 手順 3、 1の画像 1
    • Following this, then remove the back panel, and take out the battery using your spudger.

    • Be sure to put all of your screws, batteries, and panel parts in an organizer so that you don't lose them.

  4. Nintendo DS Lite Teardown, Part Separation: 手順 4、 1の画像 1
    • Place the spudger in either of the line edges near the game port, and then place it inward, forcing it to separate the two parts.

    • Taking this, then gently but firmly move it along the inside until the edge of that side of the DS, making sure not going in too far into the DS.

  5. Nintendo DS Lite Teardown: 手順 5、 1の画像 1
    • Pull out, and then repeat with the other sides of the DS.

  6. Nintendo DS Lite Teardown: 手順 6、 2の画像 1 Nintendo DS Lite Teardown: 手順 6、 2の画像 2
    • Also remember that following this, you need to remove the left and right trigger buttons from their sockets.

  7. Nintendo DS Lite Teardown, Wi-Fi Board: 手順 7、 2の画像 1 Nintendo DS Lite Teardown, Wi-Fi Board: 手順 7、 2の画像 2
    • After removing all of your larger machine components, you need to have the electronics board and plastic segments entirely seperate.

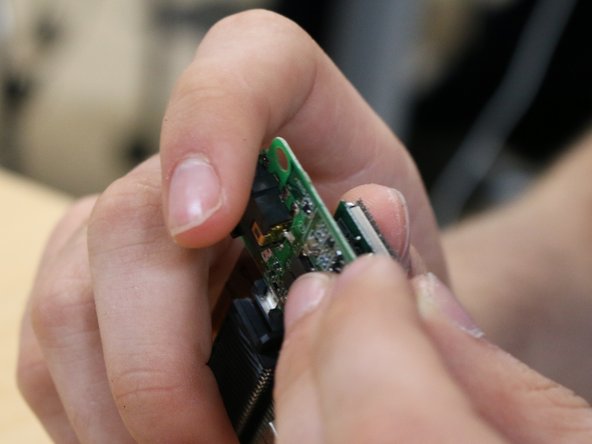
    • Take your spudger, and lightly place it underneath the small Wi-Fi Board, beginning to apply small amounts of pressure. Remove the board.

  8. Nintendo DS Lite Teardown: 手順 8、 1の画像 1
    • Take the board, and put it with your screws after removing it.

  9. Nintendo DS Lite Teardown, Motherboard: 手順 9、 1の画像 1
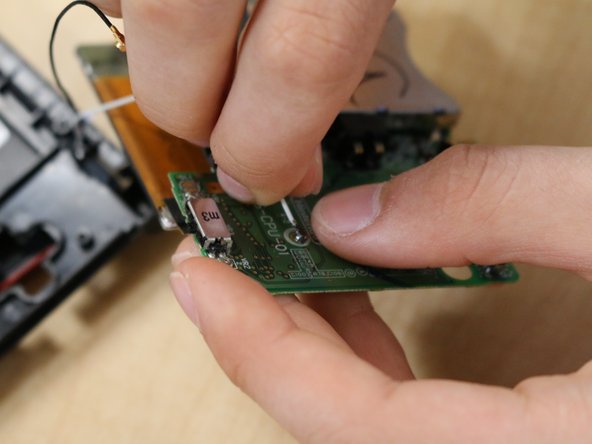
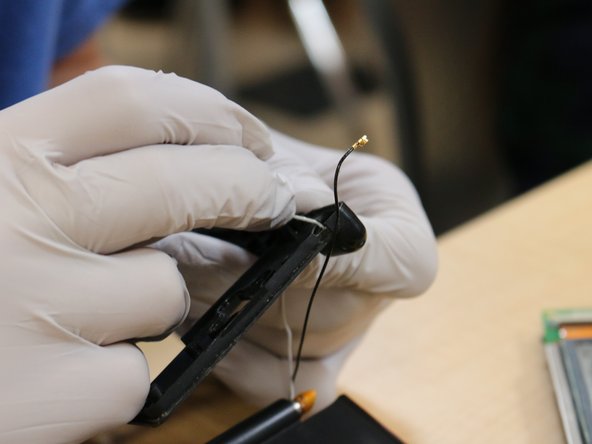
    • Now take the black and white wires present near the Wi-Fi Board, and start with placing your spudger thumbnail on the black wire.

  10. Nintendo DS Lite Teardown: 手順 10、 2の画像 1 Nintendo DS Lite Teardown: 手順 10、 2の画像 2
    • Again being firm in your force without putting too much strain on the piece, seperate the black wire piece from the board.

    • Repeat this action with the white wire.

  11. Nintendo DS Lite Teardown: 手順 11、 2の画像 1 Nintendo DS Lite Teardown: 手順 11、 2の画像 2
    • Now, being extremely careful, flip the black wire piece upside down, and gently slide it underneath and out of the game cartridge slot.

    • Keeping the right corner attached, you can now separate the mother board from the upper case, and from the lower case plastic covering.

  12. Nintendo DS Lite Teardown, Upper Case: 手順 12、 1の画像 1
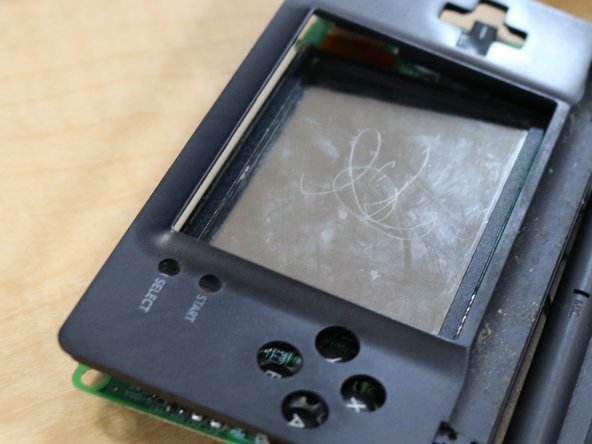
    • Partially seperate your upper case and lower motherboard, creating a short distance between the two.

  13. Nintendo DS Lite Teardown: 手順 13、 2の画像 1 Nintendo DS Lite Teardown: 手順 13、 2の画像 2
    • Apply either your spudger or your finger, and gently pull the connecting ribbon cable from the top left trigger socket.

    • If you are looking to completely separate your upper case from the rest of the DS, you can also move the Wi-Fi wires through following the Ribbon Cable.

  14. Nintendo DS Lite Teardown, Main Finish: 手順 14、 2の画像 1 Nintendo DS Lite Teardown, Main Finish: 手順 14、 2の画像 2
    • It's at this point that most DS Teardowns and Part Replacements end.

    • Further Teardown focuses more on the previously mentioned ribbon and wi-fi cables connections to the upper screen, and with this the presence of the microphone ports.

    • To reassemble your device, follow these instructions in reverse order. Be sure to be very careful with the screw and cable placement of separate components of your DS, misplaced parts can either break or damage your system

    • Further information and process steps can be found here.

添付文書

作成者

5人の作成者と共同で作成されました。

KC Harris

メンバー登録日: 06/02/15

342 ポイント

1ガイドが承認済み

コメント 1 件

Thank you for this tutorial! I have a nintendo DS that I'd like to replace the screen on and maybe switch cases. Just wondering if you can reassemble everything without having to solder? (sorry if that's a silly question, electronic repairs both terrify and intrigue me lol)

Thanks! -Stacey

staceydandrews - 返信

コメントを追加

統計データ:

過去 24時間: 1

過去 7 日: 5

過去 30 日: 51

今までの合計 11,683