注意:あなたは必要条件ガイドを編集しています。あなたが行なう変更は、この手順を含む全ての17個のガイドに反映されます。
手順 3を翻訳中
手順3


-
Insert a plastic card up into the corner of the air vent slot near the top of the rear case.
-
Push the card toward the top of the iMac to release the front bezel latch.
-
Pull the front bezel away from the rear case.
-
Repeat this process for the other side of the front bezel.
-
If the bezel refuses to release, try pressing the lower edge back onto the rear case and repeat this opening process.
| [* icon_note] Re-orient your iMac so it sits upright on the stand. | |
| - | [* black] Insert a plastic card up into the corner of the air vent slot near the top of the rear case. |
| + | [* black] Insert a [product|IF145-101|plastic card] up into the corner of the air vent slot near the top of the rear case. |
| [* black] Push the card toward the top of the iMac to release the front bezel latch. | |
| [* black] Pull the front bezel away from the rear case. | |
| [* black] Repeat this process for the other side of the front bezel. | |
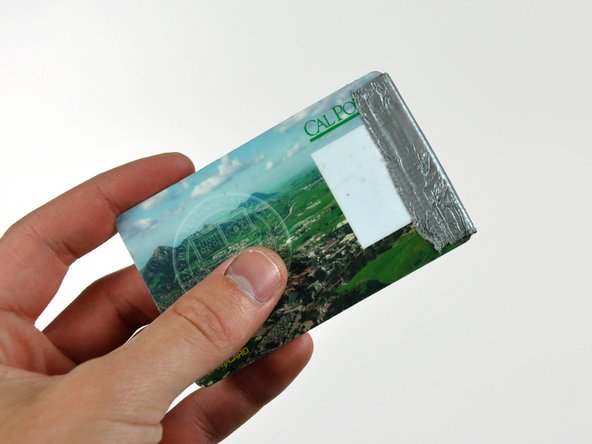
| [* icon_note] It may be necessary to apply several layers of duct tape to the top of the access card to aid in releasing the latches. | |
| [* black] If the bezel refuses to release, try pressing the lower edge back onto the rear case and repeat this opening process. |
クリエイティブコモンズのオープンソース著作権のもと、あなたの投稿は著作権の対象となります。