メインコンテンツにスキップ

iPad 3 4G Front Panel Assembly Replacement

英語
日本語

手順 18を翻訳中

手順18
iPad 3 4G Front Panel Assembly Replacement: 手順 0、 3の画像 1 iPad 3 4G Front Panel Assembly Replacement: 手順 0、 3の画像 2 iPad 3 4G Front Panel Assembly Replacement: 手順 0、 3の画像 3
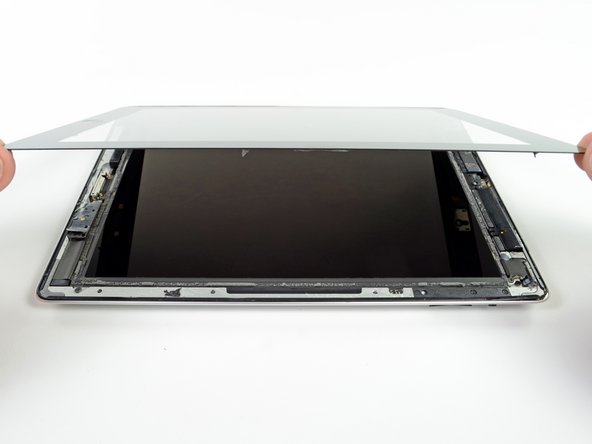
  • Holding the front panel from top- and bottom-right corners, gently lift the front panel, rotating it around the left edge.

  • If there is still adhesive holding the front panel to the aluminum frame, repeat the previous steps—sliding the iSesamo along the edges of the iPad and releasing the adhesive.

  • Rotate the display all the way over, laying the front panel on the table beside the iPad.

  • Be careful to not bend or tear the touchscreen ribbon cable.

ここに翻訳を挿入する

ここに翻訳を挿入する

ここに翻訳を挿入する

ここに翻訳を挿入する

クリエイティブコモンズのオープンソース著作権のもと、あなたの投稿は著作権の対象となります