ご注意:あなたは前提となるガイドを編集しています。あなたが行なう変更は、この手順を含むガイド全体に反映されます。
手順 13を翻訳中
手順13


-
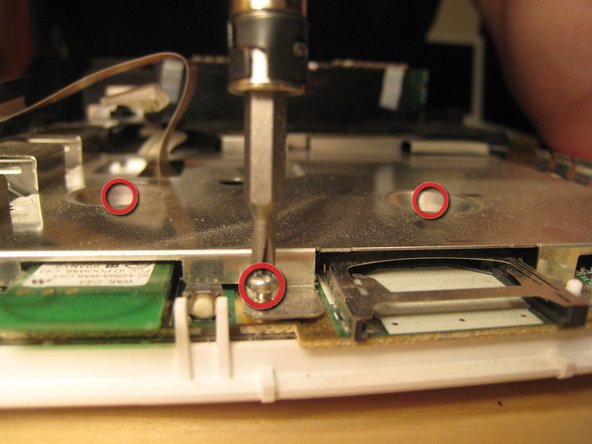
Remove all screws from the logic board cover. Two are recessed in the middle; others are along the edge. More will become visible as other parts are removed. It's like a game! You can start with the screws holding in the black plastic pieces, but I started with the most visible and went from there.
-
There are two wires (shown in the third picture) coming from the logic board and connected to the Wi-Fi antennas. These are delicate. Do not break them.
クリエイティブコモンズのオープンソース著作権のもと、あなたの投稿は著作権の対象となります。