手順 4を翻訳中
手順4

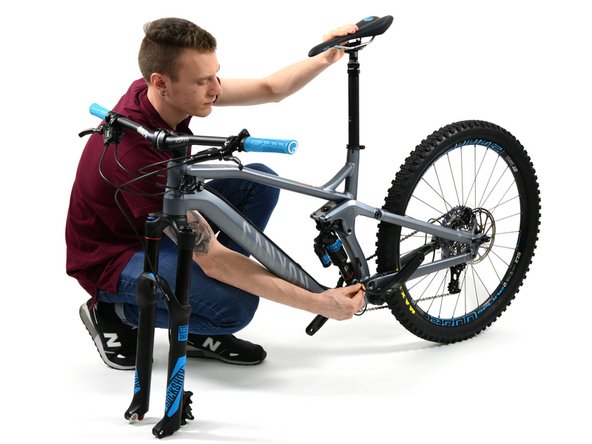


Saddle montage
-
Attaching the saddle to the frame is a piece of cake. Take the saddle and apply assembly paste to the bottom part of the seat post, around the clamping area of it and inside the seat tube.
-
Slide the saddle into the seat tube while pulling out the cable at the lower end of the tube.
-
Tighten the bolt of the clamp with the torque wrench.
| [title] Saddle montage | |
| [* black] Attaching the saddle to the frame is a piece of cake. Take the saddle and apply assembly paste to the bottom part of the seat post, around the clamping area of it and inside the seat tube. | |
| [* black] Slide the saddle into the seat tube while pulling out the cable at the lower end of the tube. | |
| [* icon_caution] Note the minimum and maximum height markings on the seat post. | |
| - | |
| + | [* black] Tighten the bolt of the clamp with the torque wrench. |
クリエイティブコモンズのオープンソース著作権のもと、あなたの投稿は著作権の対象となります。