ご注意:あなたは前提となるガイドを編集しています。あなたが行なう変更は、この手順を含むガイド全体に反映されます。
手順 27を翻訳中
手順27


-
Turn on your soldering iron. If your soldering iron has temperature control:
-
Set it to 350 °C (~650 °F) if you're using leaded solder
-
Set it to 400 °C (~750 °F) if you're using lead-free solder
-
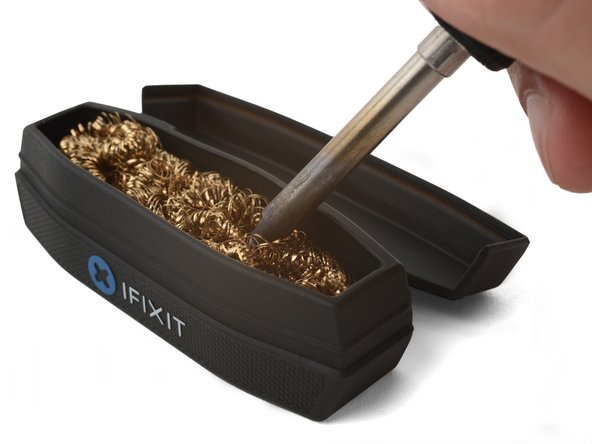
Clean the tip of your soldering iron. If you're using a sponge, wet the sponge and quickly wipe the tip across it. If you're using brass wire, stab the tip into the wire a few times.
-
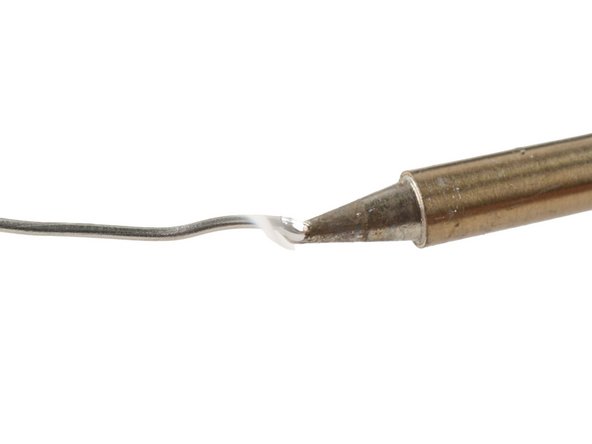
If you're not using solder paste, melt a small amount of solder onto the tip. You'll transfer this solder onto the joint.
クリエイティブコモンズのオープンソース著作権のもと、あなたの投稿は著作権の対象となります。