手順 23を翻訳中
手順23


-
We'll skip tearing down the display itself—we've been down that road before—so how about a lovely X-ray instead? Here you can see the camera board with its long data cable, the solid metal Apple logo, and even the little magnets embedded in the lid for sleep/wake functionality.
-
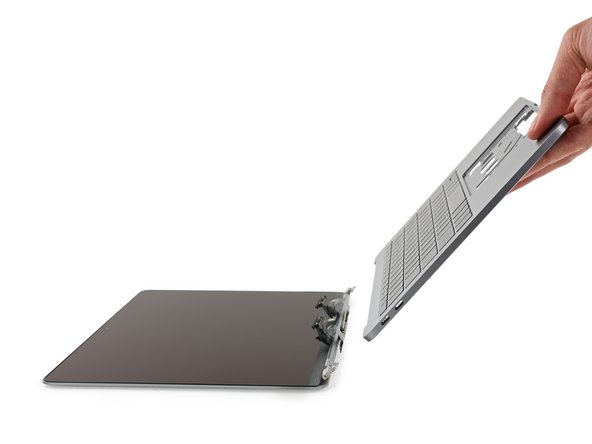
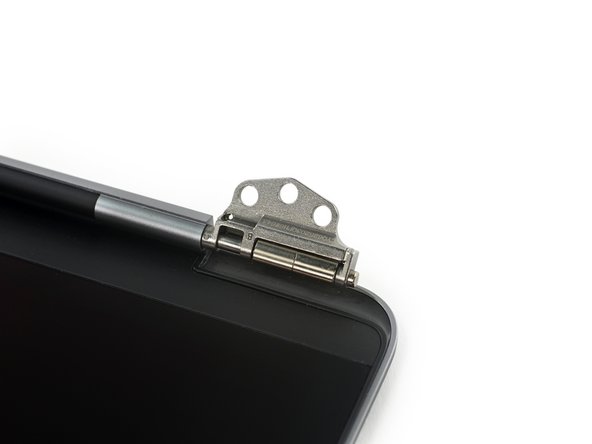
We gently detach the gutted shell of the keyboard/upper case from the display, and take a closer look at the fancy new hinge system.
-
Sometimes seemingly standard hardware deserves an Ooh and an Ahh: These small, precision hinges are likely injection molded, allowing for thinner and more precise parts.
クリエイティブコモンズのオープンソース著作権のもと、あなたの投稿は著作権の対象となります。