メインコンテンツにスキップ

MacBook Pro 13" Function Keys Late 2016 분해도

英語
韓国語

手順 23を翻訳中

手順23
MacBook Pro 13" Function Keys Late 2016 Teardown: 手順 0、 3の画像 1 MacBook Pro 13" Function Keys Late 2016 Teardown: 手順 0、 3の画像 2 MacBook Pro 13" Function Keys Late 2016 Teardown: 手順 0、 3の画像 3
  • We'll skip tearing down the display itself—we've been down that road before—so how about a lovely X-ray instead? Here you can see the camera board with its long data cable, the solid metal Apple logo, and even the little magnets embedded in the lid for sleep/wake functionality.

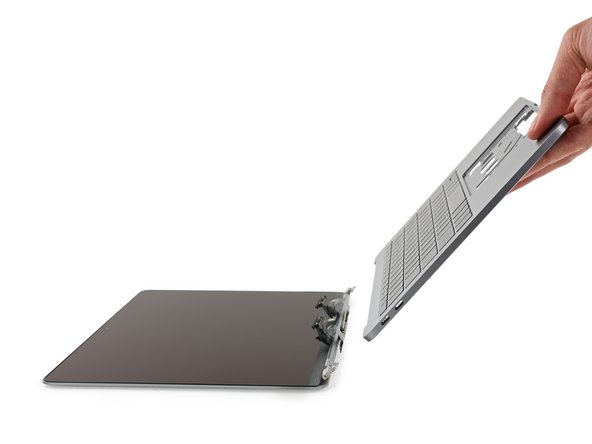
  • We gently detach the gutted shell of the keyboard/upper case from the display, and take a closer look at the fancy new hinge system.

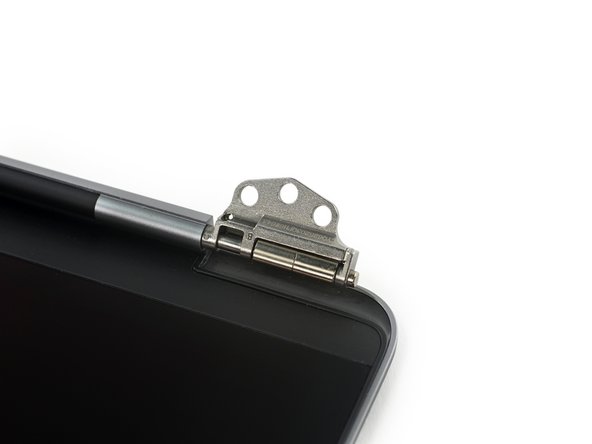
  • Sometimes seemingly standard hardware deserves an Ooh and an Ahh: These small, precision hinges are likely injection molded, allowing for thinner and more precise parts.

  • More importantly, more complex parts can be produced with less waste than traditional machining, which in our book makes it a win.

우리는 디스플레이 자체 분해를 건너 뜁니다—우리는 이미 그 길로가봤어요—대신 멋진 X-ray는 어떻습니까? 긴 데이터 케이블, 금속 Apple 로고, 잠자기/깨우기 기능을 위해 뚜껑에 내장한 작은 자석을 포함한 카메라 보드를 볼 수 있습니다.

키보드/상단 케이스 속이 빈 껍질을 디스플레이에서 조심히 분리하고 멋진 새 힌지 시스템을 자세히 살펴 봅니다.

가끔 일반적으로 보이는 하드웨어가 우~, 아~ 감탄할 만 합니다: 이 작고 정밀한 힌지는 사출 성형되어 있어서 얇고 정밀한 부품 사용이 가능합니다.

더 중요한 것은 더욱 복잡한 부품들 생성할 때 폐기물 양이 기존의 가공보다 적다는 것이며, 우리는 이를 승리라고 생각합니다.

クリエイティブコモンズのオープンソース著作権のもと、あなたの投稿は著作権の対象となります