メインコンテンツにスキップ

Google Pixel XL Teardown

英語
日本語

手順 8を翻訳中

手順8
Google Pixel XL Teardown: 手順 0、 3の画像 1 Google Pixel XL Teardown: 手順 0、 3の画像 2 Google Pixel XL Teardown: 手順 0、 3の画像 3
  • We really just want to look at this motherboard, but we're thwarted by a (very Apple-like) fingerprint sensor cable boobie trap! Fortunately, it proves very easy to disarm.

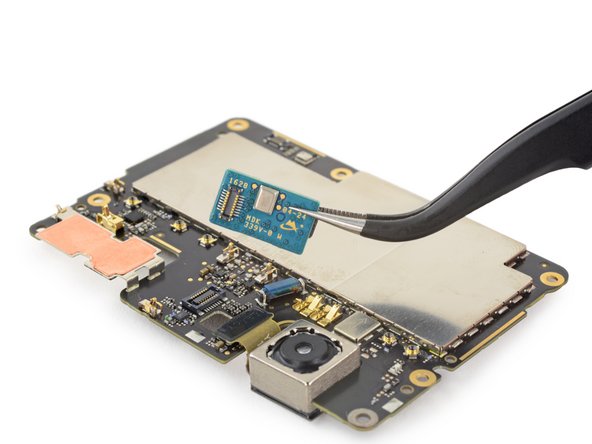
  • Next is another mini board with microphone and the rangefinder that enables the XL's laser autofocus.

  • These smaller bits aren't always so modular; in other phones, we often find them clustered together on the main board. More modularity means cheaper and easier repairs—if a single component fails, you don't have to replace the entire motherboard or embark on a risky microsoldering adventure.

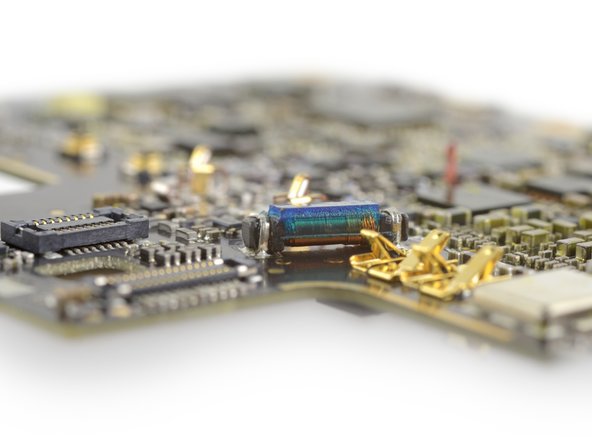
  • Teardown Update: This blue "mystery" component hanging out next to the main camera is likely a passive inductor, as evidenced by its two solder pads and copper wire coil.

ここに翻訳を挿入する

ここに翻訳を挿入する

ここに翻訳を挿入する

ここに翻訳を挿入する

クリエイティブコモンズのオープンソース著作権のもと、あなたの投稿は著作権の対象となります