メインコンテンツにスキップ

iPad Airセルラーモデルのバッテリーの交換

英語
日本語

手順 14を翻訳中

手順14
iPad Air LTE Battery Replacement: 手順 0、 3の画像 1 iPad Air LTE Battery Replacement: 手順 0、 3の画像 2 iPad Air LTE Battery Replacement: 手順 0、 3の画像 3
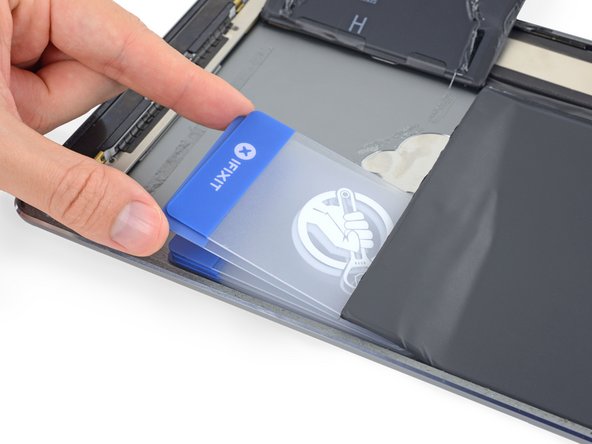
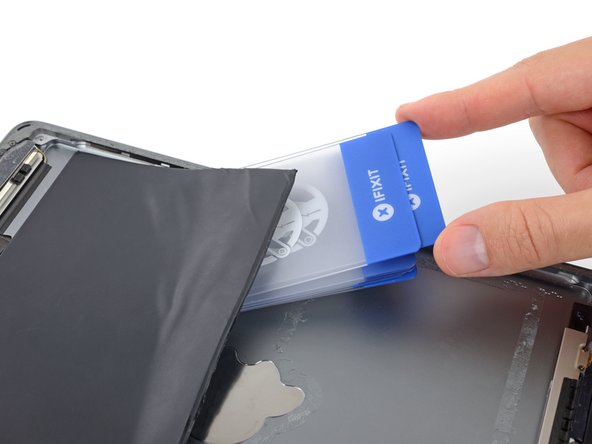
  • Repeat the above procedure to separate the second, lower battery cell from the rear case.

  • Insert your cards only from the top edge of the battery cell and from the side opposite the logic board. Don't use any cards to pry under the battery from the bottom edge of the iPad, or you may damage ribbon cables for the speakers, antennas, and Lightning connector.

背面ケースから2番目のバッテリー下部も同様の手順で外していきます。

カードはバッテリーセルの上端から、ロジックボードと反対側の側面からのみ差し込んで下さい。カードでiPadの下端からバッテリーをこじ開けないようにしてください。スピーカー・アンテナ・Lightningコネクタのケーブルが損傷する可能性があります。

クリエイティブコモンズのオープンソース著作権のもと、あなたの投稿は著作権の対象となります