手順 17を翻訳中
手順17


-
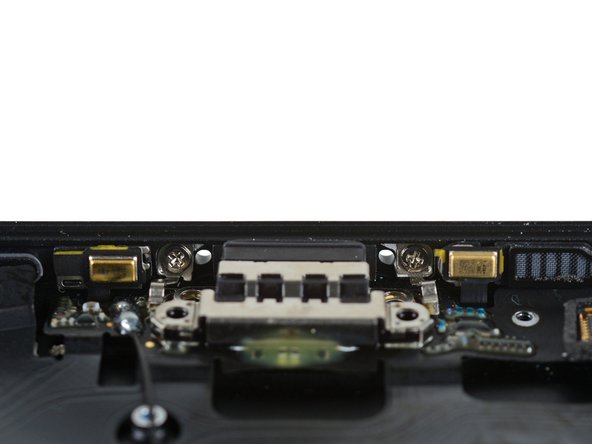
Now that the logic board is out, we're free to pick out the Lightning connector assembly.
-
Or can we!? Prying up the light adhesive went well, but our first tug was in vain. There are some extra screws in this port!
-
It seems like Apple has taken our warning to heart. Without a headphone jack to bear the burden of audio connections, this port will get a lot more wear, and it's been well reinforced.
-
Other denizens of the Lightning cable (a.k.a. the "everything cable"): an antenna, two microphones, two speaker grille plugs, and oh yeah...the Lightning port.
クリエイティブコモンズのオープンソース著作権のもと、あなたの投稿は著作権の対象となります。