手順 5を翻訳中
手順5


-
Peter Piper picked a pair of pesky proprietary Pentalobes...
-
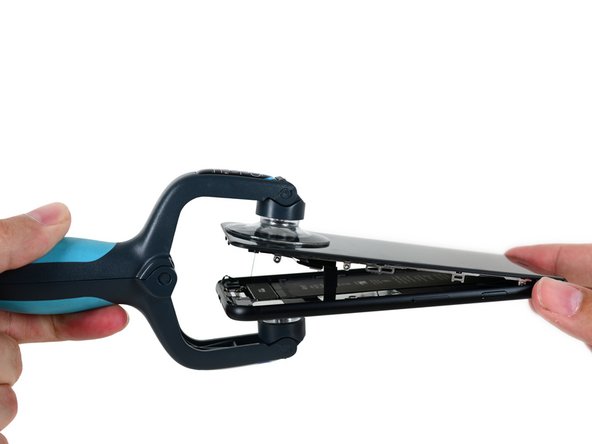
With a click and a clack, we break out the iSclack. Without a crack, the iPhone cuts us some slack.
-
This iPhone 7 opens just like a storybook, along the side instead of at the top. And with no torn or tight cables, it looks like this story is going to have a fairytale ending.
-
But this story is far from over—and before we jump to conclusions, we're going to take this phone cover to cover, starting with the battery.
クリエイティブコモンズのオープンソース著作権のもと、あなたの投稿は著作権の対象となります。