メインコンテンツにスキップ

Samsung Galaxy Tab 7.0 Front Panel Replacement

注意:あなたはさきほど閲覧しているガイドの前提となるページを編集しています。あなたが行った変更は、この手順を含むガイド全体に影響を与えます。

英語
日本語

手順 6を翻訳中

手順6
Samsung Galaxy Tab 7.0 Front Panel Replacement: 手順 0、 3の画像 1 Samsung Galaxy Tab 7.0 Front Panel Replacement: 手順 0、 3の画像 2 Samsung Galaxy Tab 7.0 Front Panel Replacement: 手順 0、 3の画像 3
  • Be careful when approaching the top left corner of the Galaxy Tab. Be sure to follow the next step carefully.

  • When separating the front panel from the top left corner of the Galaxy Tab, be careful not to rip the microphone ribbon cable (highlighted in red in the first picture). It is extremely thin and easy to tear.

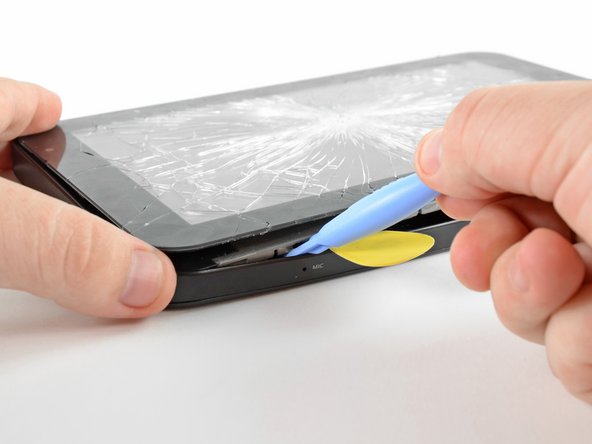
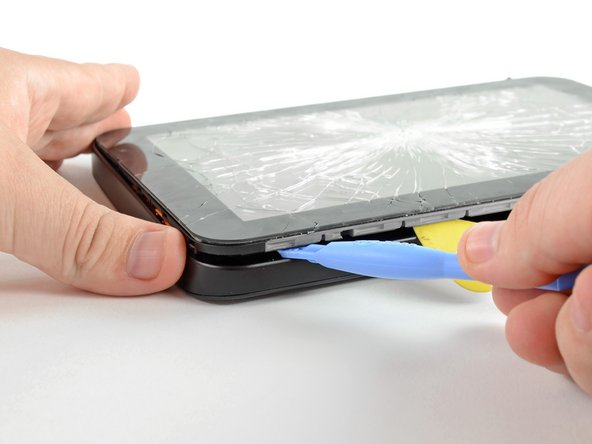
  • Insert a plastic opening tool into the gap next to the left side of the guitar pick.

  • Make sure to wedge it underneath the inner framework to gain the most leverage when releasing the clips.

  • Simultaneously lift upwards and run the plastic opening tool along the top left corner of the Galaxy Tab to free the Front Panel Assembly from the retaining clips.

ここに翻訳を挿入する

ここに翻訳を挿入する

ここに翻訳を挿入する

ここに翻訳を挿入する

ここに翻訳を挿入する

クリエイティブコモンズのオープンソース著作権のもと、あなたの投稿は著作権の対象となります