メインコンテンツにスキップ

Mac Mini Mid 2011ハードドライブの交換

注意:あなたは必要条件ガイドを編集しています。あなたが行なう変更は、この手順を含む全ての9個のガイドに反映されます。

英語
日本語

手順 1を翻訳中

手順1
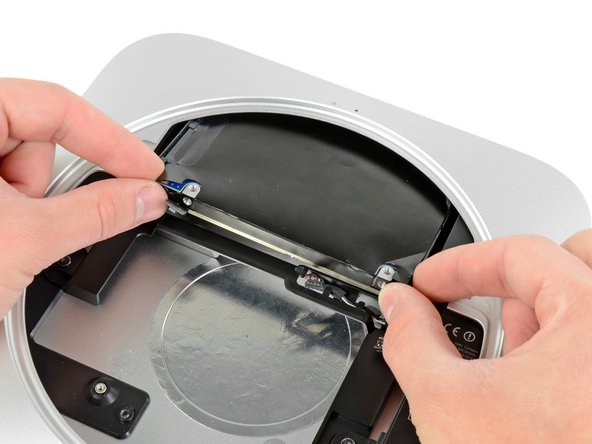
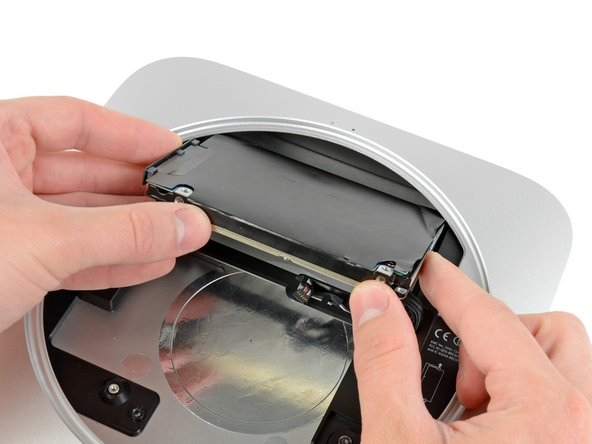
Mac Mini Mid 2011 Hard Drive Replacement: 手順 0、 2の画像 1 Mac Mini Mid 2011 Hard Drive Replacement: 手順 0、 2の画像 2
  • Pull the hard drive away from the front edge of the mini and remove it from the outer case.

  • During reassembly, there are two pins on the inside edge of the hard drive that fit into the case. The holes have rubber grommets around them, so it may be difficult to tell when you have seated the hard drive correctly.

  • There are two pairs of holes in the case. Insert the pins into the holes closest to the bottom of the case.

ハードドライブを本体の前面から引き出しアウターケースから取り外します。

再組立ての際、ハードドライブ内側の辺にはケースにはまる2つのピンがあります。穴はゴム製グロメットで囲まれており、ハードドライブが正しく設置されたか分かりにくい事があります。

ケースには2組の穴があります。ピンをケースの底に近い方の穴に差し込みます。

クリエイティブコモンズのオープンソース著作権のもと、あなたの投稿は著作権の対象となります