手順 6を翻訳中
手順6


-
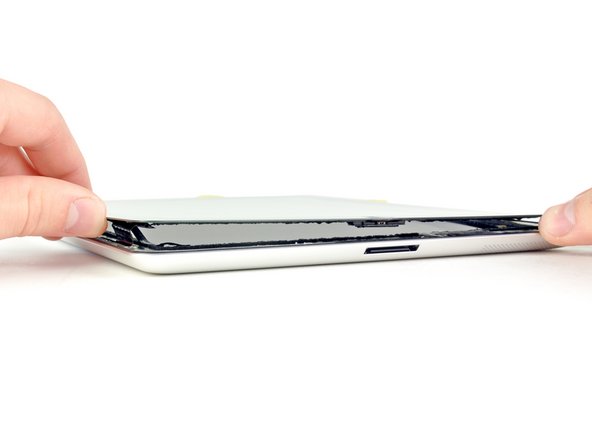
When separating the front panel from the bottom left corner of the iPad 2, be careful not to rip the digitizer cable (highlighted in red in the first picture). It is extremely thin and easy to tear.
-
Slightly lift the front panel near the dock connector to separate it from the foam adhesive securing it to the LCD.
-
Use a guitar pick to help cut the foam adhesive securing the perimeter of the LCD to the front panel.
クリエイティブコモンズのオープンソース著作権のもと、あなたの投稿は著作権の対象となります。