手順 5を翻訳中
手順5


-
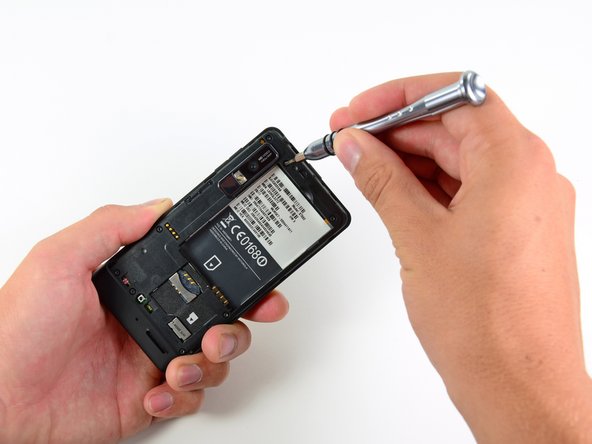
Like its predecessors, the Droid 3's rear case is held in place by a few T5 Torx screws.
-
Motorola likes to hide screws and latches beneath the information label, making opening the phone a rather sticky affair.
-
Of course, these obstacles are of little challenge to our spudgers, 54-piece bit driver kits, and talented fingers.
-
With the screws unscrewed, the clips unclipped, and the stickers unsticked, we get a full-on exposè of the Droid 3's innards.
クリエイティブコモンズのオープンソース著作権のもと、あなたの投稿は著作権の対象となります。