手順 8を翻訳中


-
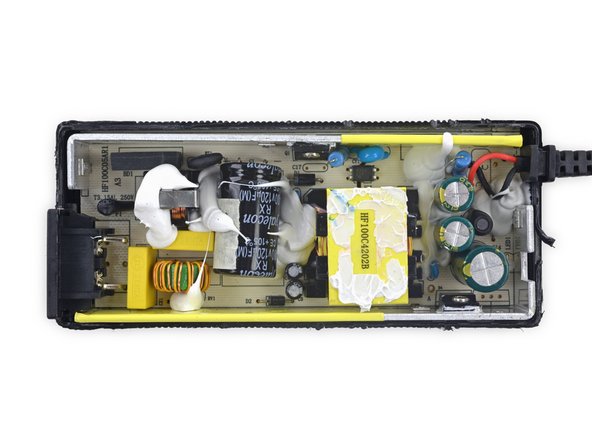
Real quick though, let's take a peek at the UL-certified charger. After all, house fires from charging hoverboards have been reported...
-
To be honest, it looks pretty messy, but we don't like to judge a charger by its... random epoxy? So we consulted charger guru Ken Shiriff of Righto.com, who said:
-
"Looks like a straightforward flyback switching power supply. I don’t see any cause for complaints...The charger looks solid. I don’t see any corners cut. The design is ‘unchallenging’—they didn’t try to make it as small as possible; Apple probably would have made it half the size."
-
So hey, as long as you have a real Swagway, with a real UL-certified charger, you should be fine? Probably.
-
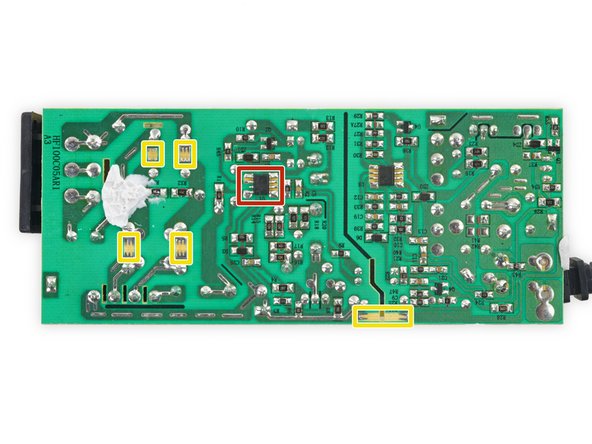
Board-wise, we note:
-
A Leadtrend LD7575 green-mode PWM controller
-
Jaw-like etches that are PCB spark gaps, which protect circuitry from voltage surges
クリエイティブコモンズのオープンソース著作権のもと、あなたの投稿は著作権の対象となります。