手順 5を翻訳中
手順5


-
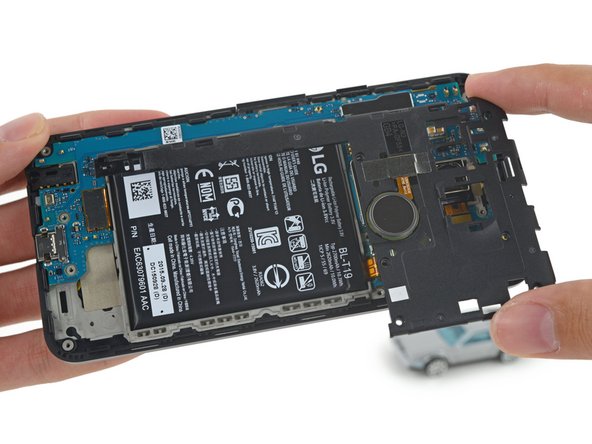
Our 64 Bit Driver Kit makes short work of the 10 Phillips screws holding the midframe captive.
-
The midframe comes piecefully (two pieces to be exact):
-
The lower half contains a few antennas and the phone's front-facing speaker.
-
The upper half contains the Nexus Imprint fingerprint reader.
| - | [* black] Our [product|IF145-022-1| |
|---|---|
| + | [* black] Our [product|IF145-022-1|64 Bit Driver Kit|new_window=true] makes short work of the 10 Phillips screws holding the midframe captive. |
| [* black] The midframe comes ''piecefully'' (two pieces to be exact): | |
| [* black] The lower half contains a few antennas and the phone's front-facing speaker. | |
| [* black] The upper half contains the Nexus Imprint fingerprint reader. |
クリエイティブコモンズのオープンソース著作権のもと、あなたの投稿は著作権の対象となります。