注意:あなたは必要条件ガイドを編集しています。あなたが行なう変更は、この手順を含む全ての8個のガイドに反映されます。
手順 15を翻訳中
手順15


-
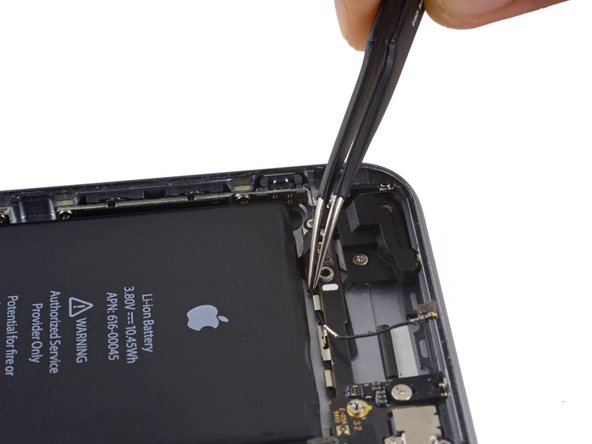
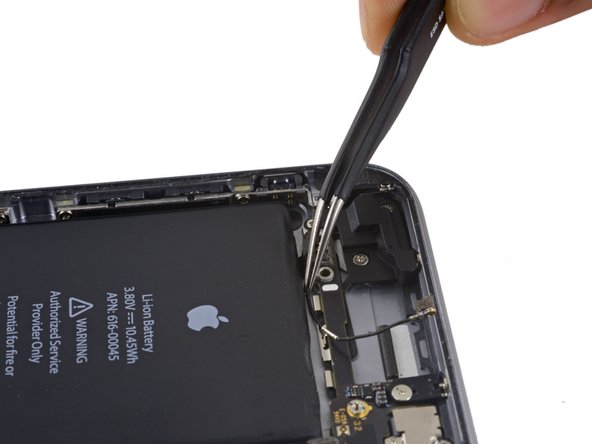
Continue derouting the cellular antenna cable from the second and third logic board clips.
-
Use the pointed tip of a spudger to gently pry the cellular antenna cable from the middle logic board clip.
| [* black] Continue derouting the cellular antenna cable from the second and third logic board clips. | |
| [* black] Use the pointed tip of a spudger to gently pry the cellular antenna cable from the middle logic board clip. | |
| - | [* icon_caution] |
| + | [* icon_caution] Don't try to remove it by pulling on the cable, as it will tear easily. |
| [* icon_reminder] In order for the cable to reach its socket on the logic board, you must route it above the logic board and underneath the audio control flex cable, as shown in the first photo. |
クリエイティブコモンズのオープンソース著作権のもと、あなたの投稿は著作権の対象となります。