手順 11を翻訳中
手順11


-
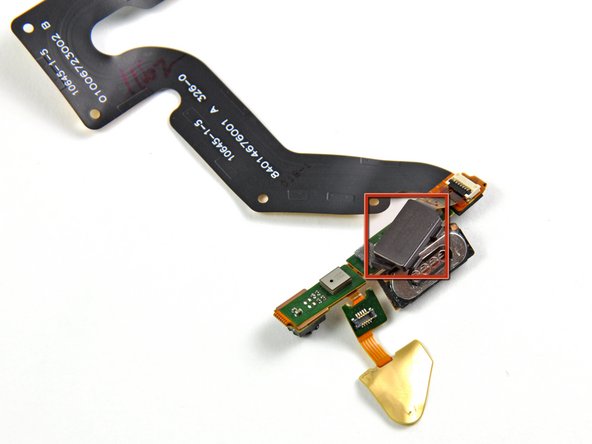
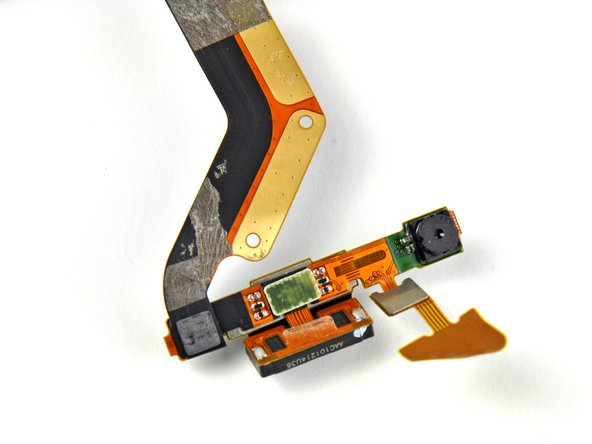
Next, the first of the two complex ribbon cables can be peeled off the steel mid-plane.
-
This cable houses the front camera, earpiece speaker, power button assembly, and top microphone. How's that for integration?
-
For enhanced security, the power button has a capacitive fingerprint scanner that can verify your identity from a single swipe of a finger.
クリエイティブコモンズのオープンソース著作権のもと、あなたの投稿は著作権の対象となります。