手順 3を翻訳中
手順3


-
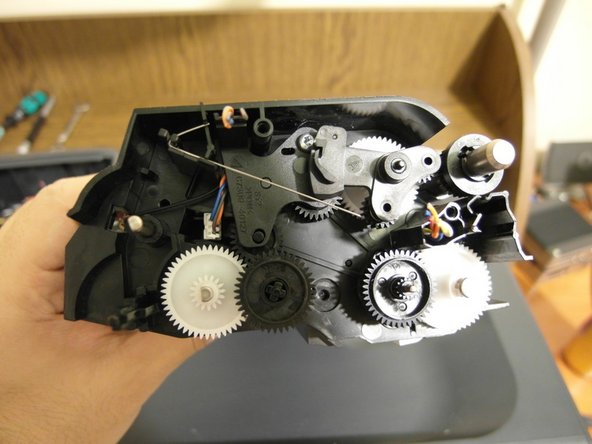
Remove the T8 Torx screws from the right cover.
-
You will see the feeder's mechanics after removing the cover.
-
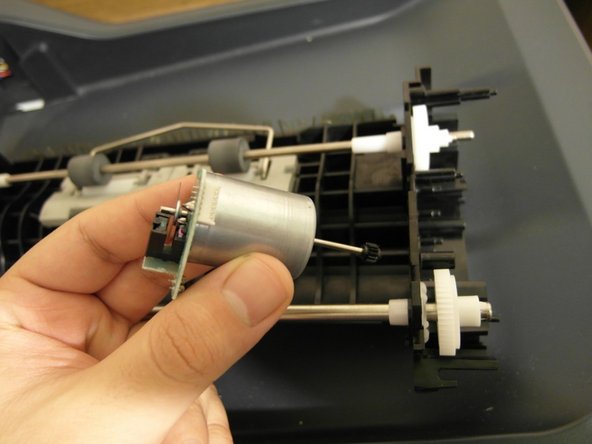
Remove the top cover, and here is the first DC motor and its encoder.
クリエイティブコモンズのオープンソース著作権のもと、あなたの投稿は著作権の対象となります。