メインコンテンツにスキップ

Nexus S Teardown

英語
中国語

手順 13を翻訳中

手順13
Nexus S Teardown: 手順 0、 2の画像 1 Nexus S Teardown: 手順 0、 2の画像 2
  • Here you can see a side view of the Super AMOLED display and front glass panel.

  • The Super AMOLED is attached to the front glass. The digitizer is a PET layer between the glass and the display.

  • You can definitely see that only the front glass panel is curved. The rest of the components are flat as a board, just as any other phone on the market.

  • Google describes it as a "...curved glass screen...", however that may be misconstrued to mean a curved Super AMOLED display, which is a bit misleading.

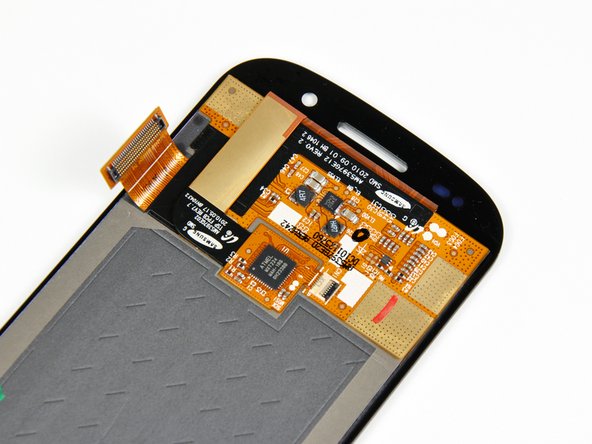
  • There's also a small PCB on the back of the display with an Atmel MXT224 touchscreen controller on it.

ここに翻訳を挿入する

ここに翻訳を挿入する

ここに翻訳を挿入する

ここに翻訳を挿入する

ここに翻訳を挿入する

クリエイティブコモンズのオープンソース著作権のもと、あなたの投稿は著作権の対象となります