手順 8を翻訳中
手順8


-
Nearly half of the Galaxy Tab's real estate is engulfed by the battery.
-
The battery is secured to the rear panel by a single Phillips screw.
-
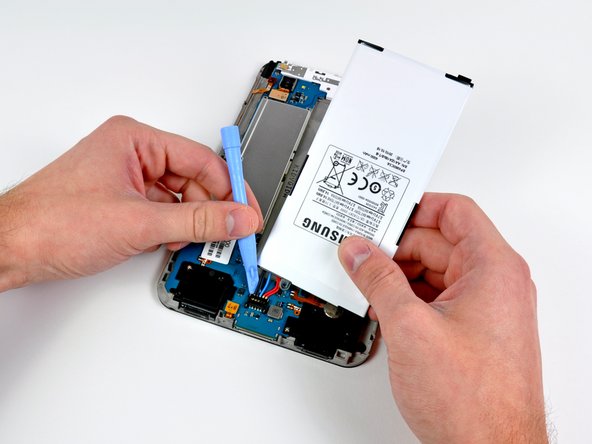
Disconnecting the battery requires prying the battery connector out of its socket on the motherboard.
クリエイティブコモンズのオープンソース著作権のもと、あなたの投稿は著作権の対象となります。