手順 20を翻訳中
手順20


-
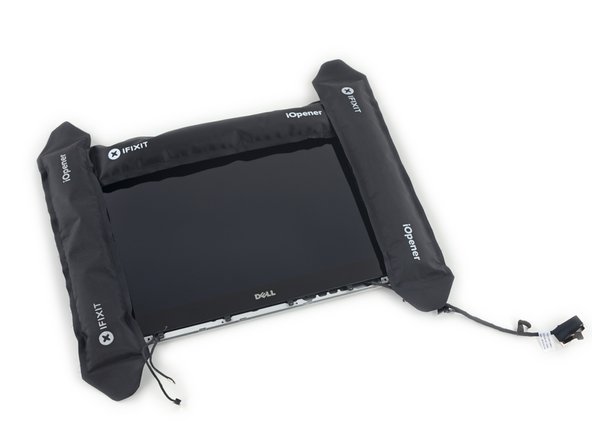
We're getting pretty good at prying up glass, so we've got some idea of where to start.
-
Step 1: Load up on heat. Use plenty of iOpeners. (Or one iOpener plenty of times).
-
Step 2: Pry gently in many places. Opening Picks are the ideal tool.
-
Step 3: ???
-
Step 4: The edges you just heated are nowhere near the adhesive you wanted to loosen. The adhesive is entirely under the LCD panel.
-
Step 4b: Apply plenty of heat to the back and pry slowly.
クリエイティブコモンズのオープンソース著作権のもと、あなたの投稿は著作権の対象となります。