注意:あなたはさきほど閲覧しているガイドの前提となるページを編集しています。あなたが行った変更は、この手順を含むガイド全体に影響を与えます。
手順 4を翻訳中
手順4

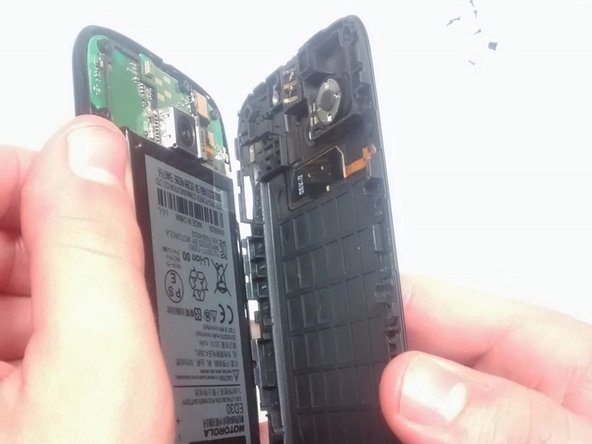


The Inside of your Phone
-
Use the plastic opening tool to take out the inner back cover after all the screws have been removed.
-
This will expose the motherboard and the attached battery.
-
Take note that once the inner back cover is removed the volume and power buttons on the side can easily fall out or be removed.
クリエイティブコモンズのオープンソース著作権のもと、あなたの投稿は著作権の対象となります。