注意:あなたは必要条件ガイドを編集しています。あなたが行なう変更は、この手順を含む全ての5個のガイドに反映されます。
手順 16を翻訳中
手順16


-
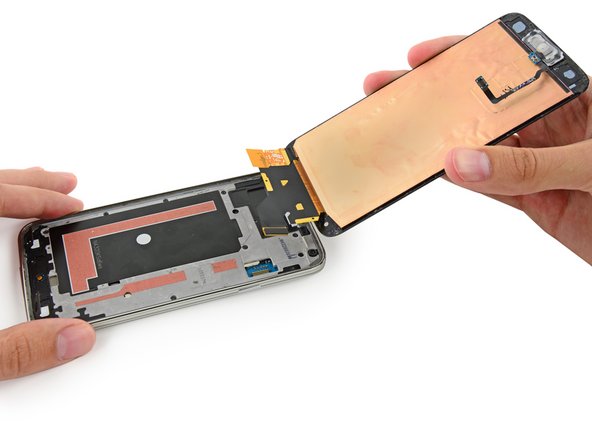
Use the sharp tip of a spudger to lift the front panel assembly cable connector straight up off its socket on the motherboard.
-
Safely remove the front panel assembly from phone.
| [* black] Use the sharp tip of a spudger to lift the front panel assembly cable connector straight up off its socket on the motherboard. | |
| [* black] Safely remove the front panel assembly from phone. | |
| + | [* icon_reminder] If your replacement display did not come with a home button, follow our [guide|119508|Home Button Assembly|new_window=true] guide to transfer your old button over to the new display, or install a new button. |
クリエイティブコモンズのオープンソース著作権のもと、あなたの投稿は著作権の対象となります。